Okta 2-legged OAuth 2.0 API Security Profile
Introduction
Within a security profile, you can configure Okta as an OAuth 2.0 identity provider to provide API consumers access to an API using Okta authentication.
This page shows how to configure and use Okta 2-legged authentication with a Jitterbit Custom, OData, or Proxy API by following these steps:
- Configuring Okta as an Identity Provider
Configure the Okta instance as an identity provider and obtain the Okta Audience and Scope to use as input for configuring a security profile in API Manager. - Configuring a Security Profile in API Manager
Configure Okta as the identity provider in API Manager. - Assigning a Security Profile in API Manager
Assign the security profile to one or more Jitterbit Custom, OData, or Proxy APIs. - Accessing an API with Okta Authentication
API consumers are then able to use Okta authentication to consume Jitterbit Custom, OData, or Proxy APIs that the security profile is assigned to.
For additional information, see the Okta documentation OAuth 2.0 and OpenID Connect Overview.
For Okta 3-legged OAuth security profile configuration, see Okta 3-legged OAuth 2.0 API Security Profile.
1. Configuring Okta as an Identity Provider
-
Log in to the Okta Developer Console as a user with administrative privileges.
-
In Okta's Developer Console, navigate to Applications > Applications, then click the Create App Integration button.
-
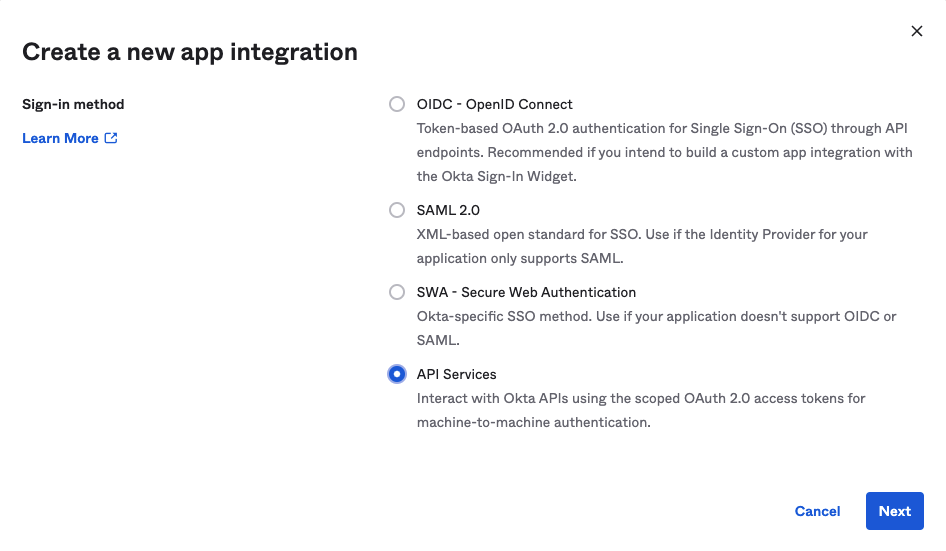
In the Sign-in Method section of the Create a New App Integration page, select API Services and then click Next.
-
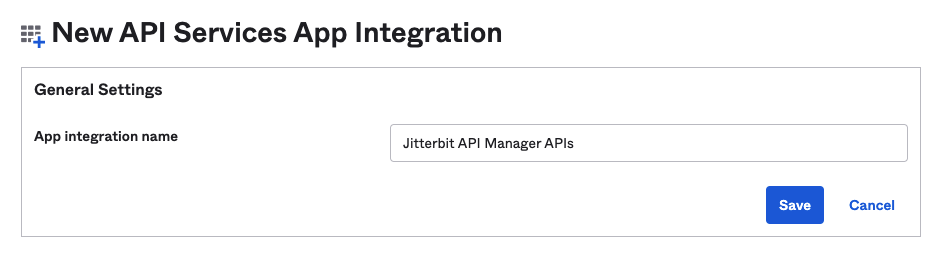
In the General Settings section of the New Web App Integration page, enter an App integration name and click Save:
-
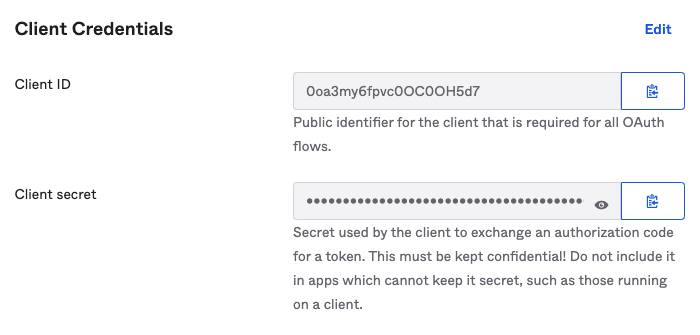
After clicking Save, the Client ID and Client secret are displayed in the General tab under Client Credentials. Retain these for later use, as they will be required when generating an OAuth token in step 4.
-
Follow these additional steps to create a custom scope:
-
Navigate to API > Authorization Servers and select the appropriate server.
-
In the Authorization Server's Scopes tab, click Add Scope.
-
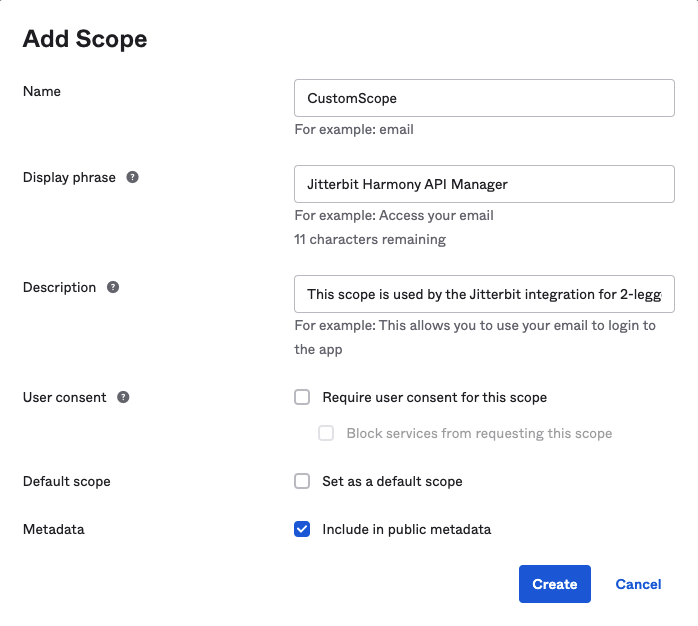
In the Add Scope dialog, enter a Name (such as CustomScope) and complete the optional fields as desired. Retain the Name that you enter for later use, as it will be required when configuring the security profile. Under Metadata, select Include in public metadata. Click Create:
-
2. Configuring a 2-legged OAuth Flow 2.0 API Security Profile
Follow the instructions for configuring an Okta 2-legged OAuth Flow in Security Profile Configuration.
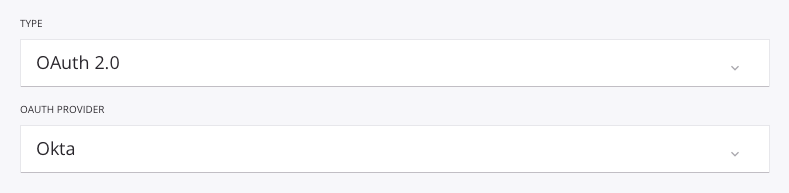
During configuration, select OAuth 2.0 as the authentication Type and Okta as the OAuth Provider:
Enter the name of the scope in the OAuth Scope field. The scope name was specified by the user when configuring the scope in Okta, as shown in the previous section, Configuring Okta as an Identity Provider.

The Authorized Domains field must be empty:

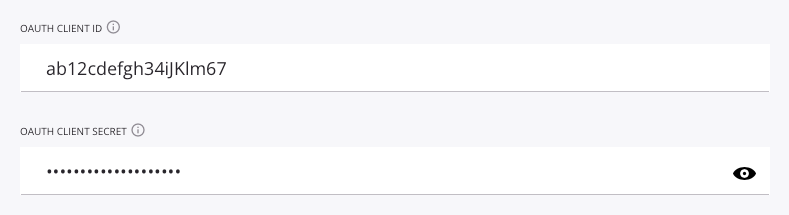
Enter the OAuth Client ID and OAuth Client Secret for testing purposes (optional):
Enter the audience. The Okta Audience can be found under Security > API under the authorization server's Settings tab.

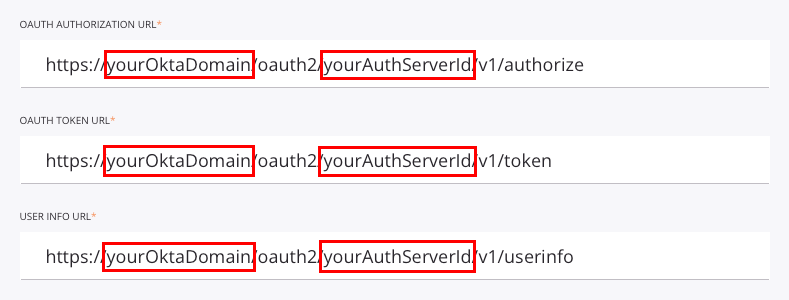
Edit the OpenID Discovery URL, the OAuth Authorization URL, the OAuth Token URL, and the User Info URL to replace the placeholder domain (yourOktaDomain) and the placeholder authorization server ID (yourAuthServerId) with those for your Okta instance:
yourOktaDomain: Replace with the Okta domain, also called the Okta URL. See Find your Okta domain.yourAuthServerId: Replace with the Okta authorization server ID. See Create an authorization server.

For example, when configured, the field input should be similar to that shown here:
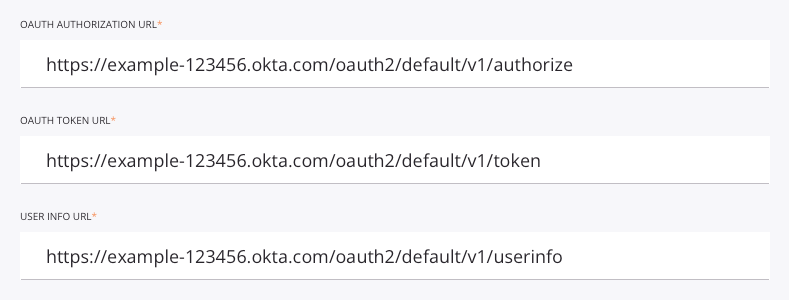
Once the above fields have been populated, click Test to validate the authentication token.
3. Assigning a Security Profile in API Manager
To use the security profile with an API, follow the instructions for configuring a Custom API, OData Service, or Proxy API and select the security profile configured with Okta OAuth 2.0 authentication.
4. Accessing an API with Okta Authentication
Once you have saved and published a Custom API, OData Service, or Proxy API, its API is accessible by URL in the application calling the API using the configured authentication method.
Using 2-legged OAuth 2.0 is a two-step process:
-
Generate an OAuth token either by passing the Okta client ID and client secret obtained above in step 1 in an RFC6749 Client Credentials Access Token Request to the new 2-legged OAuth Token URL link displayed on the Security Profiles page or by obtaining the OAuth token directly from Okta.
-
Send the OAuth token in the API header using the "bearer" token type defined in RFC6750.
To consume the API, use the link to Copy URL and use it within the calling application:
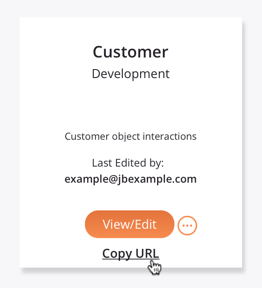
If the API supports GET, you can also paste the URL into a web browser to consume the API manually.
When 2-legged OAuth Flow is being used, the API Gateway fetches the access token and authentication takes place automatically.
If the authentication is successful, the expected payload is displayed in the web browser.