Citizen Integrator my recipes
Introduction
Citizen Integrator, accessible via the Harmony portal, is Jitterbit's click-and-run web application for non-technical users to quickly customize and deploy Design Studio integrations using pre-built Citizen Integrator recipes.
Within Citizen Integrator, the My Recipes page provides a single place where you can filter, upload, generate, edit, deploy, update, copy, or delete Citizen Integrator recipes that are private to your organization.
Access the my recipes page
The My Recipes page can be reached from several pages:
- Citizen Integrator - Dashboard: In the top left, click on the heading My Recipes.
- Citizen Integrator - Generate or edit recipe: In the top right, click on the words My Recipes.
- Citizen Integrator - Configure recipe: In the top right, click on the words My Recipes.
Filtering recipes
On the My Recipes page, under My Recipes, users that have already uploaded or generated Citizen Integrator recipes that are private to their organization will see these recipes listed in a table without any applied filters.
Tip
If you have not yet uploaded or generated any Citizen Integrator recipes, you will not see any recipes on this page. Instead, users who want to use recipes provided by Jitterbit can do so by selecting one from the Citizen Integrator - Dashboard page.
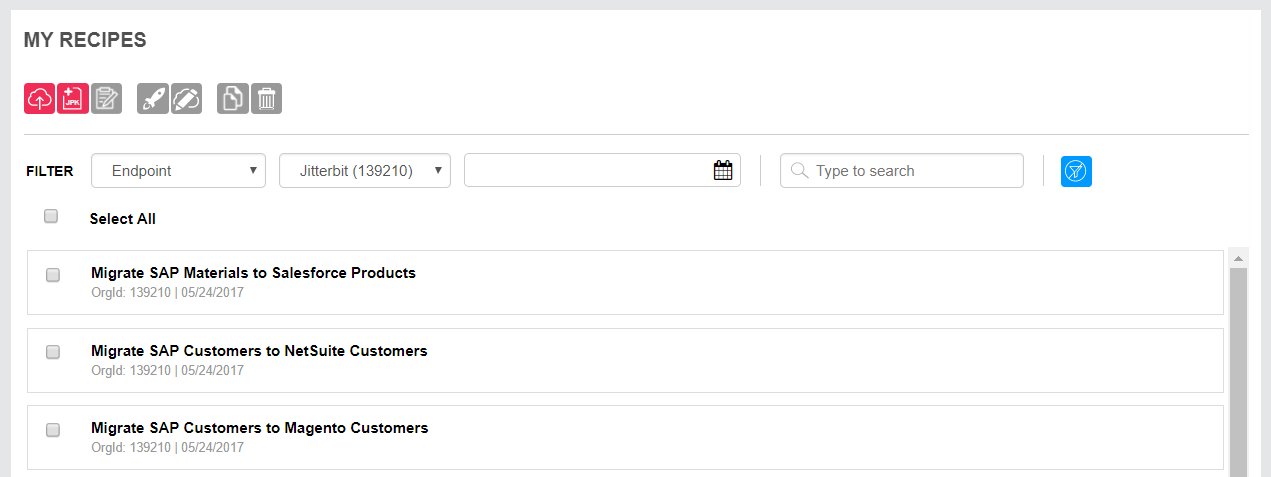
The following filter options are available:
- Endpoint: The endpoint dropdown contains a list of endpoints you can filter by. By default, recipes for all endpoints are shown (the "Endpoint" selection).
- Organization: The organization dropdown contains a list of any available organizations. By default, recipes for the currently selected organization are shown.
- Date Range: The date range field allows you to set a start date and end date that will be used to filter recipes by date of upload. By default, recipes uploaded on any date are shown.
- Search: The search box allows you to filter recipe names by keyword. The recipe list will become filtered immediately as you enter search criteria.
- Clear Filter: The blue remove filter icon
 clears any filters currently applied to the list of recipes.
Upload a recipe
Under My Recipes, the option to upload a new Citizen Integrator recipe is always available regardless of any selections.
Note
To use the upload recipe functionality, you should have already created a Design Studio Jitterpak with accompanying JSON metadata to define the recipe steps as described in Creating New Recipes.
Click the cloud icon ![]() to open a window where you can upload a new recipe.
to open a window where you can upload a new recipe.
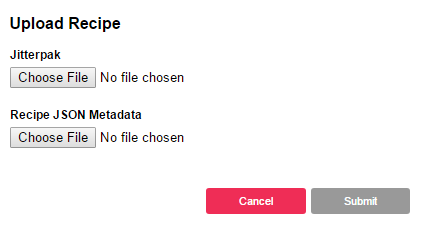
In the Upload Recipe window, select the following:
- Jitterpak: Use the Choose File button to browse to the Jitterpak (.JPK) you would like to upload.
- Recipe JSON Metadata: Use the Choose File button to browse to the recipe metadata (.JSON) you would like to upload.
Then click Submit to upload your new recipe.
Generate a recipe
Under My Recipes, the option to generate a Citizen Integrator recipe is available only for members of a role that has Admin permission within the selected organization. After recipe generation, you will be brought to the Generate Recipe page to further configure your recipe steps (see Citizen Integrator - Generate or edit recipe).
Note
You may be interested in using the generate functionality when you have a Design Studio Jitterpak but have not preconstructed the JSON metadata. Refer to Creating New Recipes for best practices for creating Jitterpaks for Citizen Integrator.
Click the JPK icon  to open a window where you can upload a Jitterpak that will generate a recipe.
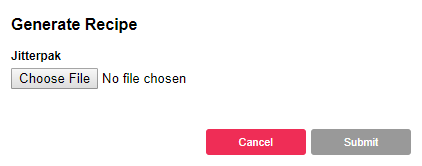
In the Generate Recipe window, use the Choose File button to browse to the Jitterpak (.JPK) you would like to upload.
Then click Submit to generate your new recipe and open the Generate Recipe page where you can further configure your recipe steps (see Citizen Integrator - Generate or edit recipe).
Edit a recipe
Under My Recipes, the option to edit a Citizen Integrator recipe will become available once you have selected only one recipe within the table, and will be available only for members of a role with Admin permission within the selected organization.
To select a recipe, click anywhere on the row, or check the box to the left of the recipe.

Then click the edit icon  to open the Edit Recipe page where you can update your recipe steps (see Citizen Integrator - Generate or edit recipe).
Deploy a recipe
Under My Recipes, the option to deploy a Citizen Integrator recipe will become available once you have selected only one recipe within the table.
To select a recipe, click anywhere on the row, or check the box to the left of the recipe.
Then click the deploy icon ![]() to open the Citizen Integrator - Configure recipe page where you can configure and then deploy the recipe by clicking the Save & Finish button.
to open the Citizen Integrator - Configure recipe page where you can configure and then deploy the recipe by clicking the Save & Finish button.
Update a recipe
Under My Recipes, the option to update a Citizen Integrator recipe will become available once you have selected only one recipe within the table, and will be available only for members of a role with Admin permission within the selected organization.
Note
To use the update recipe functionality, you should have already updated a Jitterpak with accompanying JSON metadata to define the recipe steps as described in Creating new recipes. if instead you want to update recipe steps through the Citizen Integrator user interface, use the edit a recipe functionality.
To select a recipe, click anywhere on the row, or check the box to the left of the recipe.
Then click the update icon ![]() to open a window where you can update a recipe that has previously been uploaded within your organization.
to open a window where you can update a recipe that has previously been uploaded within your organization.
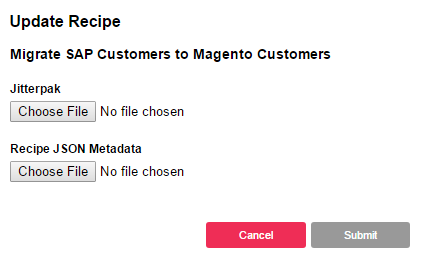
In the Update Recipe window, select the following:
- Jitterpak: Use the Choose File button to browse to the Jitterpak (.JPK) you would like to upload.
- Recipe JSON Metadata: Use the Choose File button to browse to the recipe metadata (.JSON) you would like to upload.
Then click Submit to update your existing recipe.
Copy recipes
Under My Recipes, the option to copy Citizen Integrator recipe(s) will become available once you have selected one or more recipes within the table, and will be available only for users who are part of two or more organizations.
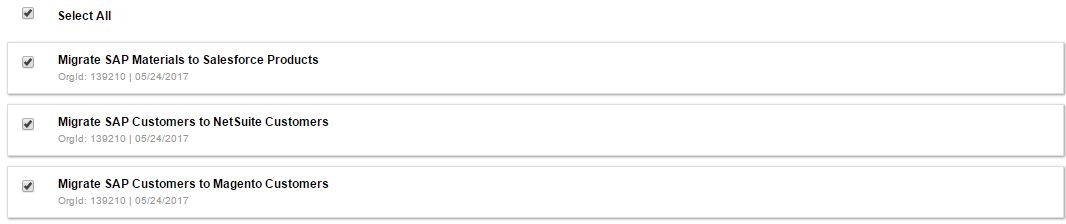
To select one or more recipes, click anywhere on the row(s), check the box(es) to the left of the recipe, or check the "Select All" box.
Then click the copy icon  to open a window where you can use a dropdown to select the organization.
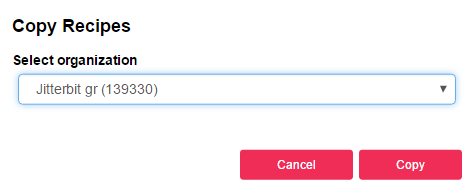
Click Copy to copy the selected recipe(s) to the target organization.
All copied recipe(s) will then be shown within the table for the target organization.
Delete recipes
Under My Recipes, the option to delete Citizen Integrator recipe(s) will become available once you have selected one or more recipes within the table.
To select one or more recipes, click anywhere on the row(s), check the box(es) to the left of the recipe, or check the "Select All" box.
Then click the trash icon ![]() to open a confirmation dialogue to delete the recipe(s) that you have selected.
to open a confirmation dialogue to delete the recipe(s) that you have selected.

Click Ok to delete the selected recipe(s) from your organization.