Cloud Studio quick start guide
Introduction
This guide is intended for new users of Cloud Studio, Jitterbit's web-based project design application. This guide covers the basics of getting started by creating a new project from scratch and provides an overview of project design concepts.
For a comprehensive guide and step-by-step walkthrough, take the Introduction to Harmony Cloud Studio course on Jitterbit University. As part of this course, you can also reference the supplemental Lab training manual for hands-on modules covering a variety of use cases to help get you started.
Jitterbit Marketplace also provides hundreds of pre-built projects by offering Cloud Studio integration recipes and Cloud Studio process templates. To get started with an existing recipe or template, see Starting a recipe or template project.
Access Cloud Studio
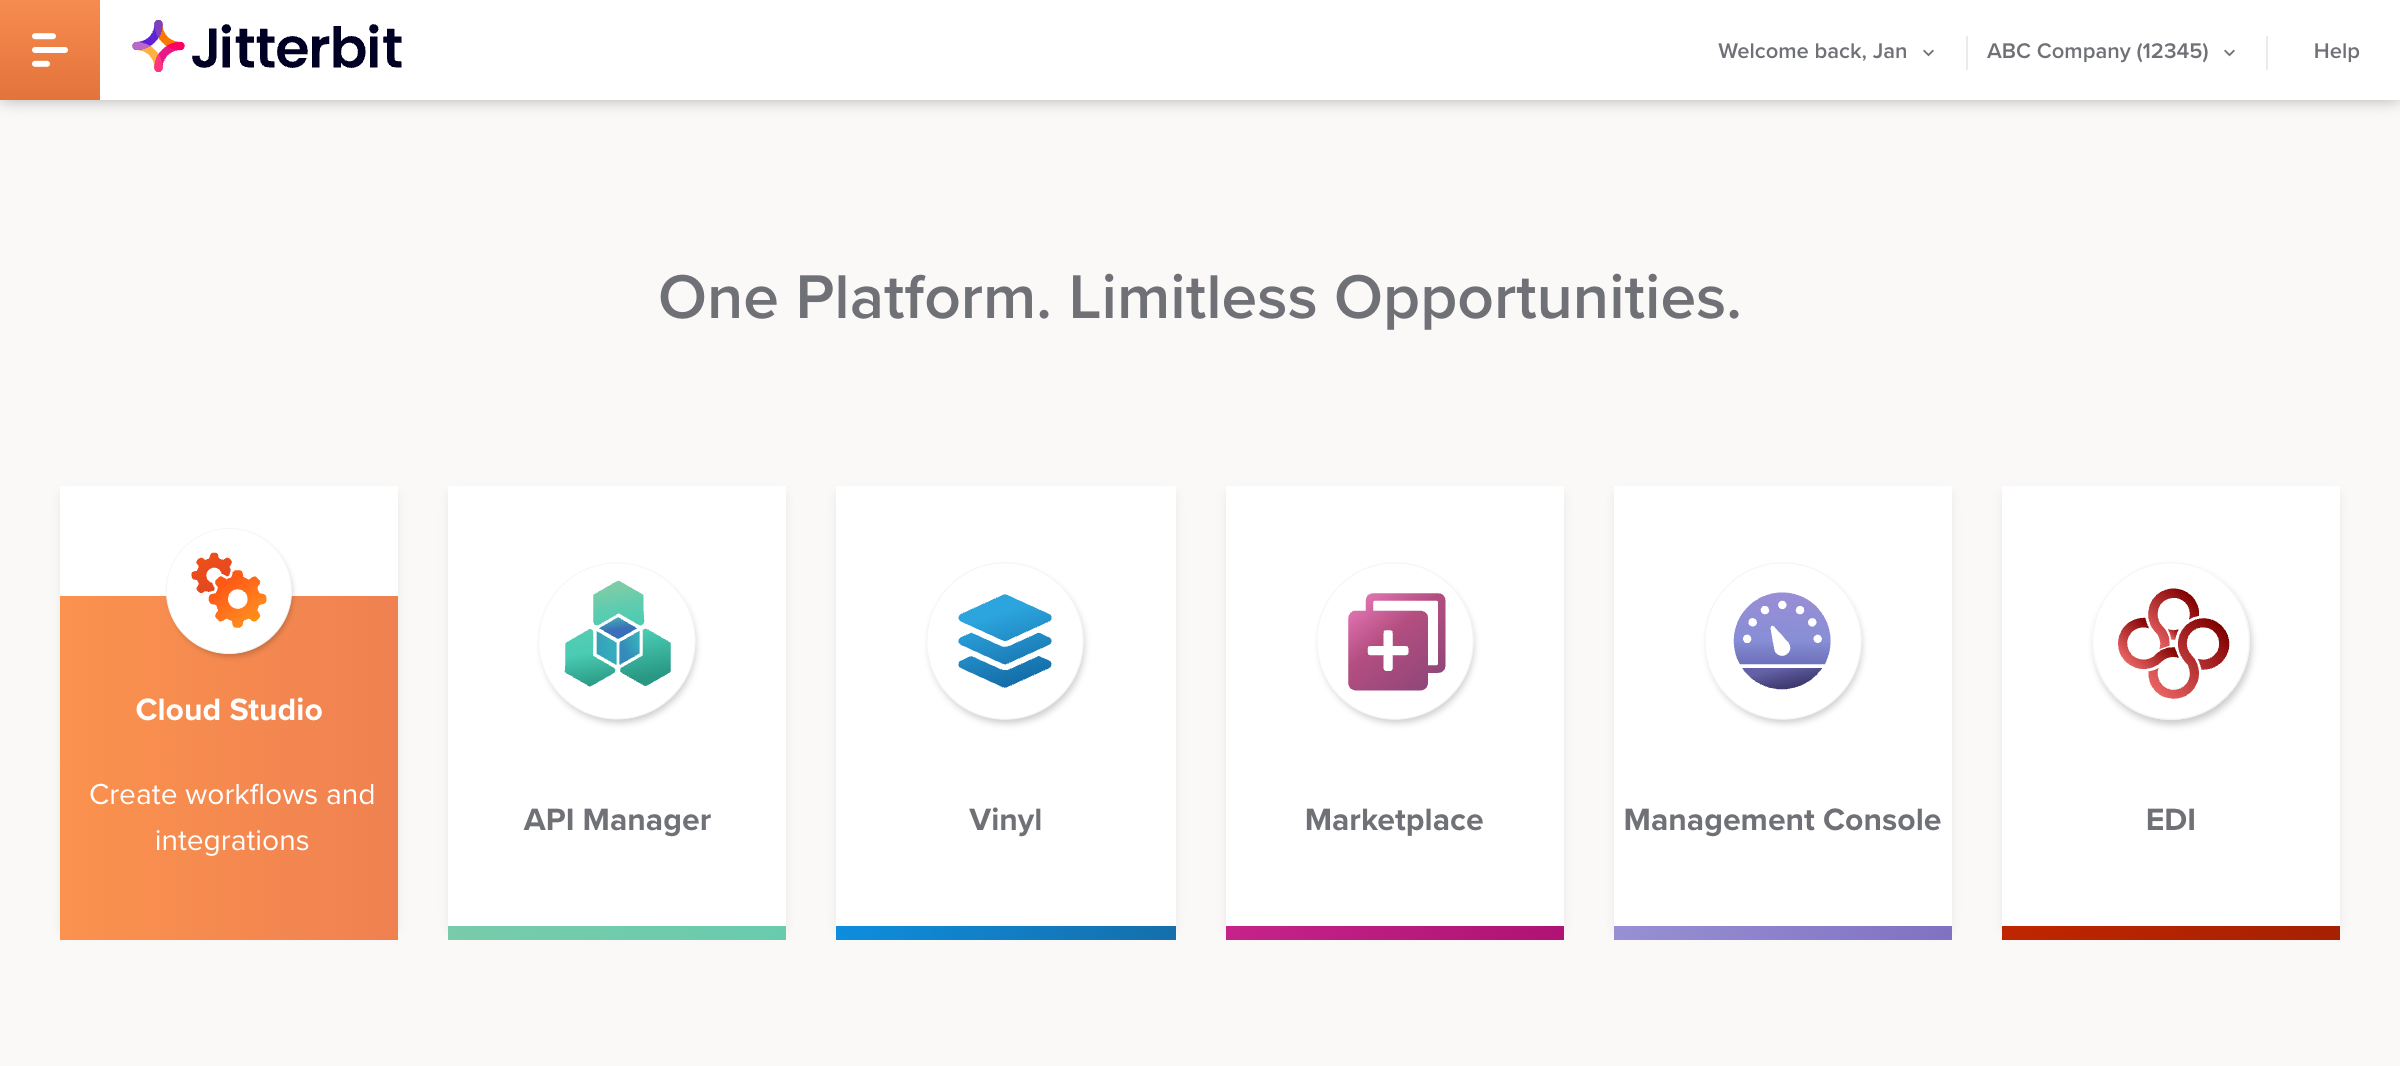
Cloud Studio is accessed directly through the Harmony portal.
From the Harmony portal landing page, click the Cloud Studio application tile:
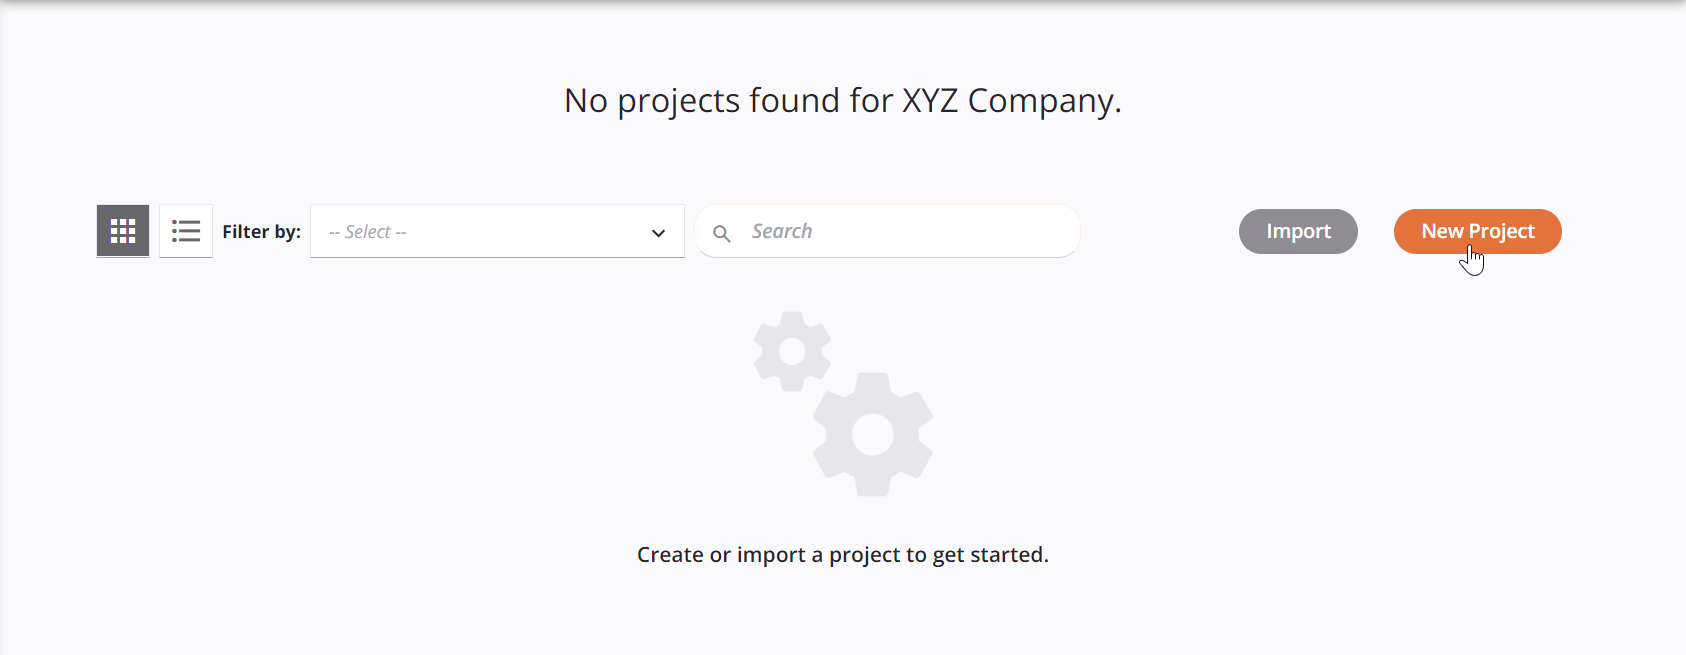
Cloud Studio opens on the Projects page, where you can create your first project, next.
Create a project
The Projects page shows a repository of accessible Cloud Studio projects. The first time you access Cloud Studio, this screen is blank. Click New Project to get started:
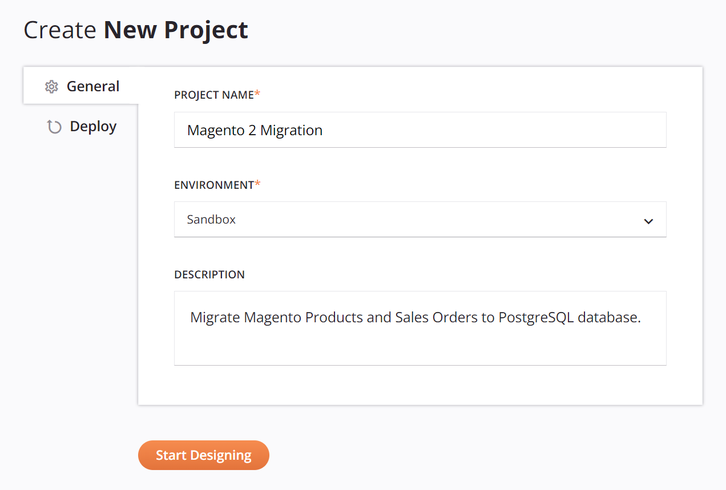
Fill out basic project information in the General tab and then click Start Designing to open the project designer.
Design a project
The project designer is the interface where you design a project. The project designer includes the project toolbar, project pane, design canvas, and a component palette, as well as the configuration screens for each component, such as those for transformations, scripts, connections, and activities.
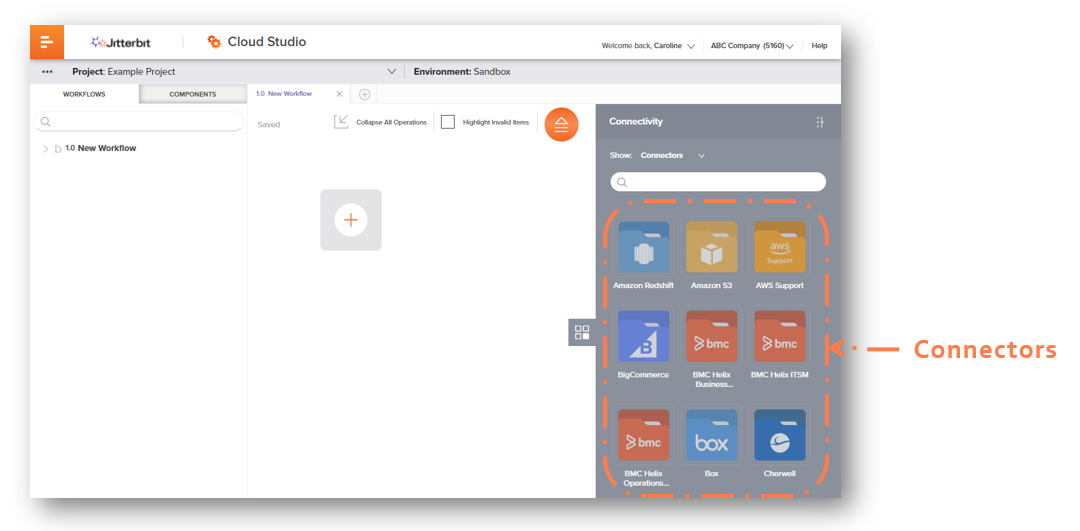
On opening a project, these parts of the project designer are displayed, as shown in the example below for a project that has already been designed:

Generally, you design workflows — or collections of operations grouped for the convenience of the user — within the design canvas using the tools provided in the component palette, project pane, and on the design canvas itself.
The next sections walk through the basic design process:
- Establish connectivity
- Create operation steps
- Chain operations together using operation actions
- Deploy and run operations
Establish connectivity
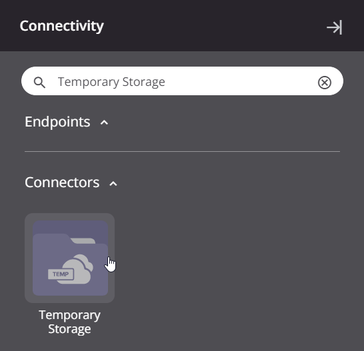
The design component palette provides access to connectivity resources. Here, connectors provide the interface entering user-provided input such as credentials to create a connection. Within the Project endpoints and connectors tab of the component palette, the Connectors category shows the types of connectors that can be configured:
Each connector is represented by a connector folder icon, beneath which is the connector name. Click a connector to open a configuration screen to create a new connection for access to a particular data resource:
For detailed instructions on configuring a connection, see the specific connection under Connectors. Each time you create a new connection, you must do so from the connector folder icons accessible in the Connectors category.
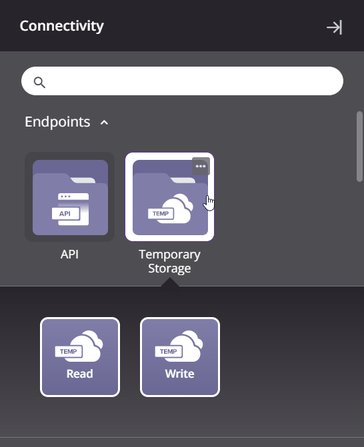
Once you have created a connection, it is shown in the Endpoints category. Click a connection to reveal the types of activities — interactions with an endpoint — that can be configured for that connection.
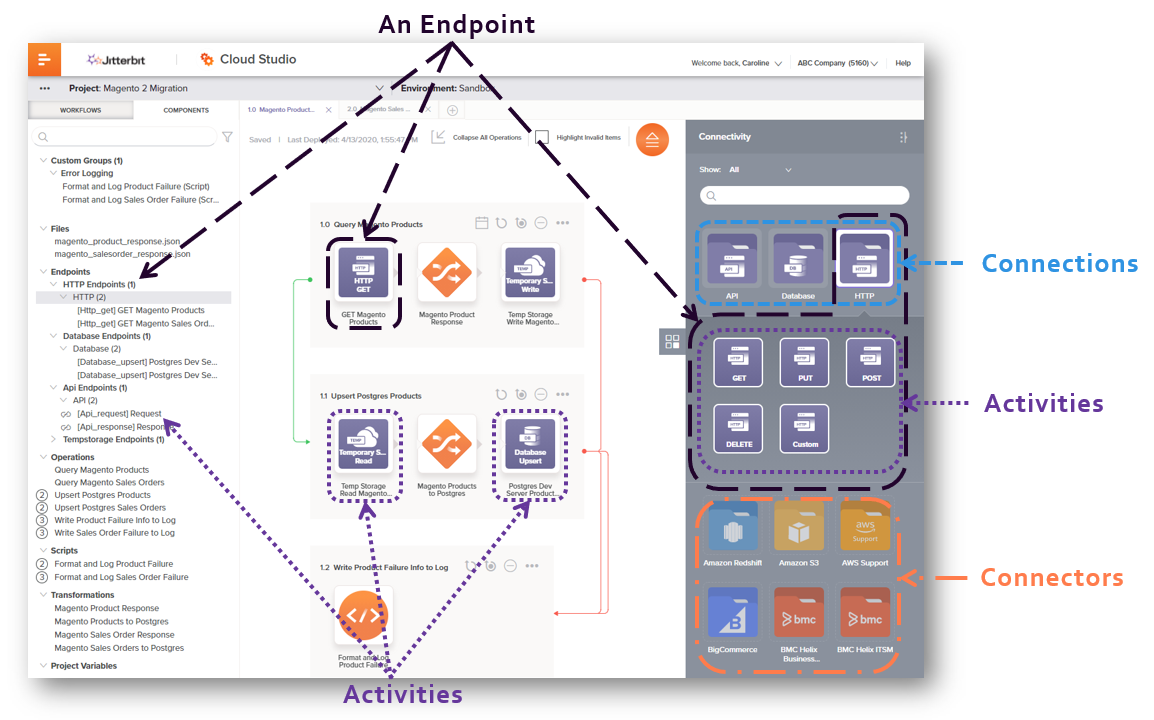
An endpoint refers to a specific connection and its activities, which are configured as sources (to provide data) or targets (to consume data) in a project. For reference, this diagram shows the relationship between connectors, connections, activities, and endpoints:
Create operation steps
Operations that define what the integration should do are created by adding and configuring operation steps — made up of activities, transformations, and/or scripts — on the design canvas.
The section Establish connectivity above showed how to create a connection and see its activity types.
To create an instance of an activity, place an activity type on the design canvas by dragging it or copying it to an operation or component drop zone:
Once an activity is created, you can double-click it to configure it as described for each specific activity under Connectors.
To add additional activities, place them on another drop zone. Additional operation drop zones are shown by hovering above an existing operation. Component drop zones in existing operations are shown by hovering to the left or right of existing operation steps. A common configuration is to configure one activity as the source of data, and a second activity to its right as the target of data.
You may also want to add transformations or scripts to an operation. Transformations are used when you want to transform data prior to reaching its target. Scripts can be used within transformations on target fields and nodes to apply specified logic or conditions to the data. Scripts can also be used as optional steps within an operation for a variety of purposes, such as error handling or looping through data records.
To add a new transformation or script directly to an operation, right-click or click the actions menu on a drop zone and select New Script or New Transformation:

When you add a script or transformation, its configuration screen opens automatically. For details on configuration, see Transformations and Scripts, respectively.
Chain operations together using operation actions
After more than one operation is created, you can configure operation actions to trigger other operations to run, send emails, or write messages to the log after an operation succeeds or fails.
To configure these actions, click the actions menu icon ![]() in the top right of an operation and select Settings:
in the top right of an operation and select Settings:
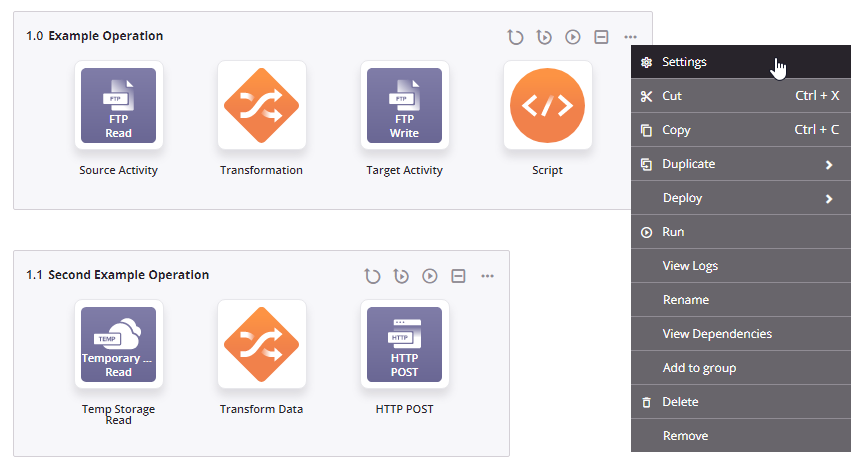
On the Actions tab of the settings, select the condition that should trigger the action, what action should be taken, and any additional parameters such as what other operation should be configured to run. For details, see Operation actions.
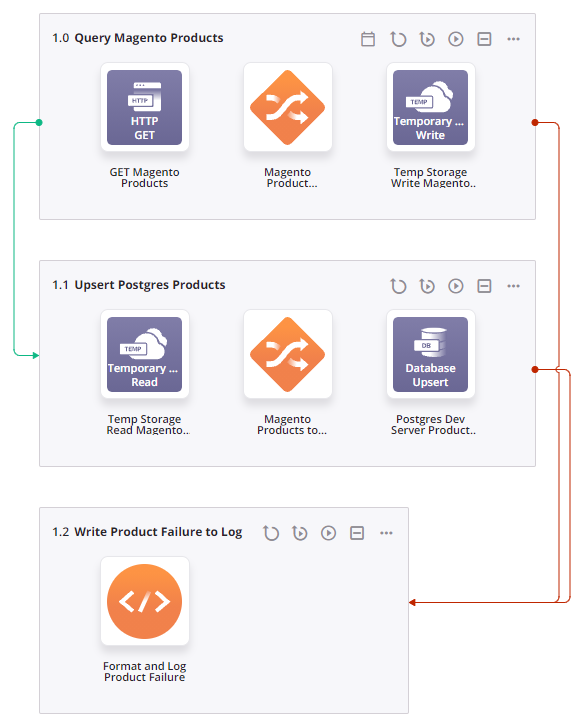
Once these actions are configured, lines appear on the design canvas to visually indicate any actions that are configured to run on success (green lines) or on failure (red lines) of the operation. An operation being kicked off based on operation actions is said to be downstream of an upstream operation before it.
Deploy and run operations
After you have developed a chain of operations, you deploy it to a Harmony agent and execute it. To deploy and run an operation, click the deploy-and-run icon ![]() in the top right of an operation:
in the top right of an operation:
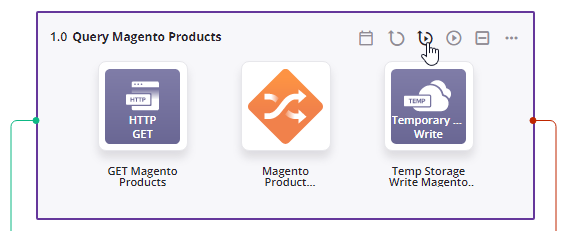
Any operations that are downstream of the operation being deployed and executed are also included.
Instead of manual execution, you can also configure operations to run on a schedule, or on an API trigger or event trigger. For more information, see Operation deployment and execution.
After the operations are executed, you can validate proper behavior by viewing logs. To view logs for a particular operation and downstream operations, click the actions menu icon ![]() in the top right of an operation and select View Logs. For more information see Operation logs.
in the top right of an operation and select View Logs. For more information see Operation logs.
Additional resources
While you design a project, refer to the in-depth information organized by topic under Cloud Studio :
- Projects: Learn basics about project permissions, collaboration, and saving, and about how to create, configure, deploy, migrate, export, import, and delete projects.
- Project Components: Browse information about what project components exist and what shared actions you can take with each component.
- Workflows: Find information about creating, deploying, and deleting workflows, dependencies, and what makes a workflow valid.
- Operations: Reference details on creating operations; configuring operation settings such as actions, options, and schedules; viewing operation logs; deploying and executing operations; viewing dependencies and deleting operations; and what makes an operation valid.
- Connectors: Refer to endpoint-specific documentation on configuring connections and activities to connect to and interact with a specific endpoint.
- Transformations: Read up on the basics and learn the intricacies of mapping data inputs to the desired target output.
- Schemas: Get introduced to the various types of schemas and learn how to tell when to use them.
- Scripts: Discover the flexibility and power of scripts to transform data, perform calculations, or perform logic validation within operations or transformations.
- Functions: Look up descriptions and examples of functions that are able to be used in scripts to enhance and refine data processes.
- Variables: Check out the different types of variables and how they can help you be more efficient in designing a project.
- Notifications: See how to customize email messages that can be triggered on success or failure of an operation or called from a script.
- Plugins: Educate yourself on how you can extend Harmony's native capabilities using Jitterbit- or user-provided plugins.
Advanced users may also be interested in creating their own connectors for Cloud Studio using Jitterbit's Connector Builder or Connector SDK.