Microsoft Dynamics 365 Business Central v2 (beta) prerequisites
Introduction
As the Microsoft Dynamics 365 Business Central v2 (beta) connection will be an application that interfaces with Microsoft, you will need to register an application using Microsoft Entra ID with a specific set of permissions.
Microsoft Azure app registration steps
Follow these steps to create an app registration with the Microsoft identity platform:
-
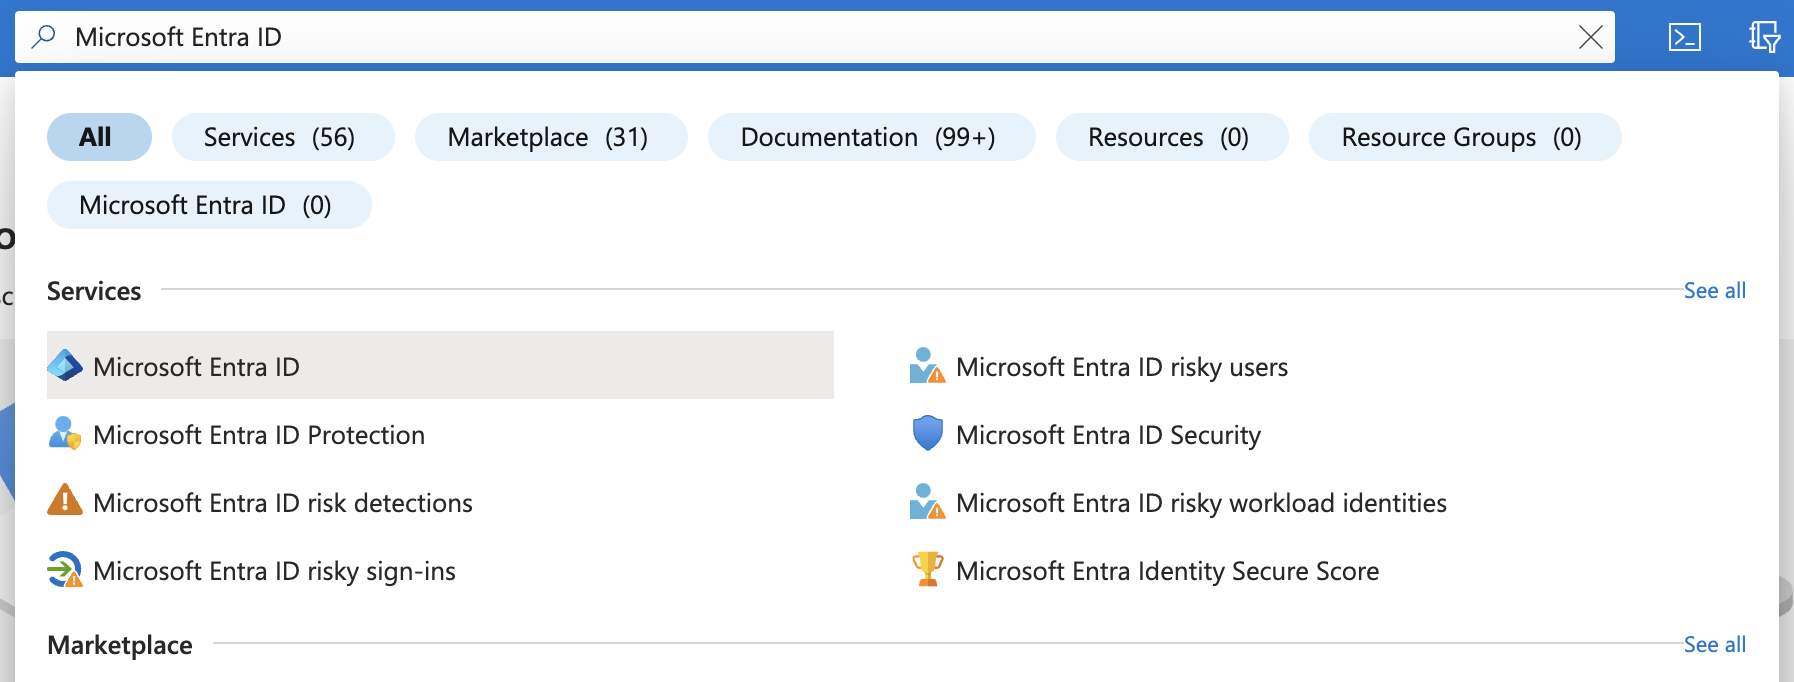
In the Azure portal, search for and click Microsoft Entra ID (previously known as Azure Active Directory or Azure AD):
-
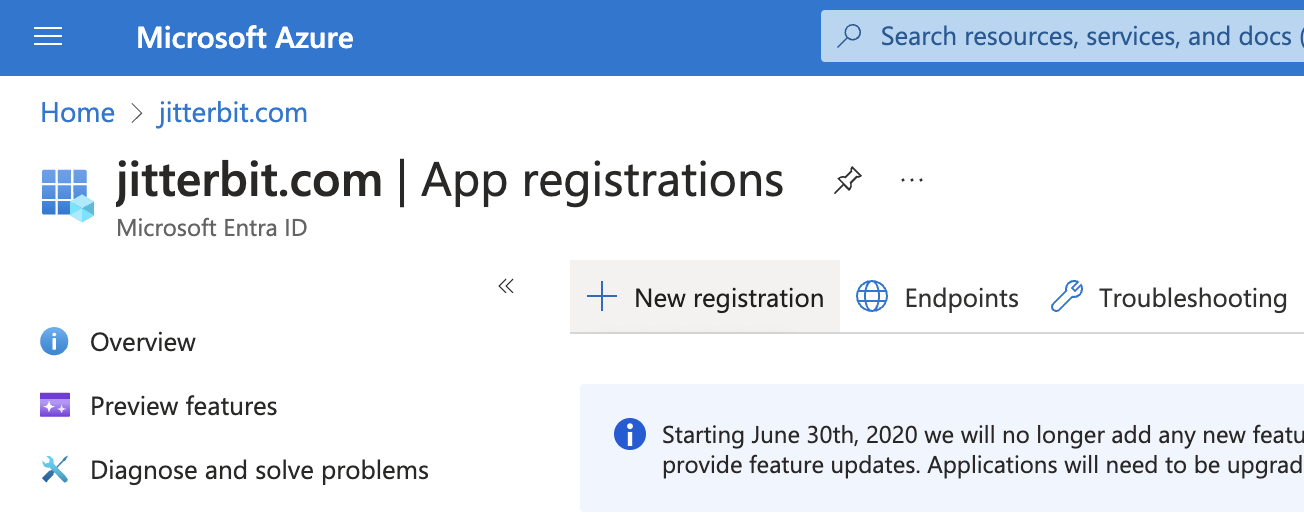
In the left sidebar under Manage, click App registrations.
-
Click New registration:
-
Enter a Name for your app. This display name will be visible to users:

-
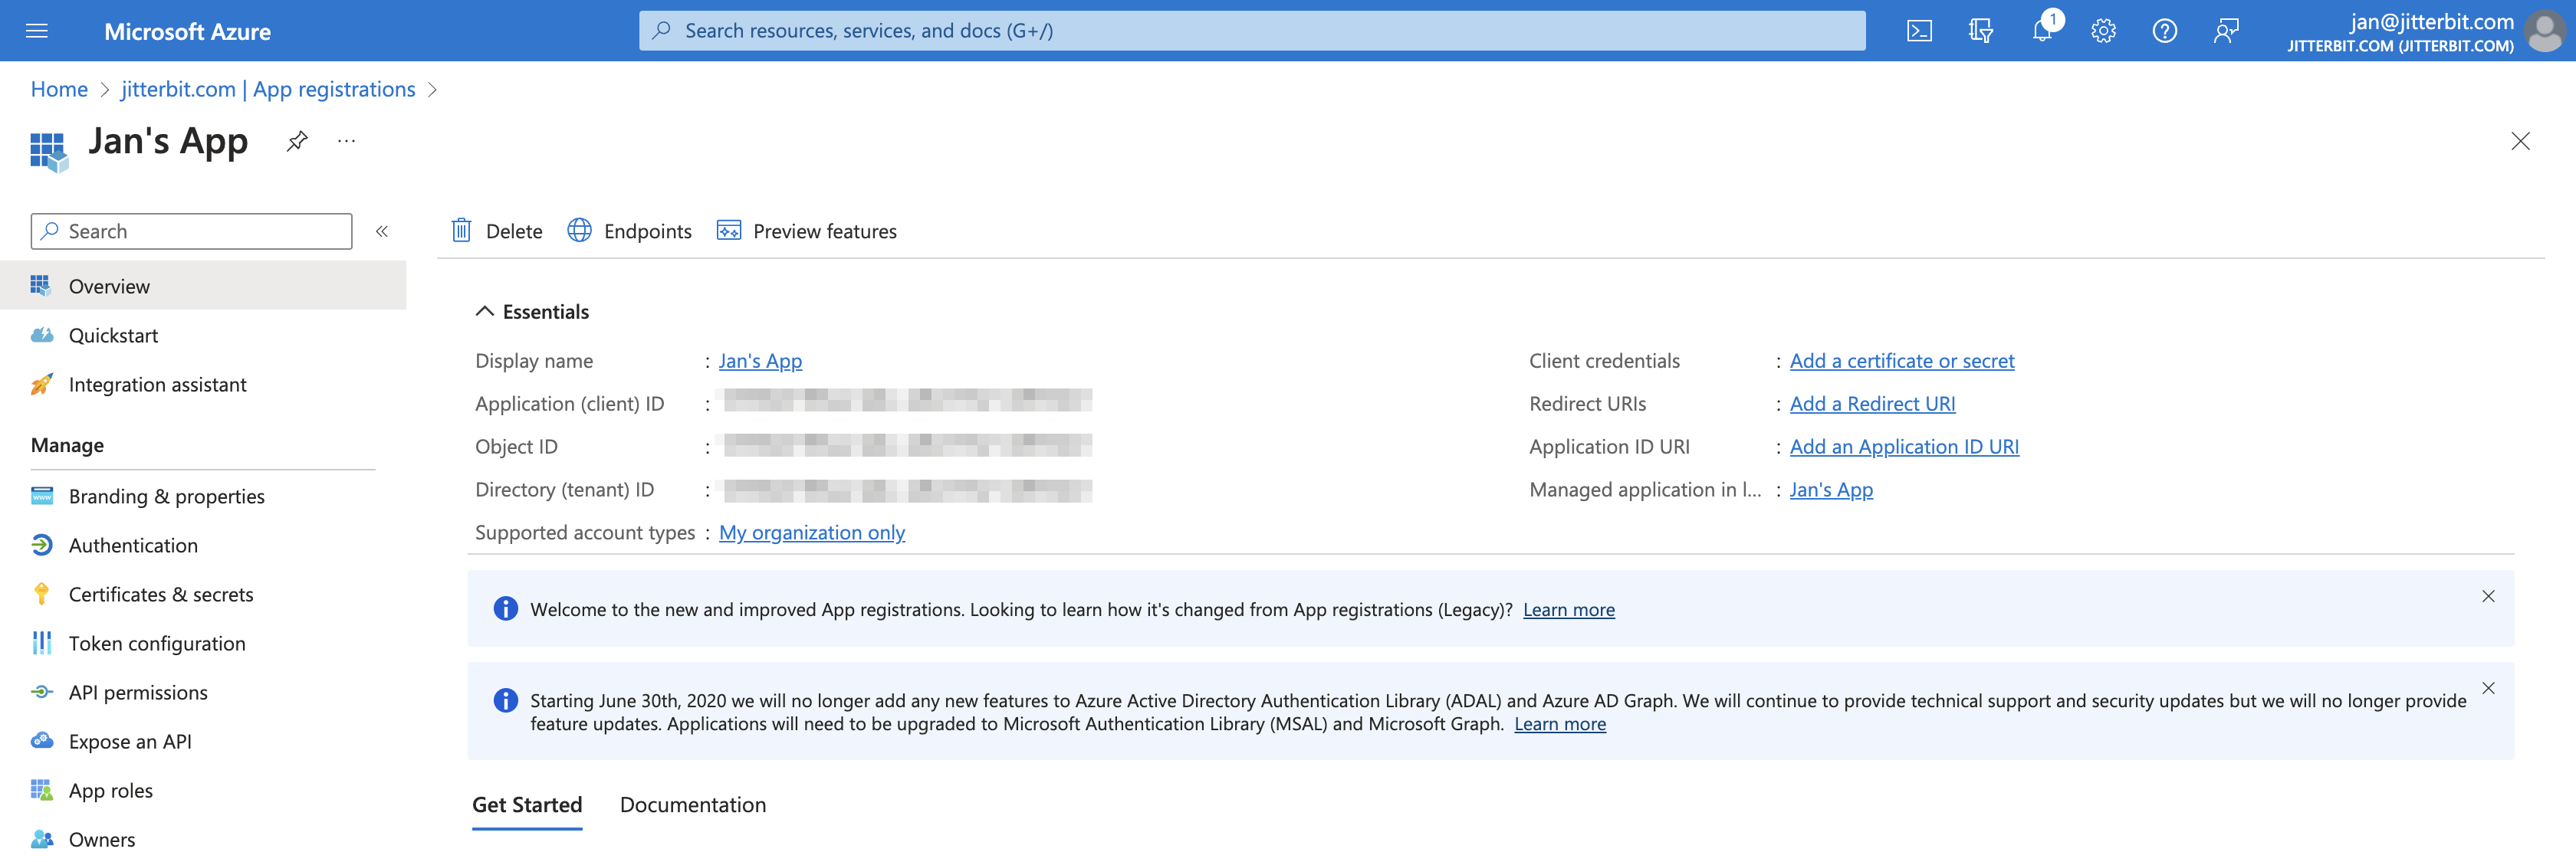
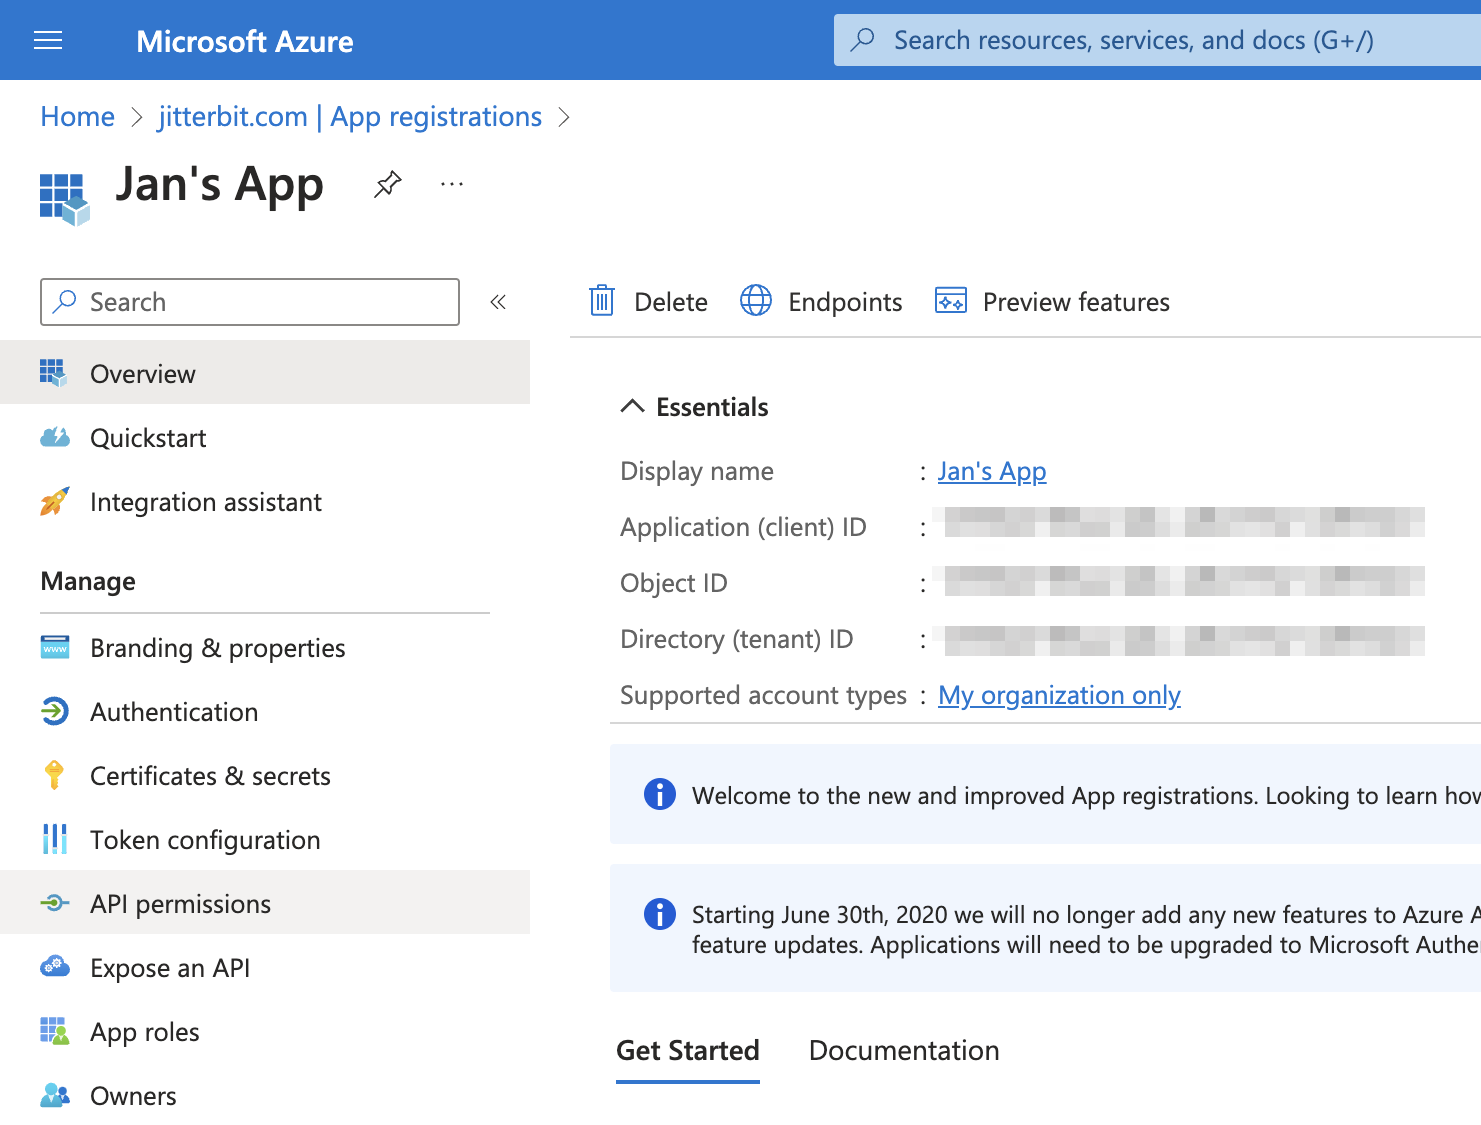
Click Register to complete the app registration. You are then directed to the app's Overview page:
Important
Retain the app registration's Application (client) ID and Directory (tenant) ID to use as
client_idandtenant_idwhen configuring a connection. -
Click Add a certificate or secret.
-
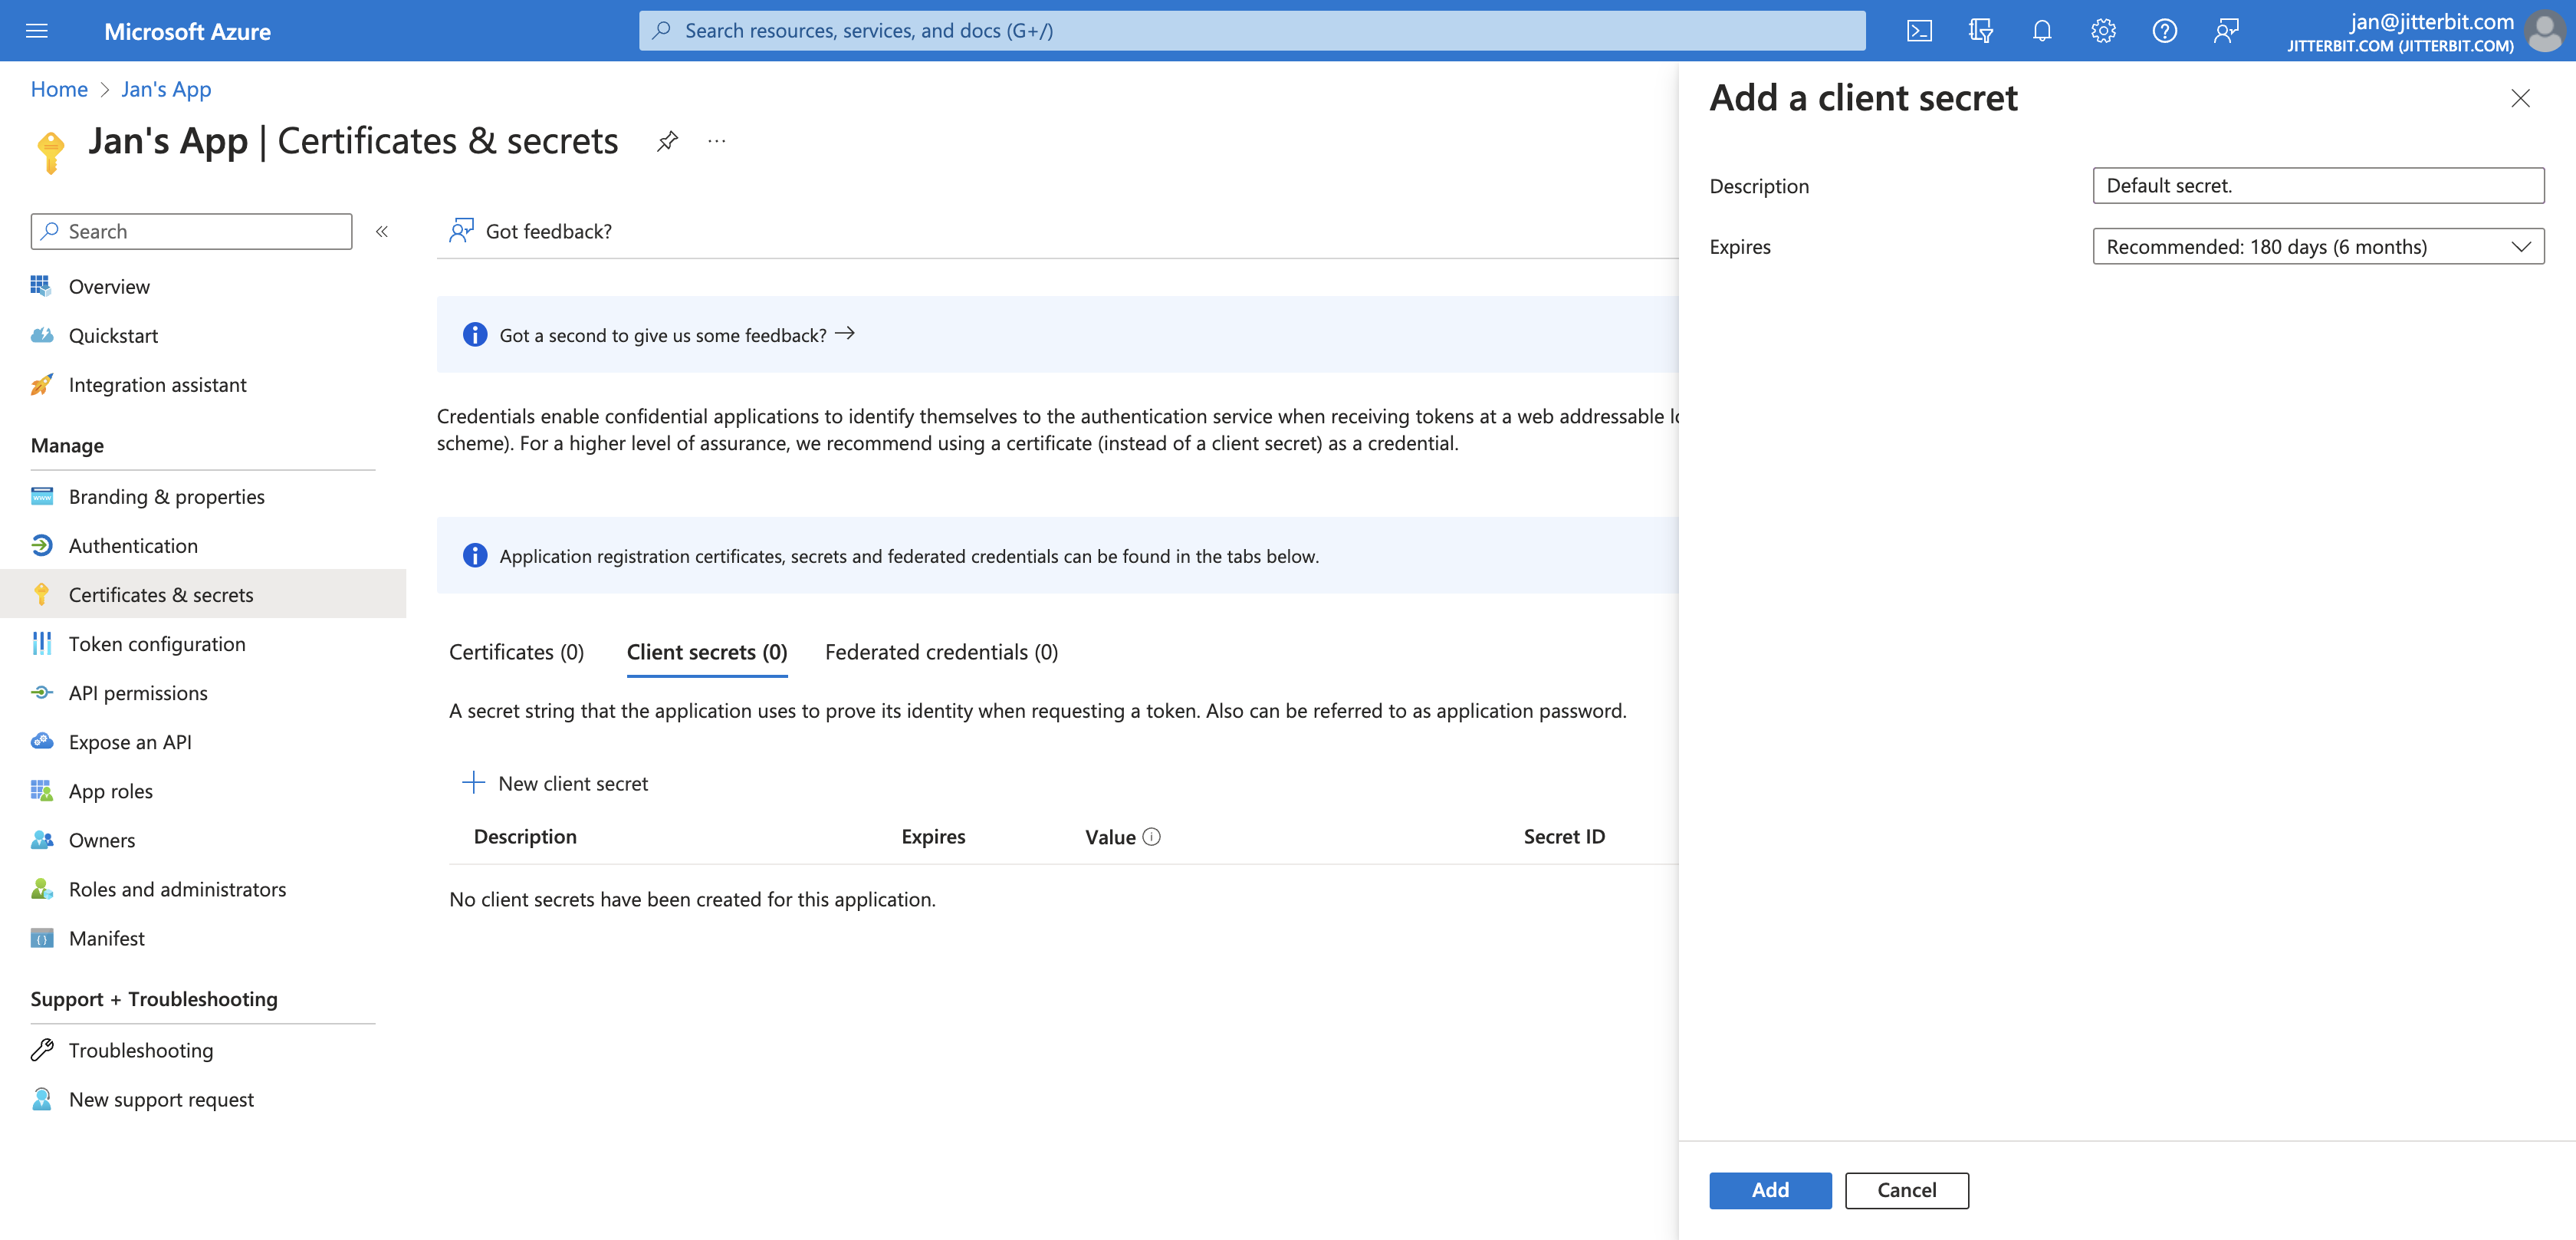
In the Client secrets tab, click New client secret to open the Add a client secret pane. In this pane, enter a description and select an expiration date for the client secret, then set, click Add:
-
The client secret is now visible in the Client secrets tab. Retain it if you want to configure a connection using the Client Credentials grant type.
Add required permissions to the app registration
Your app registration must have a specific set of permissions.
In the Azure portal, navigate to your app registration and click API permissions in the left sidebar:
Important
Depending on your Azure organization's security settings, some permissions will require admin consent to allow.
These are the permissions you will need to set:
- Dynamics 365 Business Central application permissions
- Dynamics 365 Business Central delegated permissions
- Microsoft graph delegated permissions
Dynamics 365 Business Central application permissions
To add Dynamics 365 Business Central application permissions, follow these steps:
-
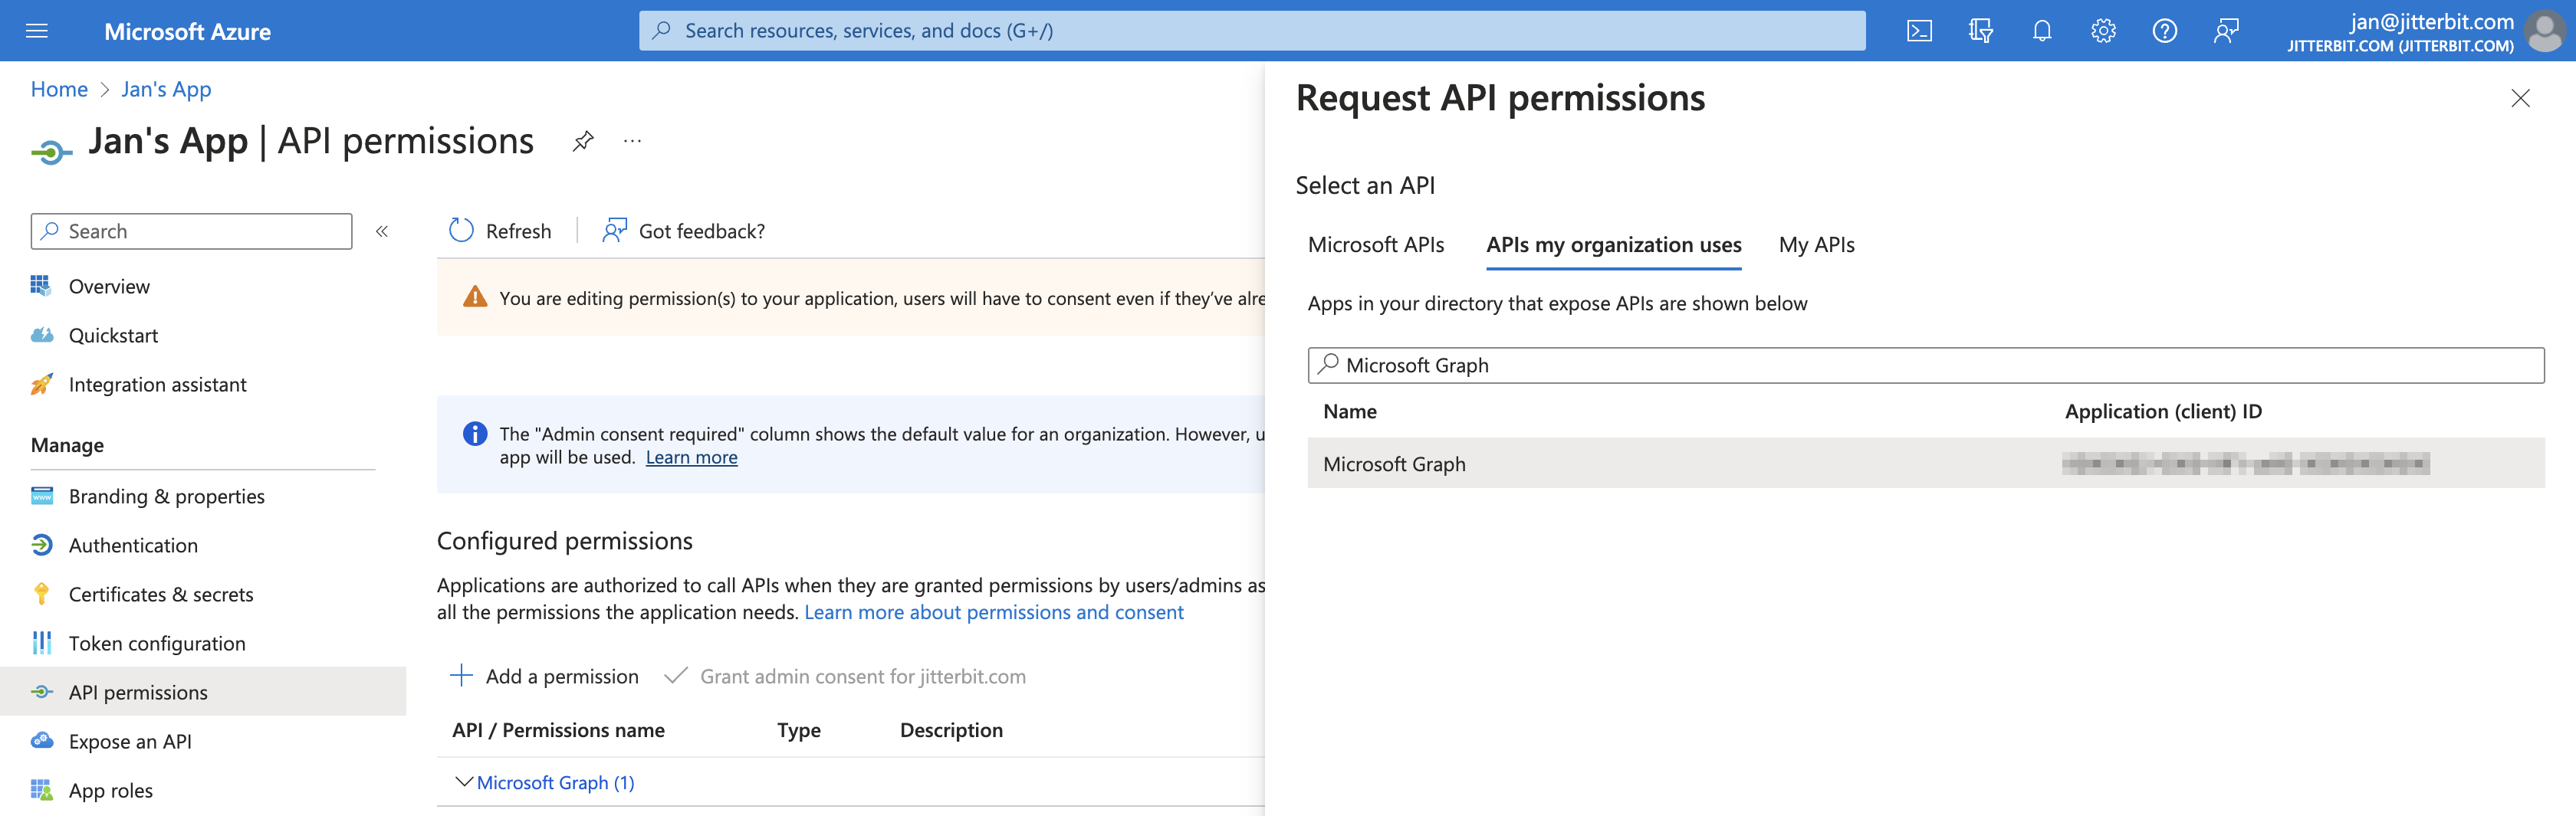
On the API permissions page, click Add a permission.
-
In the Request API permissions pane, click the APIs my organization uses tab, search for and click Dynamics 365 Business Central:
-
Click Application permissions.
-
Enable the AdminCenter.ReadWrite.All, API.ReadWrite.All, app_access, and Automation.ReadWrite.All permissions.
-
Click Add permissions. The updated app registration's Configured permissions page is shown.
Dynamics 365 Business Central delegated permissions
-
On the API permissions page, click Add a permission.
-
In the Request API permissions pane, click the APIs my organization uses tab, search for and click Dynamics 365 Business Central:
-
Click Application permissions.
-
Enable the Financials.ReadWrite.All and user_impersonation permissions.
-
Click Add permissions. The updated app registration's Configured permissions page is shown.
Microsoft graph delegated permissions
-
On the API permissions page, click Add a permission.
-
In the Request API permissions pane, click the APIs my organization uses tab, search for and click Microsoft Graph:
-
Click Application permissions.
-
Enable the Financials.ReadWrite.All and user_impersonation permissions.
-
Click Add permissions. The updated app registration's Configured permissions page is shown.
The following table summarizes the minimum set of required permissions.
| API/Permission Name | Type | Description | Admin Consent Required |
|---|---|---|---|
| AdminCenter.ReadWrite.All | Application | Full access to Admin Center API | Yes |
| API.ReadWrite.All | Application | Full access to web services API | Yes |
| app_access | Application | Access according to the application's permissions in Dynamics 365 Business Central | Yes |
| Automation.ReadWrite.All | Application | Full access to automation | Yes |
| Financials.ReadWrite.All | Delegated | Access Dynamics 365 Business Central as the signed-in user | No |
| user_impersonation | Delegated | Access as the signed-in user | No |
| User.Read | Delegated | Sign in and read user profile | No |
Once you have added these permissions, click Grant admin consent to complete the registration. Once completed, each permission should have a green checkmark.
Link the application
Next, you need to link your application to Dynamics 365 Business Central. Follow these steps:
-
Access the following URL, making the necessary replacements:
https://businesscentral.dynamics.com/{tenant_id}/{env} -
Log in.
-
Under Search Azure Active Directory, click on New. Add your application's
client_idand add a description (mandatory). -
Under User Groups, use the dropdown to select the permission you want to grant. Jitterbit recommends D365 BUS FULL ACCESS, but the minimum acceptable is D365 COMPANY HUB.
Publish objects as web services
Business Central objects must be published as Web Services in order to be accesible via the connector. To accomplish this, follow the steps outlined in the Microsoft documentation.