OData connection
Introduction
An OData connection, created using the OData connector, establishes access to OData endpoints. Once a connection is configured, you can create instances of OData activities associated with that connection to be used either as sources (to provide data in an operation) or as targets (to consume data in an operation).
Note
This connector supports the Enable Re-authentication on Change organization policy. If enabled, a change to the OData Metadata URL, Authentication, Username, or Client ID in this connection requires users to re-enter the Password or Client Secret (depending on the selected Authentication) for the connection.
Create or edit an OData connection
A new OData connection is created using the OData connector from one of these locations:
- The design component palette's Project endpoints and connectors tab (see Design component palette).
- The Global Connections page (see Create a global connection in Global Connections).
An existing OData connection can be edited from these locations:
- The design component palette's Project endpoints and connectors tab (see Design component palette).
- The project pane's Components tab (see Component actions menu in Project pane Components tab).
- The Global Connections page (see Edit a global connection in Global Connections).
Configure an OData connection
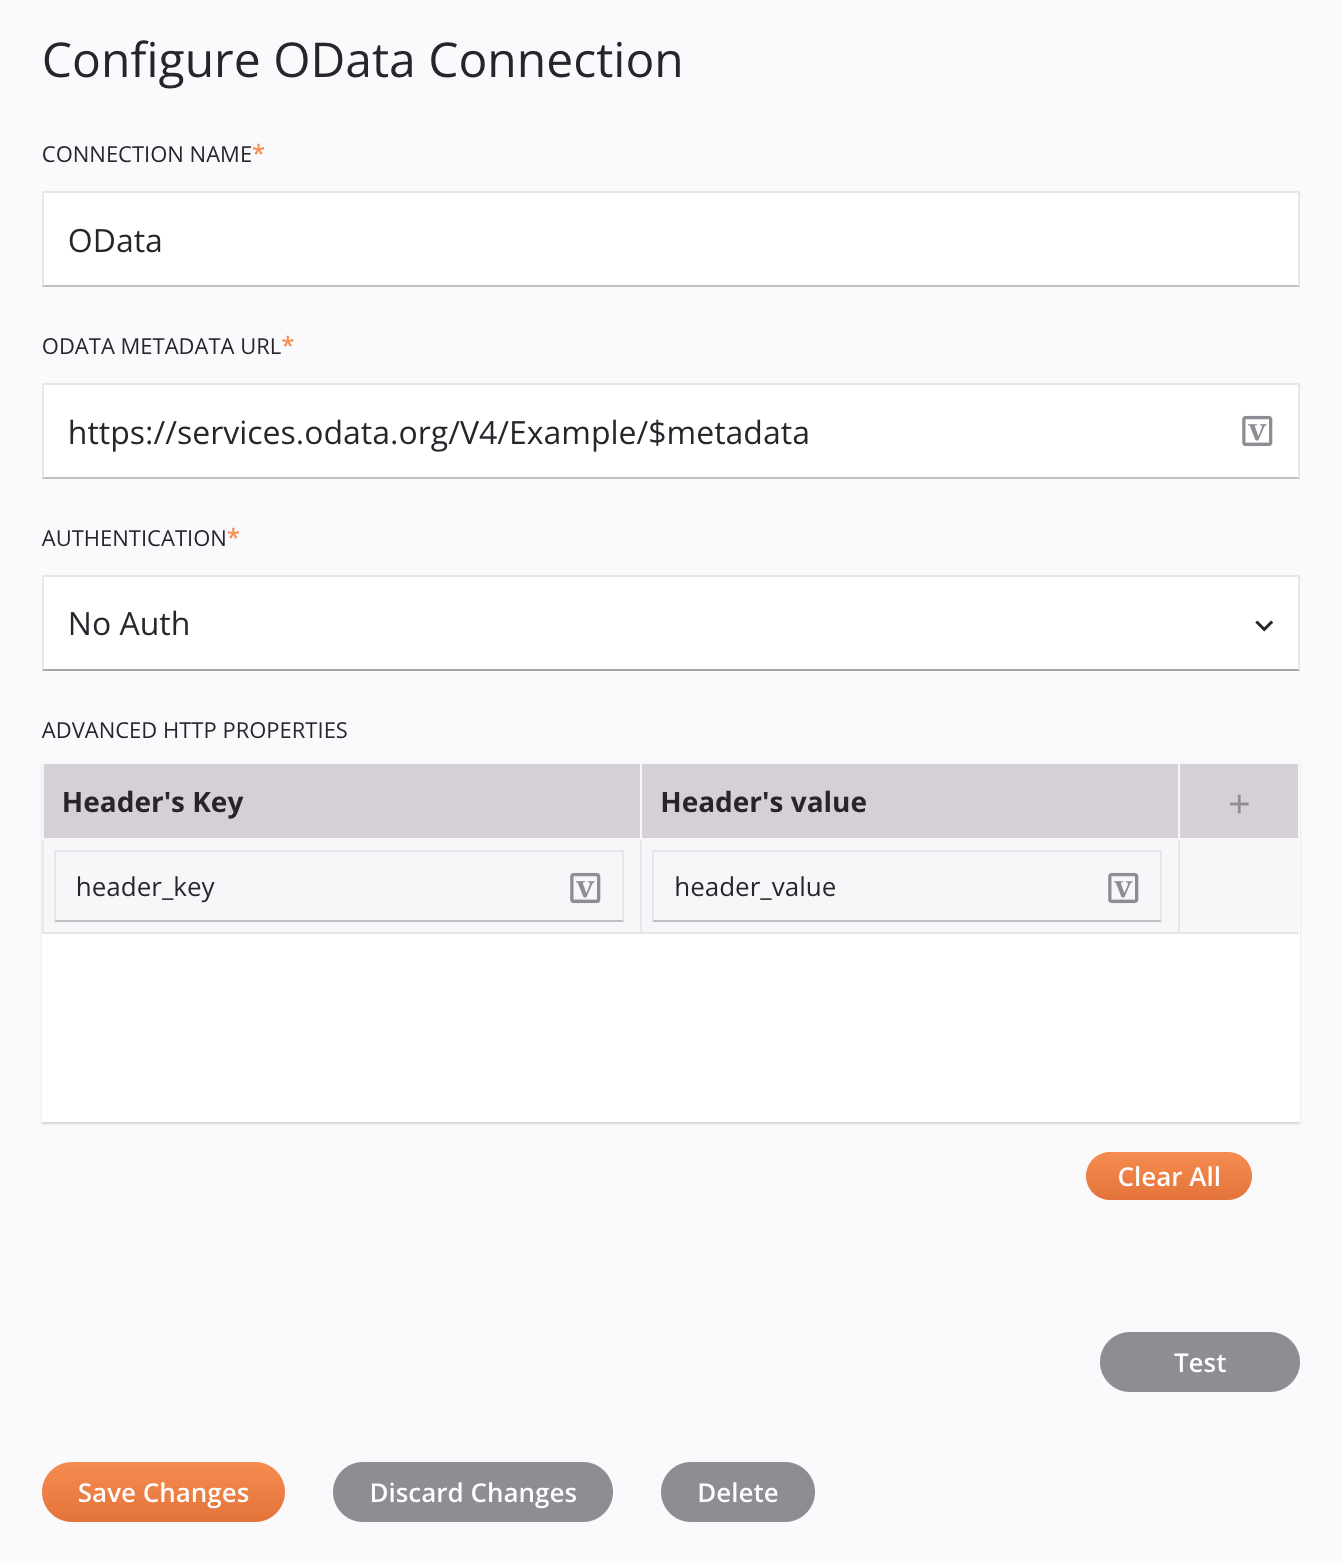
Each user interface element of the OData connection configuration screen is described below.
Tip
Fields with a variable icon ![]() support using global variables, project variables, and Jitterbit variables. Begin either by typing an open square bracket
support using global variables, project variables, and Jitterbit variables. Begin either by typing an open square bracket [ into the field or by clicking the variable icon to display a list of the existing variables to choose from.
-
Connection Name: Enter a name to use to identify the connection. The name must be unique for each OData connection and must not contain forward slashes (
/) or colons (:). This name is also used to identify the OData endpoint, which refers to both a specific connection and its activities. -
OData Metadata URL: Enter the OData endpoint
$metadataURL. -
Authentication: Select the authentication method, one of No Auth, Basic Auth, or OAuth2:
-
No Auth: Access to the OData endpoint is anonymous without authorization.
-
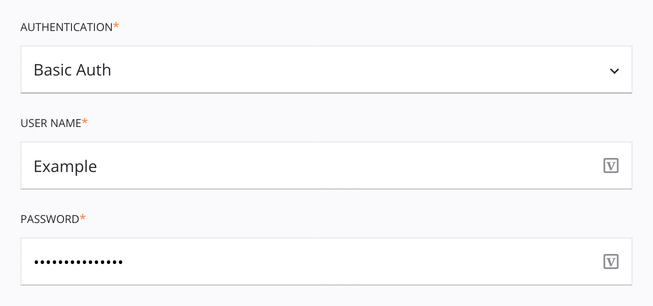
Basic Auth: Expands additional configuration options where you specify a username and password to use for basic authorization:
-
Username: Enter a valid username.
-
Password: Enter a valid password.
-
-
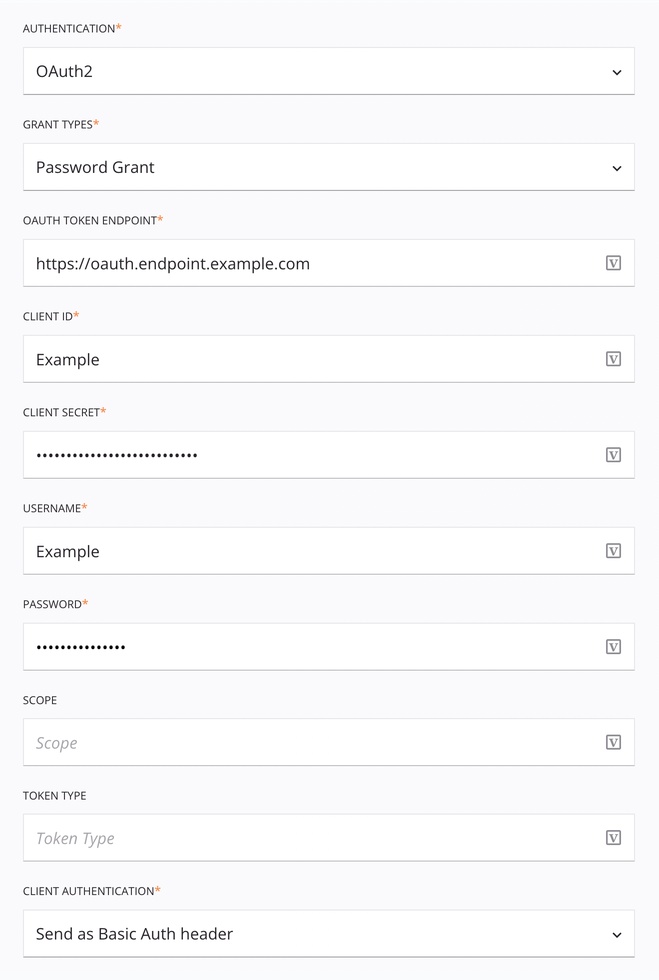
OAuth2: Expands additional options for configuring OAuth 2.0:
-
Grant Types: Select Client Credentials or Password Grant as the grant type for OAuth authentication. Client Credentials is selected by default, but users can specify an additional Username and Password if Password Grant is selected.
-
OAuth Token Endpoint: Enter the OAuth token endpoint.
-
Client ID: Enter the client ID.
-
Client Secret: Enter the client secret.
-
Username: Enter a valid username. Visible only if the Grant Type is set to Password Grant.
-
Password: Enter a valid password. Visible only if the Grant Type is set to Password Grant.
-
Scope: Enter the scope.
-
Token Type: Enter the token type.
-
Client Authentication: Select the method by which client authentication is sent in the request. Authentication can be sent as one of Send as Basic Auth header or Send client credentials in body.
-
-
-
Advanced HTTP Properties: Define HTTP headers for the connection. The OData protocol accepts standard HTTP headers defined in Rfc 2616 (section 14) as well as any custom headers specific to the endpoint. click the add icon
 to add a header to the table below and enter a key-value pair for each request parameter.
To save the row, click the submit icon
 in the rightmost column.
To edit or delete a single row, hover over the rightmost column and use the edit icon
 or delete icon
  .
.To delete all rows, click Clear All.
Note
Custom headers must be configured in the endpoint for it to accept them as part of this request. If you are using Microsoft Azure to manage your OData endpoint, see Microsoft's documentation on Custom Headers in Accessing Endpoints That Require Authentication.
Important
Fields in the Advanced HTTP Properties table display the variable icon
 only in edit mode. For these fields' variable values to be populated at runtime, the agent version must be at least 10.75 / 11.13.
 -
Test: Click to verify the connection using the provided configuration. When the connection is tested, the latest version of the connector is downloaded by the agent(s) in the agent group associated with the current environment. This connector supports suspending the download of the latest connector version by using the Disable Auto Connector Update organization policy.
-
Save Changes: Click to save and close the connection configuration.
-
Discard Changes: After making changes to a new or existing configuration, click to close the configuration without saving. A message asks you to confirm that you want to discard changes.
-
Delete: After opening an existing connection configuration, click to permanently delete the connection from the project and close the configuration (see Component dependencies, deletion, and removal). A message asks you to confirm that you want to delete the connection.
Next steps
After an OData connection has been created, you place an activity type on the design canvas to create activity instances to be used either as sources (to provide data in an operation) or as targets (to consume data in an operation).
Menu actions for a connection and its activity types are accessible from the project pane and design component palette. For details, see Actions menus in Connector basics.
These activity types are available:
-
Query: Queries object data from an OData endpoint and is intended to be used as a source in an operation.
-
Update: Updates object data in an OData endpoint and is intended to be used as a target in an operation.
-
Insert: Inserts object data into an OData endpoint and is intended to be used as a target in an operation.
-
Delete: Deletes object data from an OData endpoint and is intended to be used as a target in an operation.