Sage 300 connector
Summary
The Sage 300 connector establishes access to Sage 300.
The Sage 300 connector provides an interface for creating a Sage 300 connection, the foundation used for generating instances of Sage 300 activities. These activities, once configured, interact with Sage 300 through the connection.
The Sage 300 connector is accessed from the design component palette's Project endpoints and connectors tab (see Design component palette).
Note
This connector can be used only with private agents. In addition, it is a Connector SDK-based connector, which may be referred to by Jitterbit when communicating changes made to connectors built with the Connector SDK.
Connection documentation
In addition to the Sage 300 connection, see the comprehensive Sage 300 connection details page. Configuration details such as these are included on that page:
- Getting Started: Initial steps for establishing a connection.
- Advanced Features: User-defined views and SSL configuration.
- Data Model: The data model that the connector uses to represent the endpoint.
- Advanced Configurations Properties: Properties that can be defined to configure a connection for both basic and advanced configurations.
Activity documentation
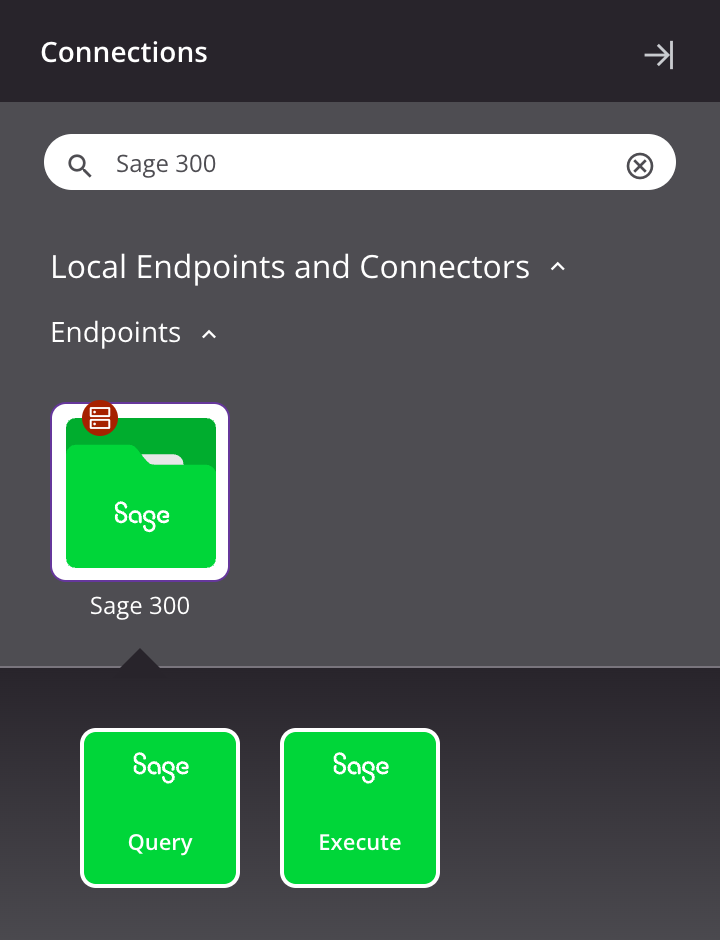
Together, a specific Sage 300 connection and its activities are referred to as a Sage 300 endpoint:
-
Query: Retrieves records from a table at Sage 300 and is intended to be used as a source in an operation.
-
Execute: Executes a procedure at Sage 300 and is intended to be used as a target in an operation.
Prerequisites and supported API versions
The Sage 300 connector requires the use of an agent version 10.1 or later. These agent versions automatically download the latest version of the connector when required.
This connector requires the use of a private agent.
Refer to the documentation for information on the schema nodes and fields.
Troubleshooting
If you experience issues with the Sage 300 connector, these troubleshooting steps are recommended:
-
Click the Test button in the connection configuration to ensure the connection is successful and to ensure the latest version of the connector is downloaded to the agent (unless using the Disable Auto Connector Update organization policy).
-
Check the operation logs for any information written during execution of the operation.
-
Enable operation debug logging for private agents to generate additional log files and data.
-
Enable connector verbose logging for this connector using this specific configuration entry of logger name and level:
<logger name="org.jitterbit.connector.verbose.logging.Sage300" level="TRACE"/> -
Check the agent logs for more information.