Create a Salesforce external ID for Jitterbit
Introduction
This page describes how to create a custom field in Salesforce to associate records with an external ID for use with Jitterbit.
Create a Salesforce custom field / external ID for Jitterbit
These steps show how create a custom field in Salesforce on the Account object to create an external ID called Jitterbit_Account_ID. The steps use the Salesforce Lightning Experience; similar steps can be applied to the Salesforce Classic view.
-
Log in to the Salesforce instance with your credentials.
-
Navigate to Setup > Platform Tools > Objects and Fields > Object Manager.
-
From the Object Manager tab, select the standard Account object.
-
From the Account object view, go to the Fields & Relationships section, and click New in the top right.
- In Step 1. Choose the field type, select Text as the data type and click Next.
- In Step 2. Enter the details, configure your new custom field as follows. Then click Next.
- Field Label:
Jitterbit_Account_ID - Length:
50 - Field Name:
Jitterbit_Account_ID
- Field Label:
-
External ID: Checked (It's essential that this be set for the field to function as an external ID.)**
- In Step 3. Establish field-level security, accept the default settings by clicking **Next.
- In Step 4. Add to page layouts, accept the defaults by clicking Save.
-
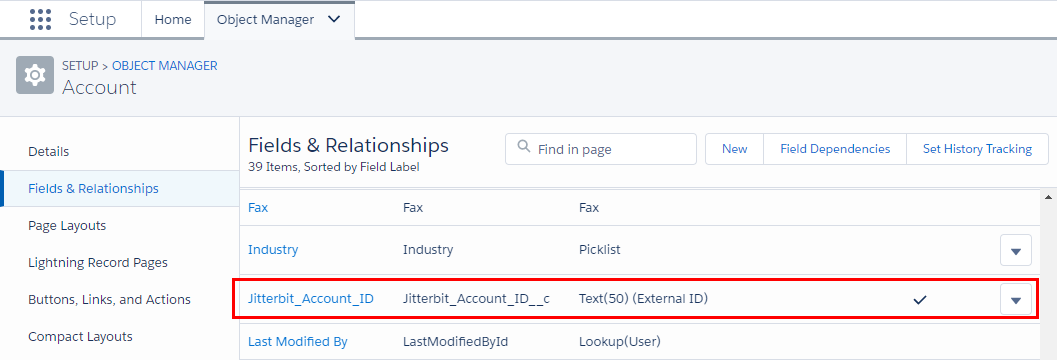
You are returned to the Fields & Relationships screen for the Account object. Verify that you see the new custom field with the same parameters as shown below:
For more information, refer to Salesforce's documentation for Create Custom Fields.