Deploy a custom fields package in Salesforce
Introduction
Salesforce custom fields can be exported from one Salesforce instance and imported into another. After you import a Salesforce custom fields package, some additional configuration is necessary to set the appropriate security and accessibility settings for the imported fields. This page describes two processes:
- Deploying a custom fields ZIP: How to import a pre-existing Salesforce custom fields package that exists as a ZIP file.
- Defining custom field security and accessibility: How to verify the deployment of a Salesforce custom fields package and define custom field security and accessibility.
A Salesforce custom fields package for import is provided as part of certain Cloud Studio process templates.
Deploy a custom fields ZIP
Follow these steps to deploy a custom fields ZIP file in Salesforce. If the Salesforce instance does not allow you to deploy a custom fields ZIP (such as due to permissions restrictions), follow the process described in Manually adding custom fields in Salesforce to create them.
-
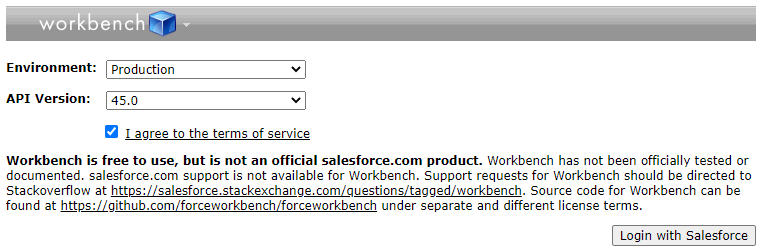
Open the Salesforce Workbench.
-
Review the Environment, specify the API Version, agree to the terms of service, and then click the Login with Salesforce button:
-
If you are not already logged in to Salesforce, the next screen prompts you to log in.
-
On the Salesforce Workbench header, hover over Migration and select Deploy:

-
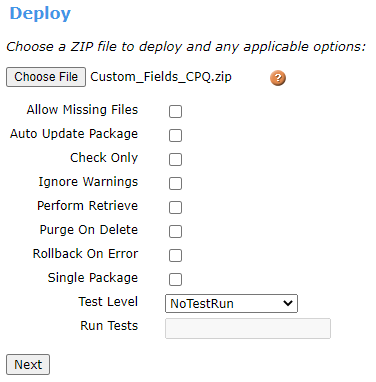
On the Deploy screen, click Choose File and browse to the Salesforce Custom Fields ZIP file. When loaded, click Next:
-
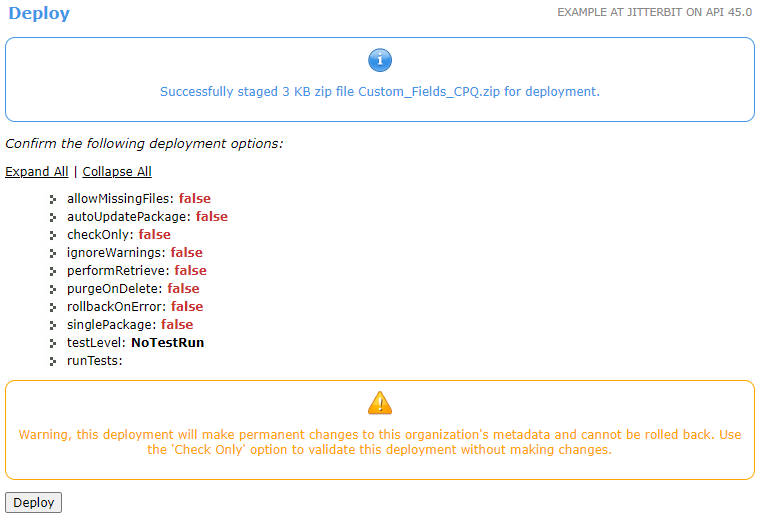
After the ZIP file has finished loading, click Deploy:
-
Review the results on the next screen, Metadata API Process Status.
Define custom field security and accessibility
Follow these steps to verify the deployment of a Salesforce custom fields package and define custom field security and accessibility using the Salesforce Classic UI. The steps are similar using the Salesforce Lightning Experience, except as noted.
-
Log in to the Salesforce Classic UI and click Setup:

-
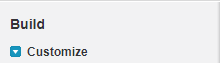
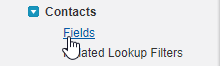
In the left sidebar under Build, expand the Customize section and then expand the object to which you want to verify that custom fields have been added. In this example, we will check a custom field for the Contacts object, so expand Contacts and select Fields:
Tip
If you do not see an object listed in the Salesforce Classic UI (such as Invoice), click Switch to Lightning Experience and use the Object Manager menu to find it.
-
On the object's Fields screen, in the bottom portion of the screen under the object's Custom Fields & Relationships section, verify that the custom fields have been added. Custom fields are identified by the suffix
__con the values in the API Name column. Click the link under the Field Label column to access a custom field's definition details.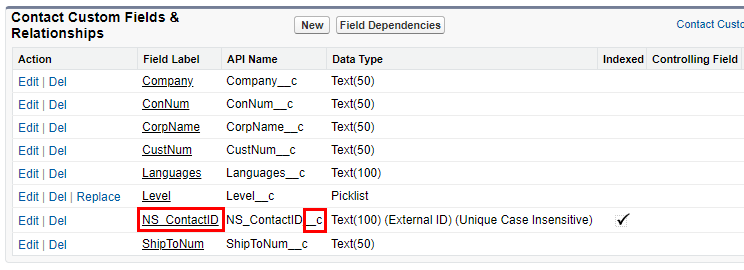
-
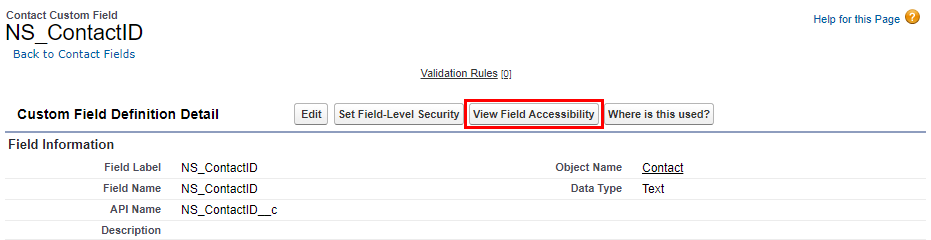
After using the link to a custom field's Field Label (in this case,
NS_ContactID), click Set Field-Level Security to define the appropriate field-level security visibility settings: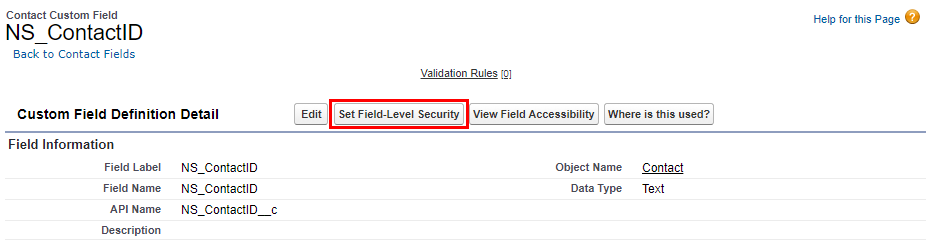
-
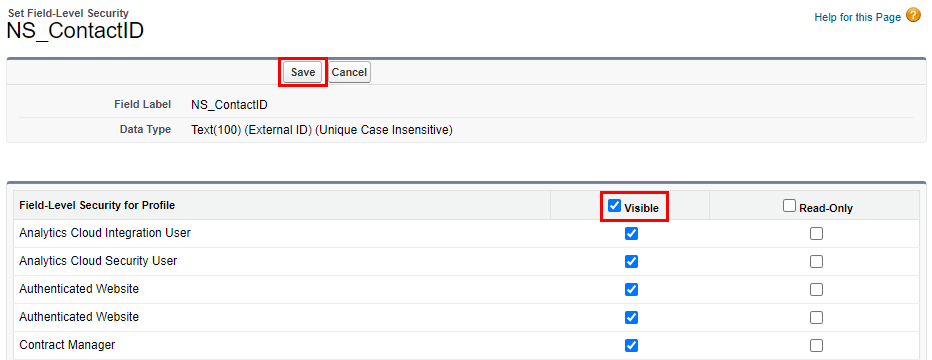
On the custom fields's Set Field-Level Security screen, define appropriate field-level security visibility settings, and then click Save:
-
This returns you to the previous screen. Then click View Field Accessibility to set the accessibility for a particular field:
-
On the Field Accessibility screen, from the dropdown select the same custom field (in this case,
NS_ContactID) from the earlier steps: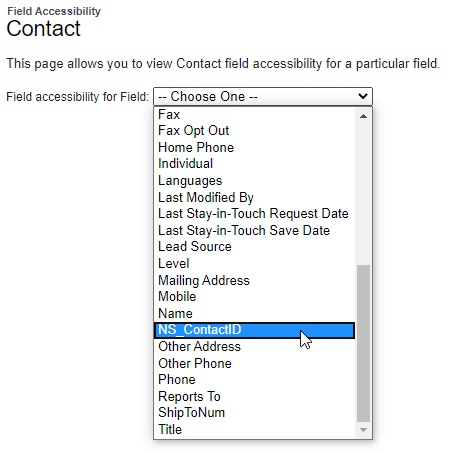
-
On the appropriate profiles, click the Hidden link in the Field Access column to modify the configuration for the Authenticated Website profile:
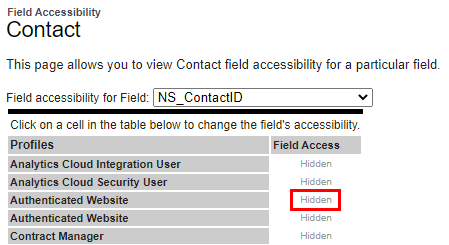
Note
If you do not find the Authenticated Website profile on the Field Accessibility screen, apply the same steps to the Analytics Cloud Integration User profile.
-
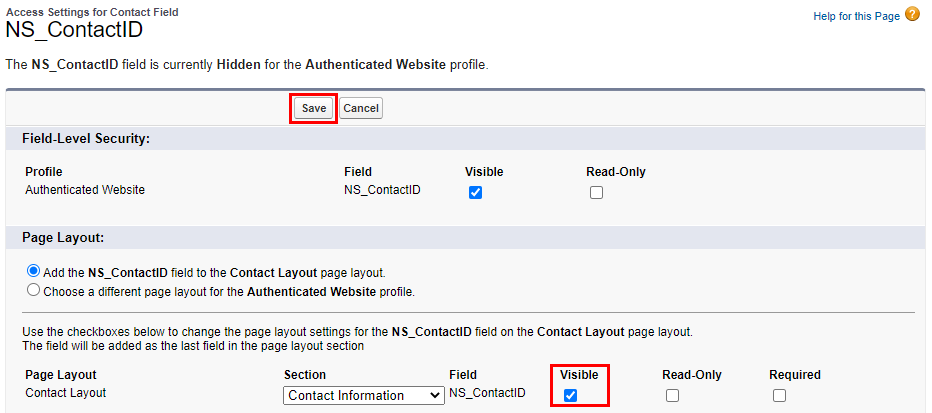
On the Access Settings screen for the field, under the Page Layout section, select the Visible checkbox and click Save to confirm the settings. You will be returned to the previous screen, where the appropriate profiles will then be shown as Editable.
-
Repeat the process for each field included as part of the Salesforce custom fields package.