Manually add custom fields in Salesforce
Introduction
This page describes how to manually add custom fields and define their accessibility in Salesforce.
A custom fields ZIP package is provided as required in each Cloud Studio process template for Salesforce, which can be imported following the process described in Deploy a custom fields package in Salesforce. If the Salesforce instance does not allow you to deploy the custom fields ZIP (such as due to permissions restrictions), follow the process described on this page to manually create them.
Manually add custom fields
Follow these steps to manually add custom fields and define their accessibility using the Salesforce Classic UI. The steps are similar using the Salesforce Lightning Experience, except as noted.
-
Log in to the Salesforce UI and click Setup:

-
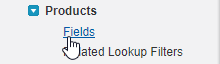
In the left sidebar under Build, expand the Customize section and then expand the object to which you want to add custom fields. In this example, we will add a custom field to the Products object, so expand Products and select Fields:

Tip
If you do not see an object listed in the Salesforce Classic UI (such as Invoice), click Switch to Lightning Experience and use the Object Manager menu to find it.
-
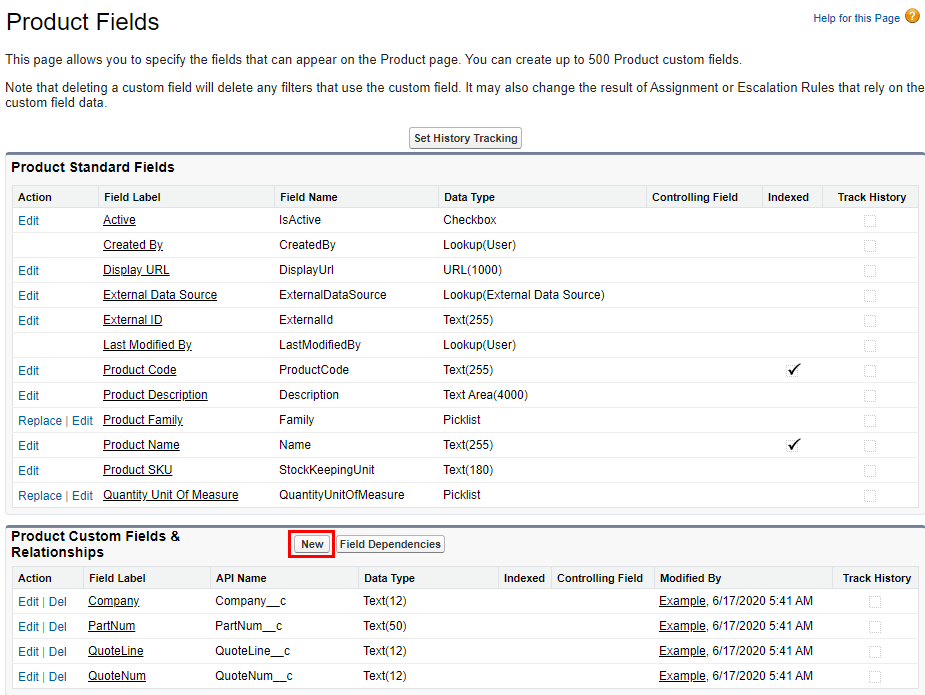
On the object's Fields screen, in the bottom portion of the screen under the object's Custom Fields & Relationships section, click New:
-
In the first step of the object's New Custom Field screen, under the Data Type section, select Text and click Next:

-
In the second step of the object's New Custom Field screen, enter a field name in Field Label (in the example shown,
NS_ItemId). Enter an appropriate number for the Length to be used as the maximum number of characters for the text field (in the example shown,100). We recommend selecting Set this field as the unique record identifier from an external system for use with Harmony integrations. Then click Next.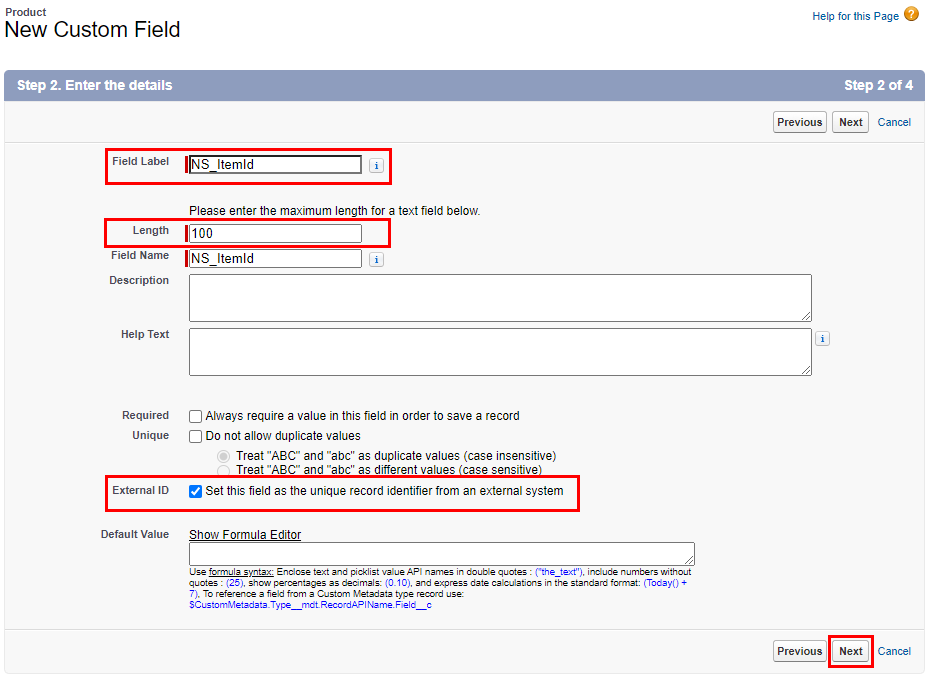
-
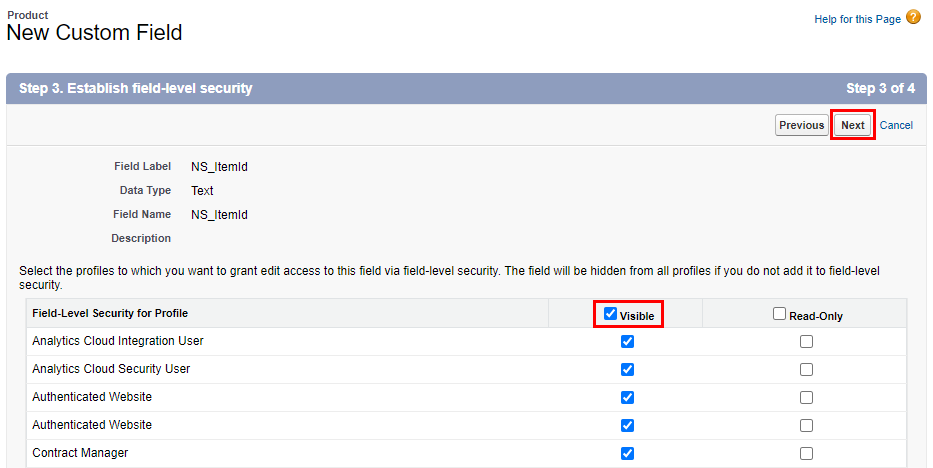
In the third step of the object's New Custom Field screen, select the profiles to which you want to grant edit access to this field using field-level security. We recommend selecting Visible for all profiles. Then click Next.
-
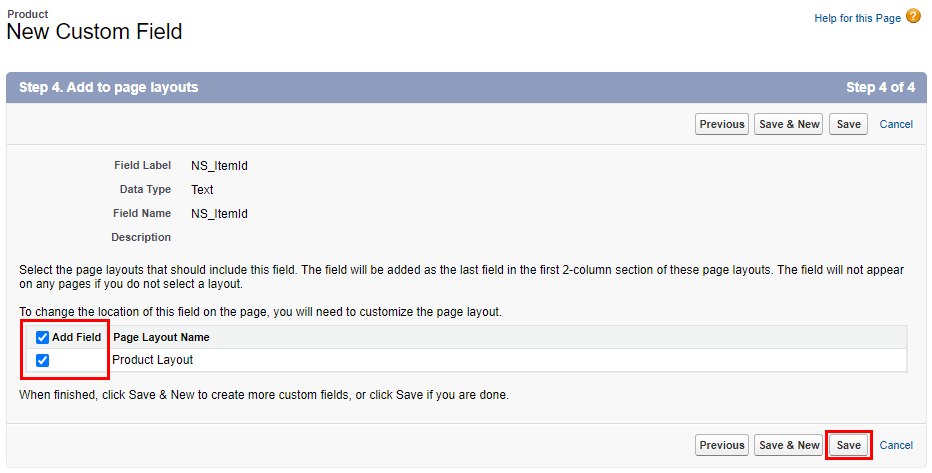
In the fourth step of the object's New Custom Field screen, select the pages to which you want to add this field. We recommend selecting all pages. Then click Save.
-
To verify custom fields have been added, return to the object's Fields screen. In the bottom portion of the screen under the object's Custom Fields & Relationships section, custom fields are identified by the suffix
__con the values in the API Name column. Then click the link under the Field Label column to access a custom field's definition details.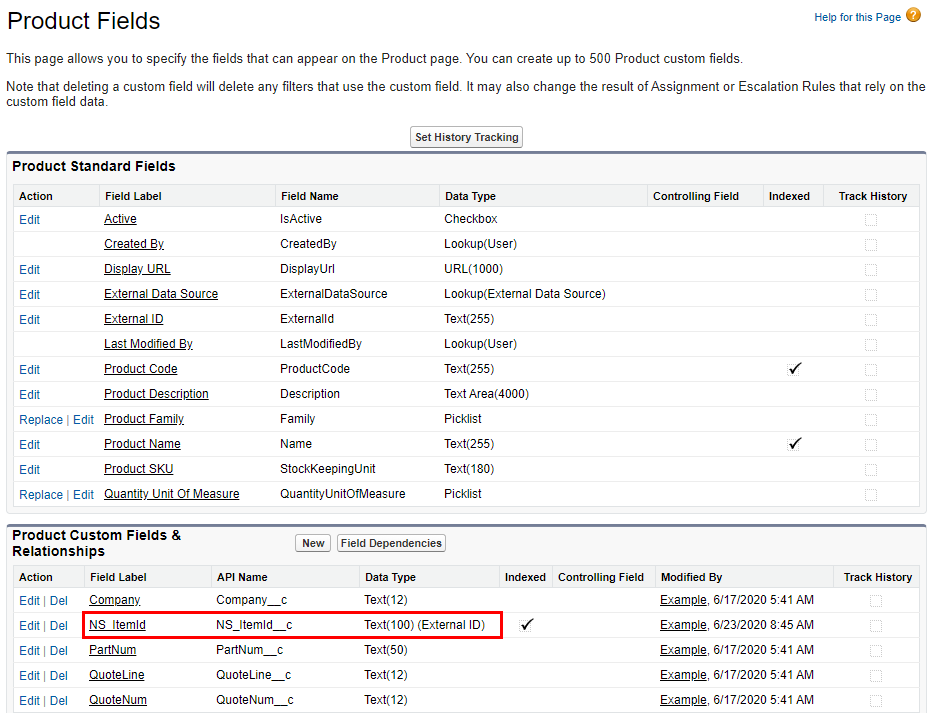
-
After using the link to a custom field's Field Label (in this case,
NS_ItemId), click View Field Accessibility to set the accessibility for a particular field: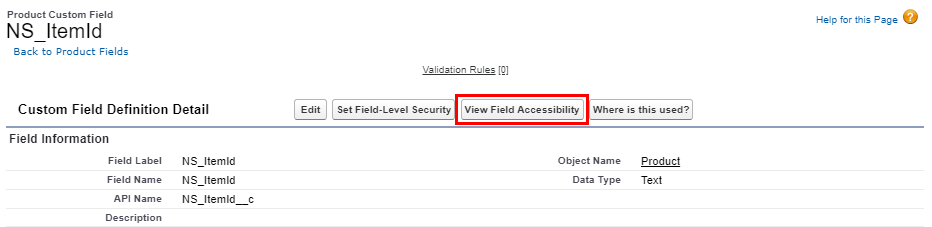
-
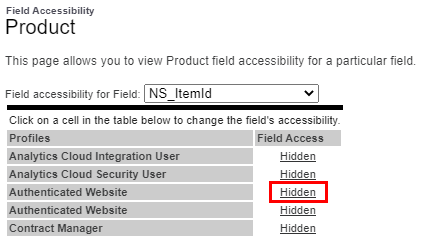
On the Field Accessibility screen, from the dropdown select the same custom field (in this case,
NS_ItemID) from the earlier steps: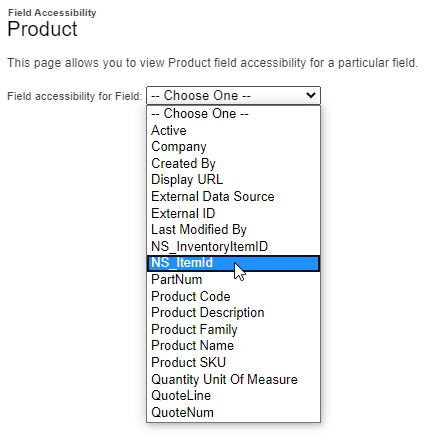
-
On the appropriate profiles, click the Hidden link in the Field Access column to modify the configuration for the Authenticated Website profile:
Note
If you do not find the Authenticated Website profile on the Field Accessibility screen, apply the same steps to the Analytics Cloud Integration User profile.
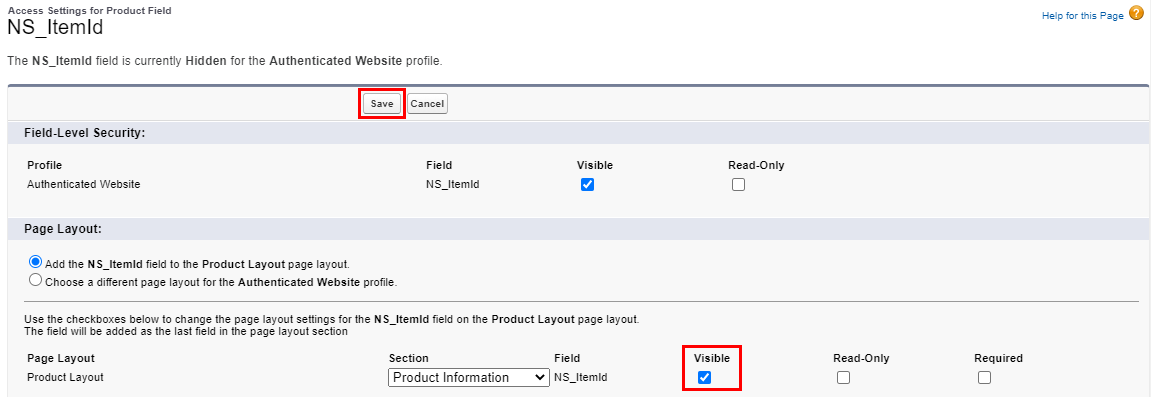
-
On the Access Settings screen for the field, under the Page Layout section, select the Visible checkbox and click Save to confirm the settings. You will be returned to the previous screen, where the appropriate profiles will then be shown as Editable.
-
Repeat the process for each field you want to add.