Project exports and imports
Introduction
You may want to export a Cloud Studio project to use as a local backup or archive, or to share a copy of the project outside of your organization. Cloud Studio project exports are in the format of a JSON file. Once you have a JSON project export, it can be imported into any organization.
Export a project
The Export or Export Project options are accessible from these locations:
- The Projects page (see Tile view or List view in Projects).
- The project toolbar (see Project actions menu in Project toolbar).
In addition, the project export screen is accessible using the Export link at the bottom of the Project Settings screen (see Edit project settings in Project creation and configuration).
On selecting Export or Export Project, the project export screen opens, where you choose the export options and generate the project as a JSON file:

-
Include Credentials: Includes in the exported project the values specified within credentials fields of project component configuration screens.
The specific configuration fields that are treated as credentials fields vary by project component. They often include fields such as passwords or security tokens. Developers of custom connectors using the Connector SDK can designate such fields with either of these attributes:
-
"secret": "true": Designates only that the field is treated as a credentials field. The field's value is encrypted in the project export. -
"widgetHint": "password": Designates that the field is treated as a credentials field and also masks the value in the Cloud Studio UI by replacing each character with a black bullet. The field's value is encrypted in the project export.
The values of project variables themselves are not treated as credentials, even if the Hide Value option is selected in the UI (see Project variables). Instead, whether project variable values are included is controlled with the Include Project Variable Values selection.
If a project variable is used in a credentials field (regardless of whether Include Project Variable Values is selected), the credentials field's
"value"is the encrypted value of the square bracket syntax representation of the project variable name and any other input, if present.When Include Credentials is not selected, the credentials field's
"value"is not included in the project export, except if a project variable is used in a credentials field. In that case, the non-encrypted clear text input of the credentials field is included. This may be of concern if the credentials field uses any other input along with the project variable, though this use case is unusual. For example, a field input of[pv_password]1234suffixwould be included in the project export as[pv_password]1234suffix. -
-
Include Email Notifications: Includes email notifications in the exported project. This option applies to all email notifications in a project, regardless of whether they are configured with operation actions to run on success, failure, or SOAP fault or if they are referenced in a script.
-
Include Project Variable Values: Includes project variable default values in the exported project.
The values of project variables configured with the Hide Value option (see Project variables) are encrypted in the project export.
-
Include Schedules: Includes operation schedules in the exported project.
-
Export: Generates and downloads the project as a JSON file. By default, the JSON file name uses the name of the project.
Note
An exported project does not retain the project history.
Import a project
To begin the import process, from the Projects page, click Import to get started:

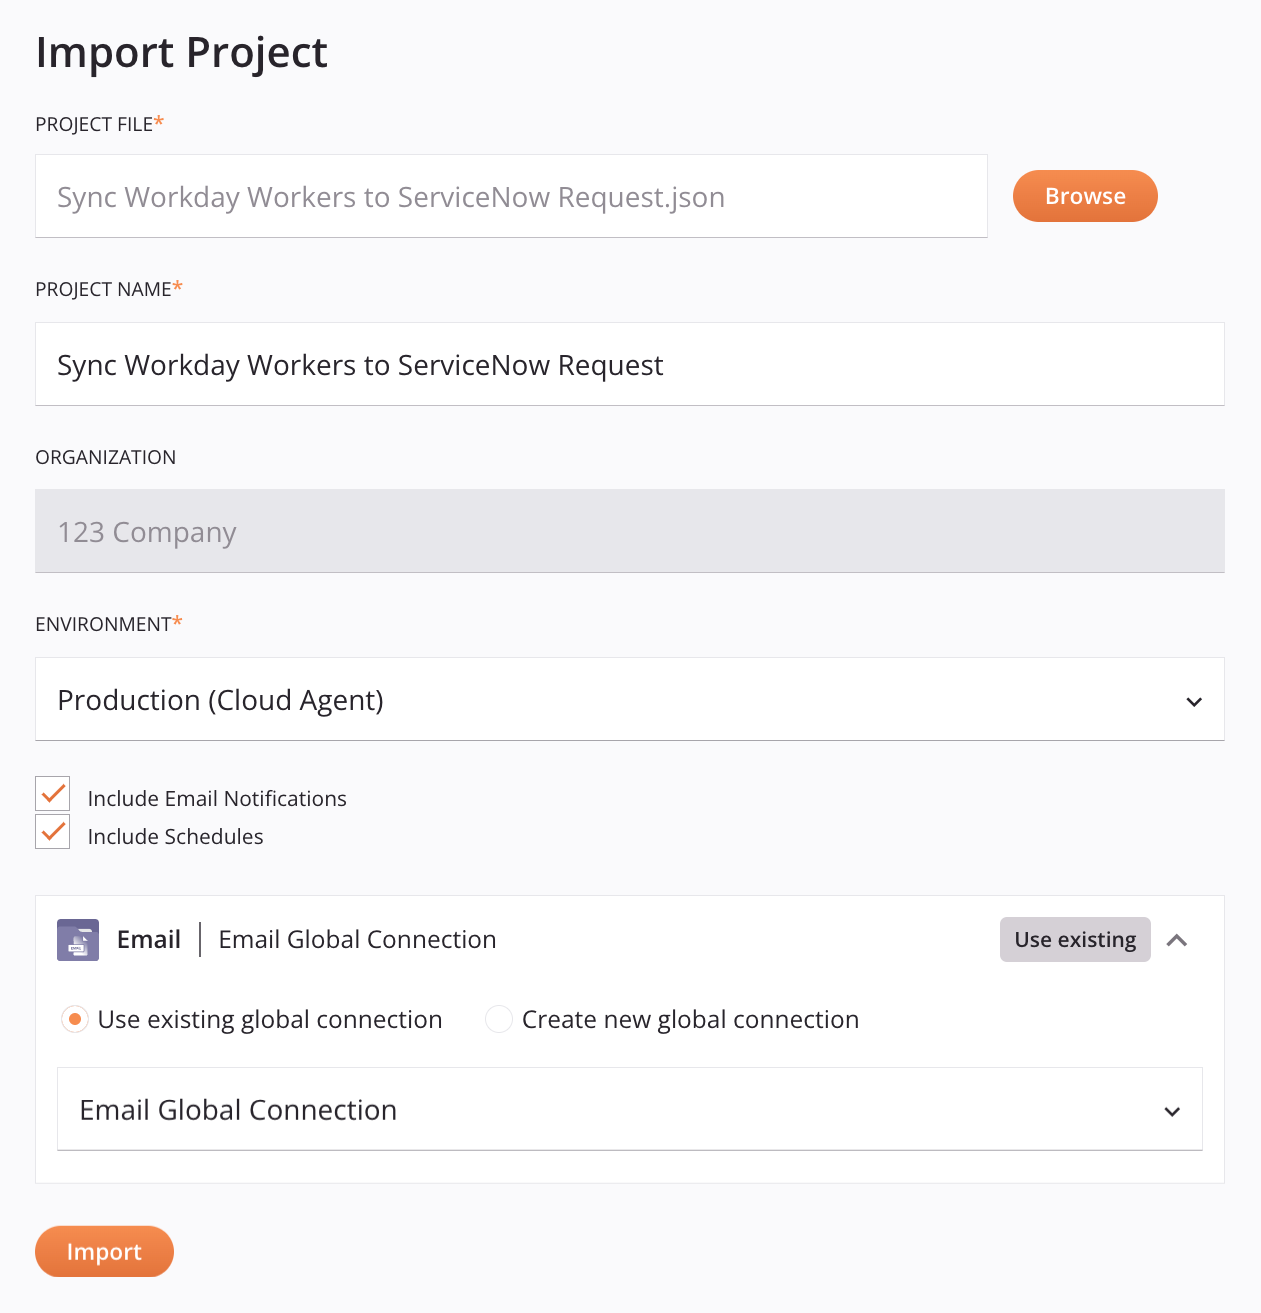
On the next screen, you import the project:
-
Project File: Use the Browse button to browse to a project JSON file that has been exported from Cloud Studio.
Tip
If the project uses any custom connectors, they must exist in the organization prior to importing the project. To export a Connector Builder connector and import it in another organization, see Connector Builder exports and imports. To install a Connector SDK connector in another organization, see Implementing a Harmony Connector.
On selecting a file, these fields become available:
-
Project Name: The project name is prepopulated from the JSON file. To use a different name, you can edit it here. The project name must meet these criteria:
-
Be unique for each environment.
-
Cannot already be in use as a Design Studio project name in the same environment.
Note
If a project with the same name already exists in the Harmony cloud, go to the Management Console > Projects page to manage the deployed project.
-
-
Organization: Use the dropdown to select the organization that you want to import the project to. If you have only one organization, it is selected by default.
-
Environment: Use the dropdown to select the environment you want to import the project into.
Caution
If the source project uses connectors that are available only on private agents, you can't import it to an environment associated with a cloud agent group. These environments still appear in the Environment dropdown, but cannot be selected.
-
Include Email Notifications: By default, if email notifications were included as part of the project when it was exported, they are included when the project is imported. This option applies to all email notifications in a project, regardless of whether they are configured with operation actions to run on success, failure, or SOAP fault or if they are referenced in a script. To exclude email notifications from being imported, clear the checkbox.
Caution
References to an email notification component in a script are not removed even if email notifications are excluded, so you may need to correct any broken references after excluding emails.
-
Include Schedules: By default, if operation schedules were included as part of the project when it was exported, they are included when the project is imported. To exclude schedules from being imported, clear the checkbox.
-
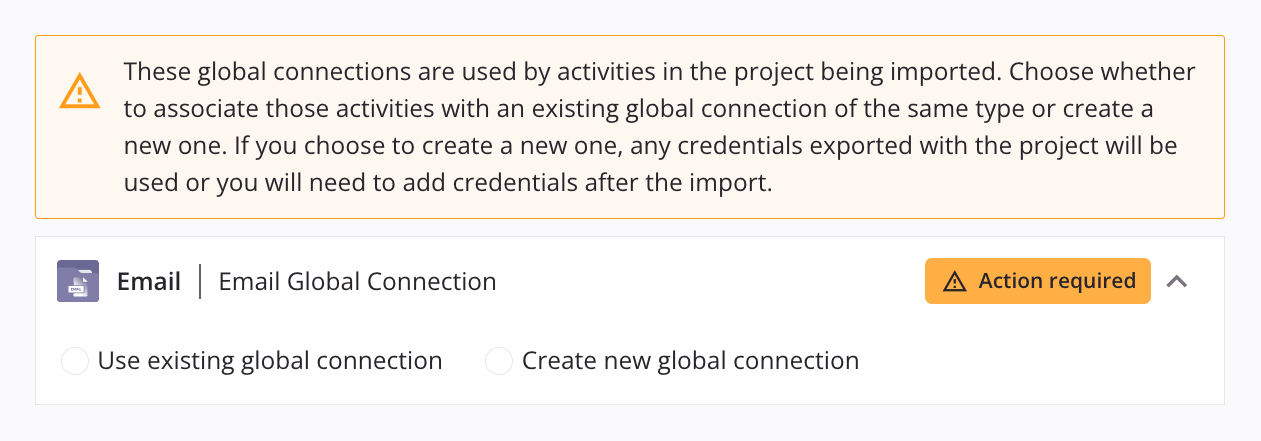
Global connections: Any global connections used by the project being imported are listed and must be added to the selected environment using either of these options:
-
Use existing global connection: Visible only when the global connection already exists in the organization. Select to add an environment endpoint to an existing global connection for the selected environment. Use the menu to select the existing global connection:
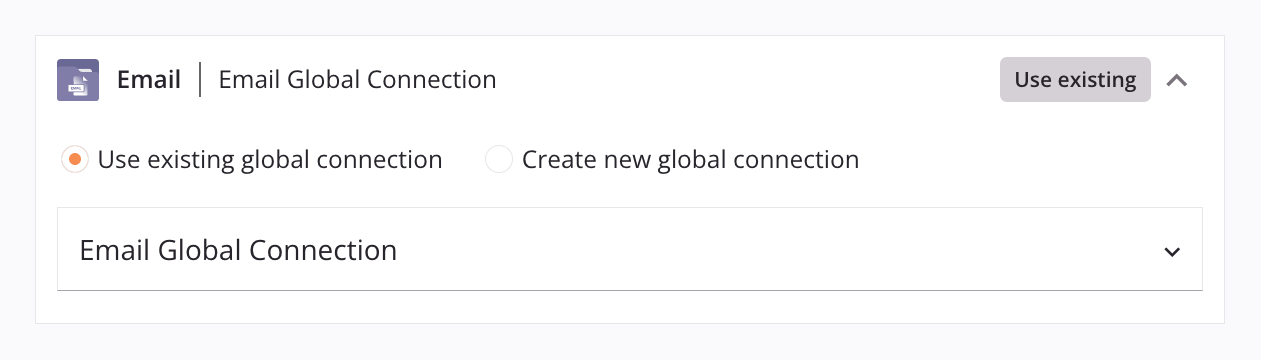
If the existing global connection already has an environment endpoint for the selected environment, the existing environment endpoint is used for the imported project. If the existing global connection does not have an environment endpoint for the selected environment, the credentials provided in the imported project are used (if applicable). Otherwise, the environment endpoint will need to be configured after the import.
-
Create new global connection: Select to create a new global connection for the organization:

When the project is imported, the global connection will be added to the selected environment and will need to be configured after the import.
-
-
-
Import: Click to import the project. If the project was successfully imported, the imported project opens on the design canvas. In addition, the new project is available from the Projects page.
After the project is imported, it is not yet deployed. When you are ready to deploy, see Project deployment.