Configuration screens
Introduction
Most project components and other areas of the user interface require configuration with user-provided input. The interface where you provide this input is referred to as the configuration screen or editor for the specific type of component or area of configuration.
Configuration screens are used throughout Cloud Studio in multiple areas of the user interface. Some elements of configuration screens that are shared by multiple areas of the user interface are described on this page.
Terminology for specific component types
Activities and connections are typically referred to as having activity configuration screens and connection configuration screens, respectively. Here are some additional examples of how the configuration screen for other components may be referred to:
- If you add a script to an operation, you would then configure the script using the script configuration screen, which is also called the script editor.
- After creating a transformation, you may define a schema manually, using the schema editor.
- You may later add a schedule to an operation, which you configure from the schedule configuration screen or schedule editor.
Configuration screen examples
Component configuration screens are unique to each type of component. In this section, examples are provided of the configuration screens for an activity and for a transformation.
Activity configuration screen
In this section, a File Share Read activity is used as an example to illustrate a typical activity configuration screen.
After creating an instance of an activity, you open its activity configuration screen and provide information such as the files you want to interact with and optional schemas. Some editors may be made up of multiple steps, requiring the user to step through the configuration, such the File Share activity editor:

Tip
If you are experiencing issues with names and passwords auto-populating in configuration fields, try adjusting your browser settings (by clearing the cache and disabling autofill) or disabling any password managers.
At the top of each activity configuration screen is a link to the configuration of the connection with which the activity is associated. To navigate to the connection configuration, click the name of the associated connection:

Many screens also include the name the component you are configuring. Depending on the component you are configuring, the displayed name may automatically update based on the user-provided name for the component or associated operation. For other components, such as activities, the name may be static and indicate a specific type of component, such as Read for a File Share Read activity:

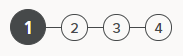
On screens that have multiple configuration steps, the step numbers are displayed, with the current step number enlarged with a dark background:
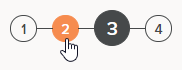
Once a step is configured, you can navigate to that step by clicking the step number. Steps that are navigable show an orange background when you hover over them and are clickable:
On initial creation, steps must be configured in sequence to fully configure and save the component using the Finished button on the last step.
On initial creation and subsequent editing, you can navigate back to any configured step using the step number or the Back link at the bottom of each configuration screen. However, making changes to a configuration of a previous step requires you to reconfigure or acknowledge each step in sequence again.
Steps that must be configured or reconfigured must be accessed using the Next button at the bottom of each configuration screen.
The full configuration of a component is saved or discarded on exiting the configuration screen.
The Next button and other buttons and links shown at the bottom of the screen are covered in the documentation of each component.
Many configuration screens have a close icon in the upper right that is used to close out of the configuration screen:
![]()
When using this method of closing a configuration screen, user input is not saved on configuration screens that use buttons to manually save input, as is the case with activity configuration screens. Other types of configuration screens, such as those for scripts and transformations, use auto-save, as indicated by the save status being listed along the top of the screen. For more information about manual save and auto-save, see Saving in Cloud Studio permissions, collaboration, and saving.
After closing a configured component that uses steps, when you reopen the component you are brought to the last step of configuration. The last step is often a review step, which enables you to review the existing configuration without needing to resubmit the configurations made in previous steps.
Within each configuration screen, required fields are indicated by a red asterisk following the field name:

The absence of the red asterisk indicates the field is optional and is not required to be filled out.
Depending on the field type, a field can be completed in different ways, including by selecting a radio button, using a dropdown, or entering input.
Fields that show a variable icon ![]() support using global variables, project variables, or Jitterbit variables. Begin typing an open square bracket
support using global variables, project variables, or Jitterbit variables. Begin typing an open square bracket [ into the field or click the variable icon ![]() to display existing variables to choose from. Once inserted, variables are displayed in a pill format in line with other text input, if present:
to display existing variables to choose from. Once inserted, variables are displayed in a pill format in line with other text input, if present:

Transformation configuration screen
The transformation configuration screen is unique in that it can be accessed in several display modes, each shown below.
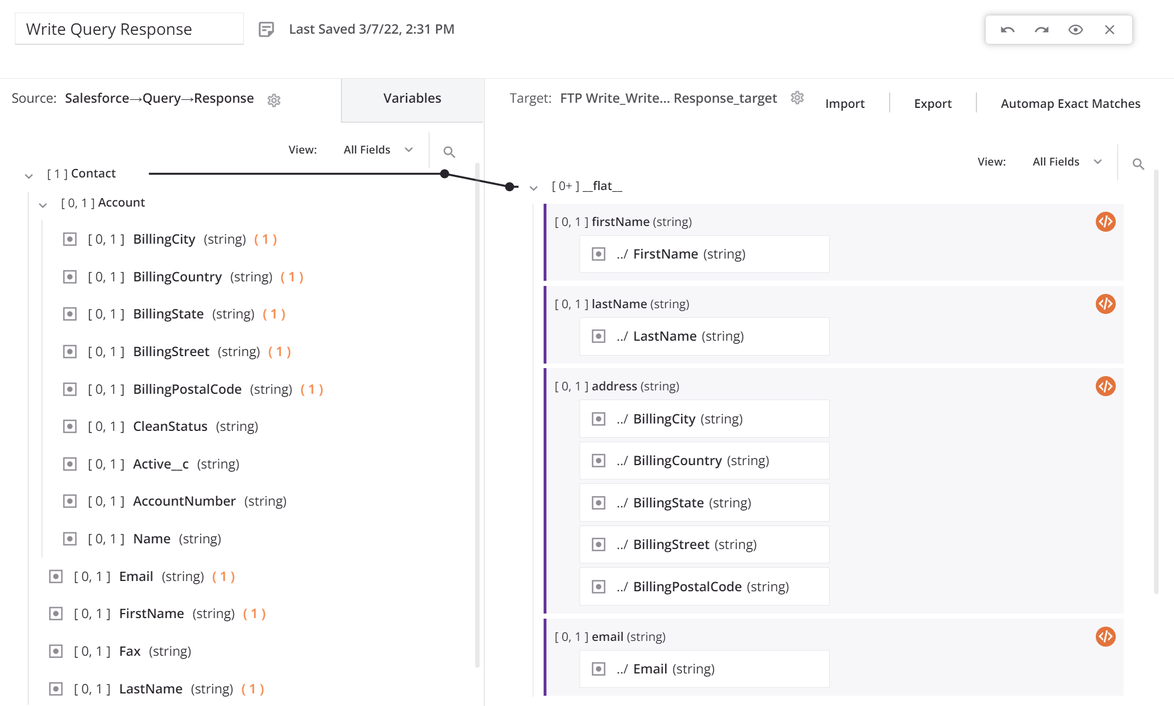
Mapping mode
Mapping mode provides an overview of the mapping and the basic tools to perform the mapping:
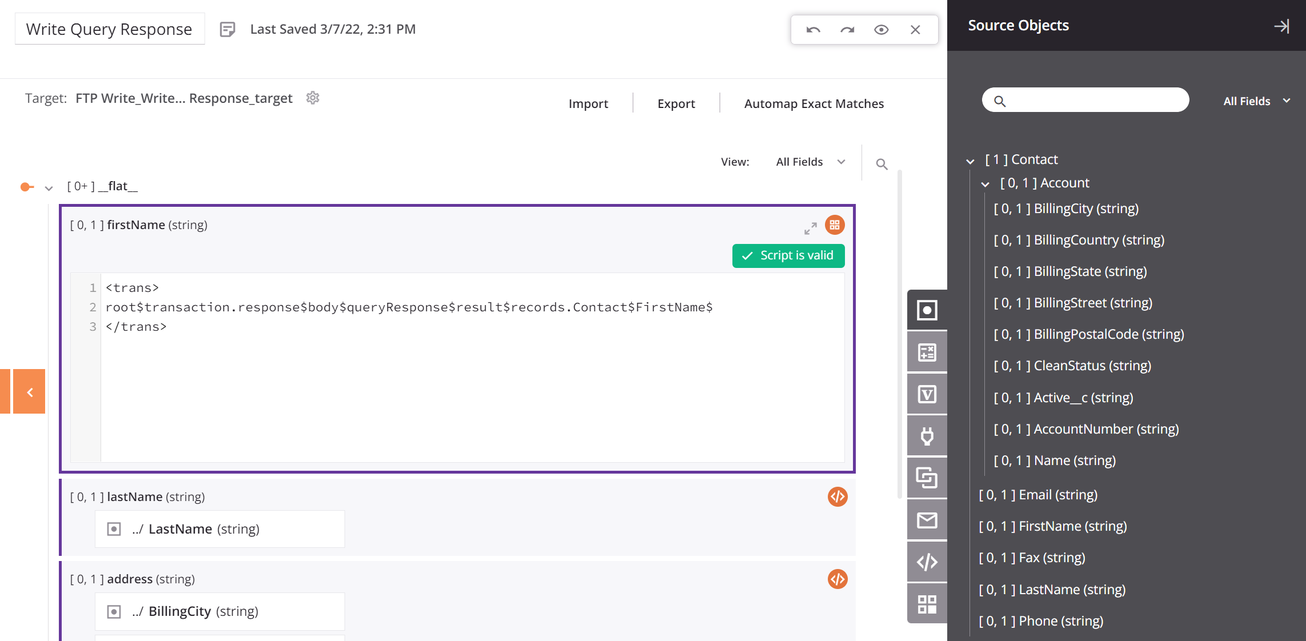
Script mode
Script mode provides detailed views of fields and advanced tools for adding scripts to the mapping:
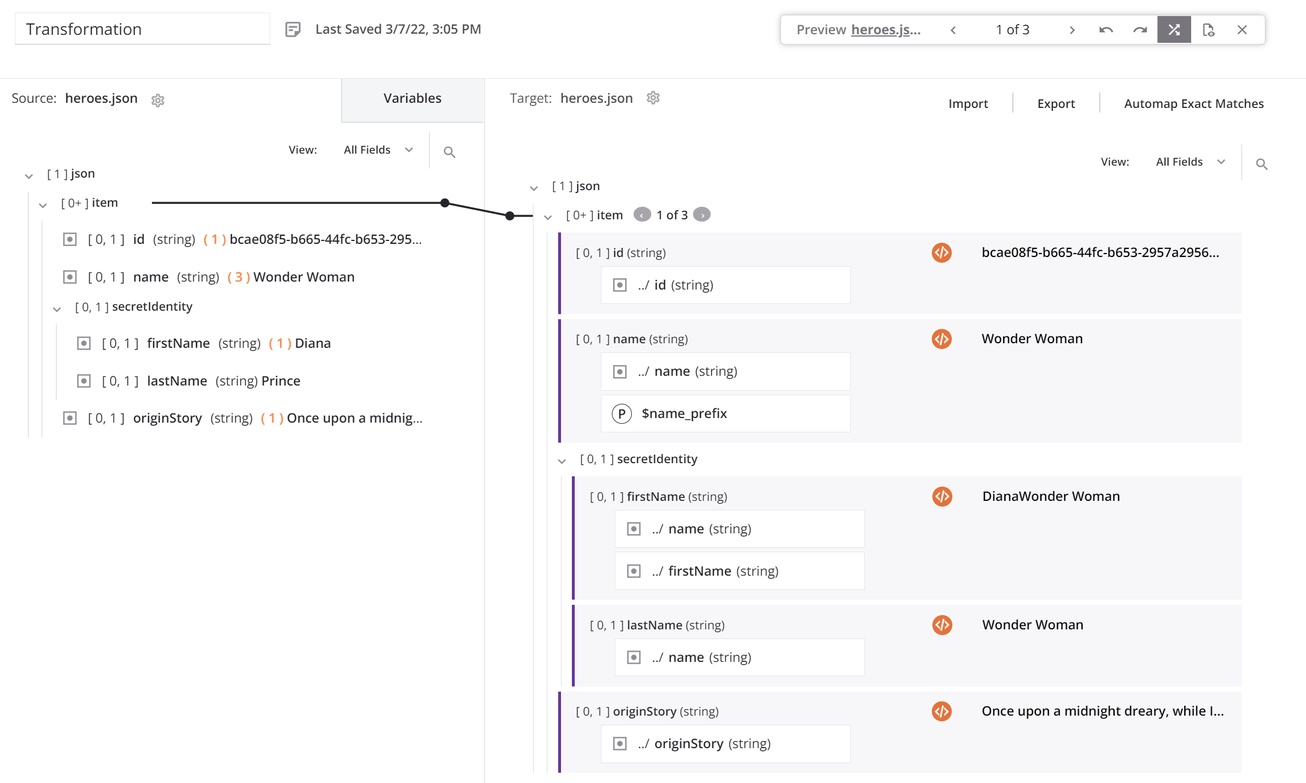
Preview mode
Preview mode allows you to use sample data to test how the transformation will process the data: