Connector Builder
Introduction
The Connector Builder page contains a repository of all accessible custom connectors created with Connector Builder.
These custom connectors are accessible:
- Any Connector Builder connectors that you have created yourself, both unpublished and published.
- If you are a Harmony organization administrator, any Connector Builder connectors that others have created in the organization, both unpublished and published.
Custom connectors developed using the Connector SDK do not appear here.
From the Connector Builder page, you can create a new connector, import a connector, or edit, delete, or export an existing connector.
Access the Connector Builder page
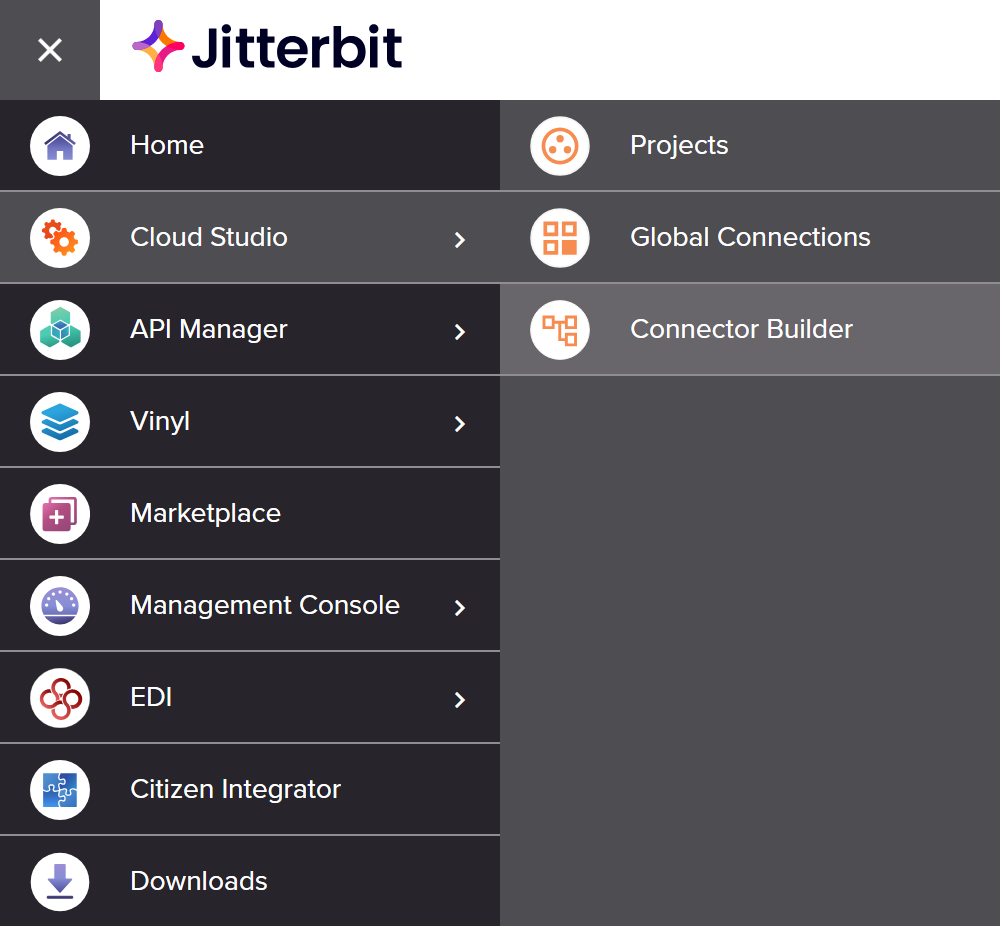
The Connector Builder page is accessed from the Harmony portal menu by selecting Cloud Studio > Connector Builder:
Connector Builder page header
The header along the top of the Connector Builder page includes the connector total, controls for the display of the page, a link to an overview video, and the ability to import or create a new connector:

- Total Connectors for the Selected Organization: The number of accessible Connector Builder connectors for the selected organization using any applied filters and search criteria. The selected organization can be changed in the top navigation bar (see Changing the selected organization in Harmony portal).
- View: Click the tile view or list view icon to toggle the format used to display connectors on this page. Tile view is the initial default view. The next time you load the Connector Builder page, the last selected view is preselected.
- Search: Enter any part of the connector name into the search box to filter the connectors by name. The search is not case-sensitive.
- Connector Builder Overview: Click to access a link to the Connector Builder Overview video.
- Import: Click to open the Connector Builder import screen, where you can import Connector Builder connectors in JSON format (see Connector Builder exports and imports).
- New Connector: Click to open the connector configuration screen, where you can create a new Connector Builder connector (see Connector Builder creation).
Tile view
To access tile view, select the tile view icon:
![]()
Tile view displays connectors as tiles. Each tile has a front and a back that can be "flipped" over to reveal additional connector information and actions. The front is displayed by default. The back is displayed on hovering over the tile:
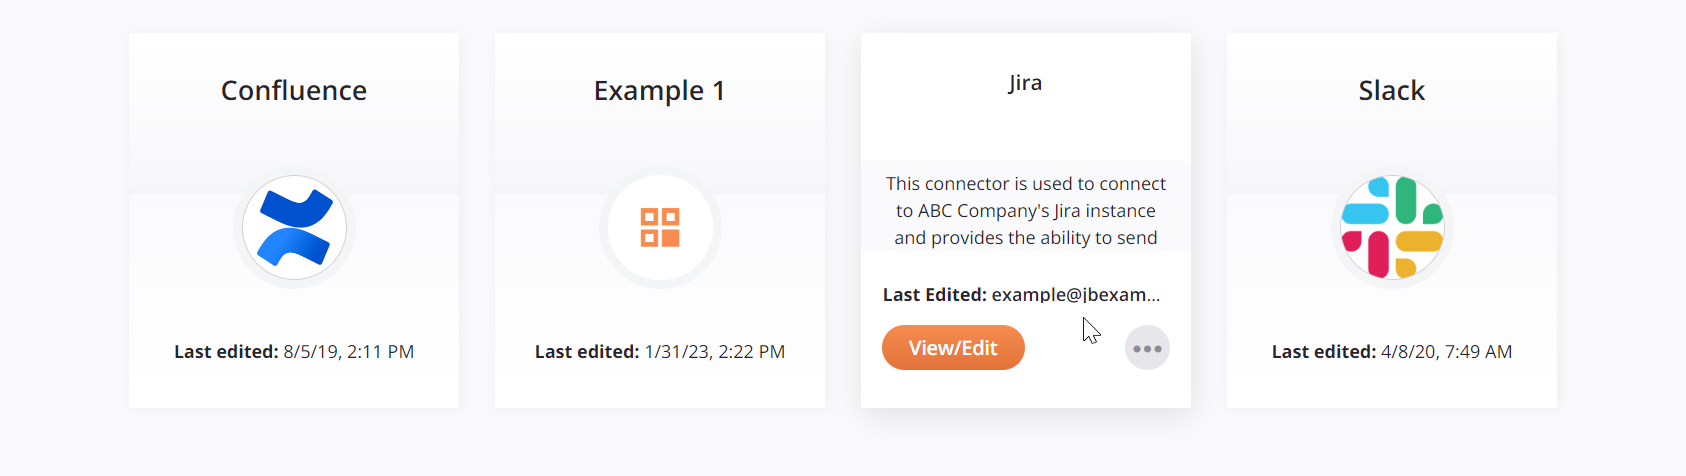
- Front: The front of the tile shows the connector display name, connector image, and last-edited local browser date and time.
- Back: The back of the tile shows the connector display name, connector description, and username of the user who last edited the connector. In addition, these actions are available:
- View/Edit: Opens the connector creation screen (see Connector Builder creation).
-
Actions: Click the actions menu icon
 to open a menu with additional actions:
-
Delete: Permanently deletes the connector (see Delete or unpublish a connector in Connector Builder creation).
-
Export: Generates and downloads the connector as a JSON file (see Connector Builder exports and imports).
-
List view
To access list view, select the list view icon:
![]()
List view displays connectors in a table, with each column described below. Each column except for the Actions column can be sorted by clicking the column header. Additional actions in the Actions column are displayed by hovering over the connector row:

- Connector Name: The name of the connector as entered during connector creation. Click the name to open the connector creation screen (see Connector Builder creation).
- Connector Display Name: The display name of the connector as entered during connector creation.
- Version: The version as entered during connector creation.
- Created Date: The local browser date and time the connector was first created.
- Created By: The username of the user who created the connector.
- Edited Date: The local browser date and time the connector was last edited.
- Published Date: The local browser date and time the connector was last published.
- Published By: The username of the user who last published the connector.
- Actions: Hover over the connector row to reveal additional actions:
- Edit: Click the edit icon
 to open the connector creation screen (see Connector Builder creation).
 - Description: Click the description icon
 to view the connector description.
 - Additional Actions: Click the actions menu icon
 to open a menu with additional actions:
- Delete: Permanently deletes the connector (see Delete or unpublish a connector in Connector Builder creation).
- Export: Generates and downloads the connector as a JSON file with the connector metadata (see Connector Builder exports and imports).
- Edit: Click the edit icon