Configure proxy settings for Jitterbit Cloud Data Loader
Introduction
Data Loader can be configured to use a proxy server. The application has a built-in utility that helps with changing proxy settings.
Note
If proxy configuration is required, contact your network administrator or third-party network vendor to request the correct proxy settings if they are not already known.
Configuration
-
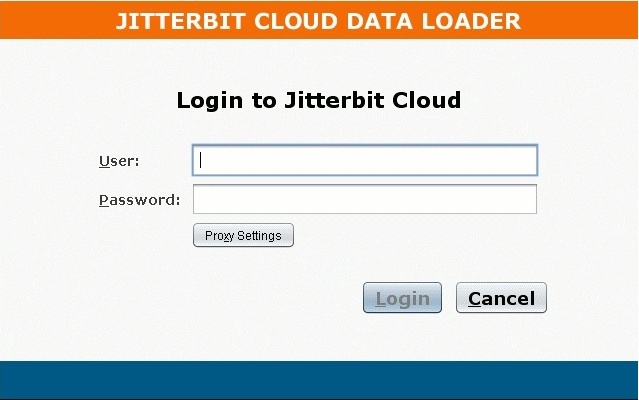
Launch Data Loader:
-
Click the
 button. The Proxy Settings dialog displays:
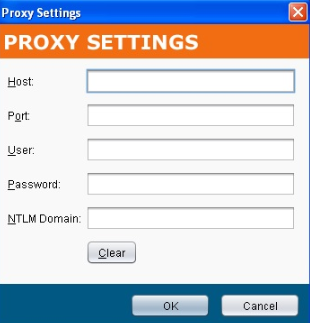
-
Host: Enter the address or hostname for the proxy server. For example,
192.001.001.001. -
Port: Enter the port for the proxy server.
-
User: Enter the username if one is used to access the proxy server.
-
Password: Enter the password if one is used to access your proxy server.
-
NTLM Domain: Enter a NTLM domain name if it is required for the proxy server.
-
Allow unverified certificates used by the proxy: Select to bypass certificate validation.
-
-
Click the OK button to save the proxy settings.
Note
For additional support go to Jitterbit Community for Cloud Data Loader.