Run a Salesforce query in Data Loader
Introduction
This page describes how to run a Salesforce query using Data Loader. To demonstrate, we use the example of querying the Salesforce object "Folder" in order to obtain its Salesforce 18-character ID, or long ID.
Begin a new query
Within the Cloud Data Loader, begin a new Query operation. There are several ways to start a new Query:
- In the Getting Started tab, click the Query button.
- In the Project Explorer under Data Operations, expand Queries and double-click on New Query....
- Click the Wizard Wand icon and select Query.
- Go to File > New > Jitterbit Connect > New Query.
Enter Salesforce credentials
After beginning a new Query, you will be brought to the Login screen.

-
Enter your Salesforce credentials.
Note
Your Salesforce credentials will prepopulate if you have already saved the connection details within the Cloud Data Loader.
-
Click Test Salesforce Login to confirm you have a successful connection.
-
Click Next to continue.
Select Salesforce object
You should now be on the Query screen.

-
Under Select The Salesforce Object, select the object within Salesforce that you want to query. The object may be standard within Salesforce or custom-defined.
Example
In the example, our goal is to obtain the long ID of the standard Salesforce object Folder. Therefore we select the object Folder.
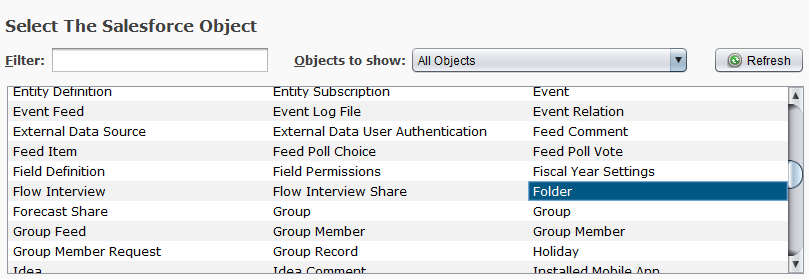
-
Click Next to continue.
-
Under Build Your Salesforce Query, select the fields you want to query.
Example
For this example, we will Select All to select all available fields for the Salesforce query.
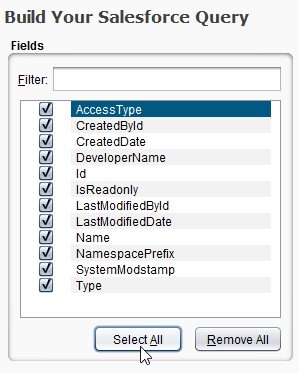
-
Click Next to continue.
Set target location for queried data
You should now be on the Target screen.

-
Under Select Where You Want To Put Your Data, specify where you would like the data from the query to go.
Example
In the example, we will choose Local File to save the output locally, and browse to a target folder called TEST located on the C drive of the local machine. The name of the output file will be book2.csv.
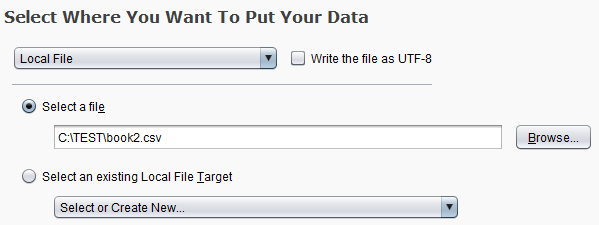
-
Click Next to continue.
-
Under Select a File Format, you can create a new file format or select an existing one.
Example
In our example, we will create a file format with the fields from the query.
Note
All query files will be in a CSV format.
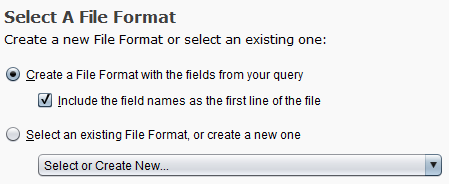
-
Click Next to continue.
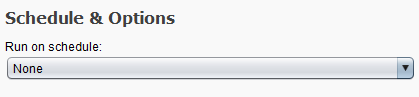
Define schedule and options
You should now be on the Schedule screen.

-
Under Schedule & Options, use the dropdown to select None for no schedule or Create New... to define schedule parameters.
Example
The example is for a one-time query, so we will select None.
-
Click Finish to complete the query setup.
Run query and check results
You should now see the query you have just set up appear in the tab Queries. This provides a summary of all the elements defined with the Query Wizard.
-
Look over the query and if you want to change any items, you can do so here by clicking Edit next to the line you want to change.
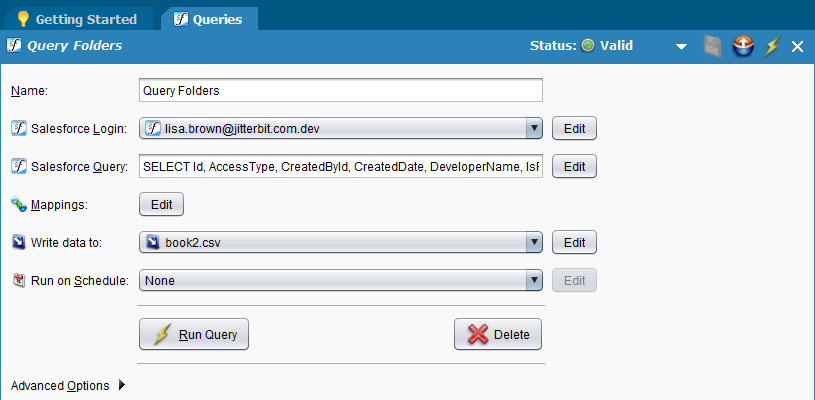
-
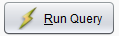
Click the Run Query button to run this query.
You should see the operation running in the Operation monitor at the bottom of the screen.

If the operation was successful, a green checkmark will appear under the Status column.

-
With the query completing successfully, now go to the location where you specified the queried data to be saved. Here, you can view the results of the query.
Example
In our example, we saved the query results to C:/TEST/book2.csv. Opening the CSV reveals that the 18-character Salesforce ID of "Test Folder" is 00l41000000UfunAAC.

For additional support, go to Jitterbit Community for Cloud Data Loader.