Create a new project in Jitterbit Design Studio
Introduction
This page describes how to create and configure a new project and open an existing project in Jitterbit Design Studio. A project is a collection of one or more operations that execute an integration use case. Projects serve as a container for operations, as well as other project items.
Prerequisites
Before you can create a project, an organization administrator (user with Admin permission) must have completed the following:
-
Set up at least one environment. Projects are deployed to an environment in Harmony.
-
Assigned the environment to an agent group. If you are not using a Jitterbit Production Cloud Agent Group, you will need to install a private agent and create an agent group.
-
Created a minimum of one user, role, and member within the Harmony organization.
Create a project
-
Open the Design Studio application. Sign in using the credentials created when you joined the organization during the signup process through the Harmony website.
-
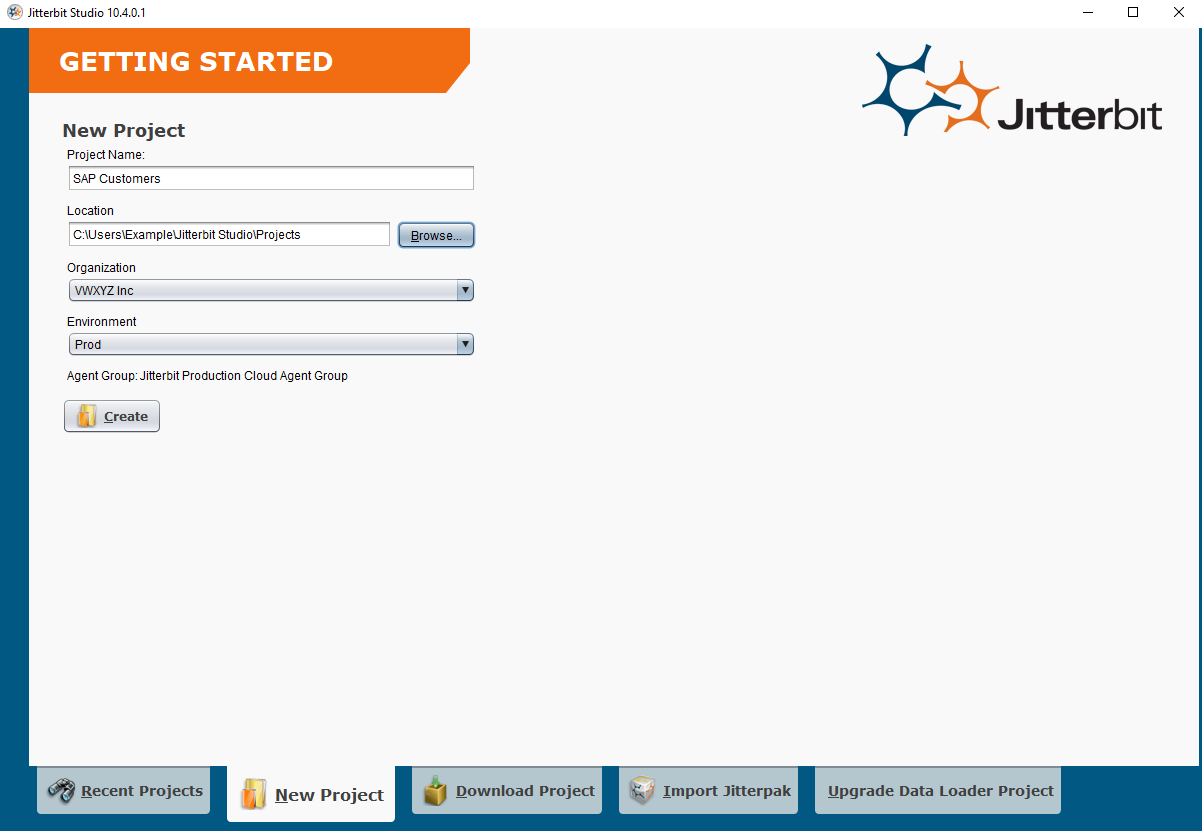
The Getting Started screen displays. In the bottom tab portion of the screen, click New Project:
-
Project Name: Enter a name to use to identify the project. The project name must be unique for each environment, and cannot already be in use as a Integration Studio project name in the same environment.
-
Location: This is the location where the project files are stored on your local machine. Leave the default location.
-
Organization: This is the Harmony organization the project resides in. If you are a member of multiple organizations, select the appropriate organization from the dropdown.
-
Environment: Use the dropdown to select an existing environment where you want to create the project.
-
Create: Click this button to create the project and open the design workspace.
-
-
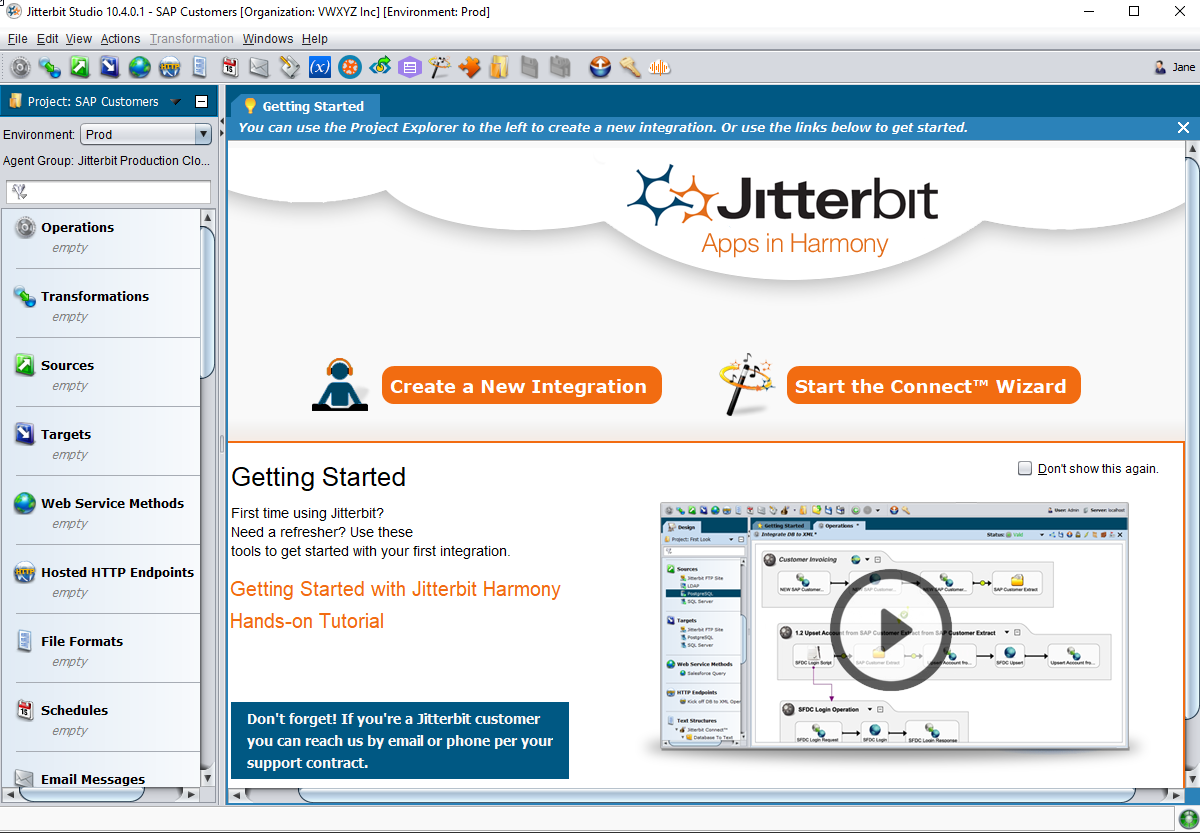
Once the new project has been created, the screen should be similar to this image. The design tree panel on the left side of the Design Studio shows the different parts of the integration project: operations, transformations, scripts, etc.:
-
Next Step: See Creating an operation to start building the integration use case.
Open an existing project
Open the Design Studio application. Once you sign in, the Recent Projects displays:
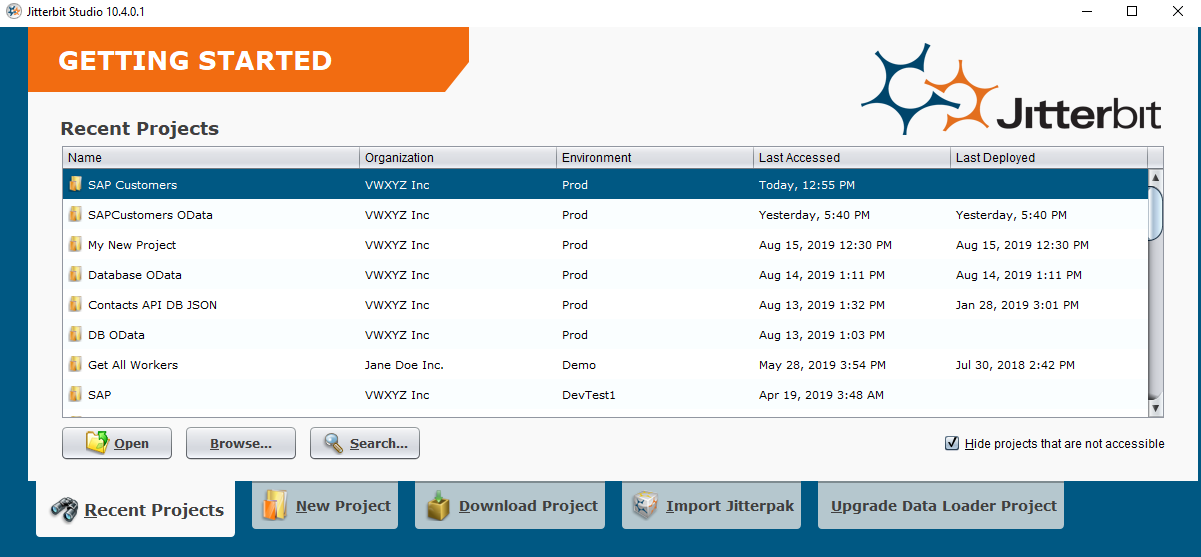
Select the project you want to open, then click the Open button.