Install Design Studio on Windows
Installing Jitterbit Design Studio (also referred to as Jitterbit Studio) on Windows OS is a simple process with these steps:
- Download the appropriate Jitterbit Studio installer.
- Launch and run the installer.
- Launch Jitterbit Studio to check the installation.
If you run into issues installing Jitterbit Studio on Windows, please refer to Jitterbit support for assistance.
Installation steps
1. Download the appropriate Jitterbit Studio installer
Log in to the Harmony portal at login.jitterbit.com.
After logging in, use the Harmony portal menu to select Downloads.
From the Jitterbit Studio section on the Downloads page, select the appropriate download for your operating system, either for 64-bit (Windows x64) or 32-bit (Windows).
This will download the installer (.exe file) to your browser's download folder, typically your Downloads folder.
2. Launch and run the installer
When the download is complete, open the Jitterbit Studio Installer (.exe) by double clicking the installer file, if it did not open on its own.
The download location of the installer file may vary depending on your browser and browser settings. You can use a Windows Explorer window to navigate to your Downloads or to search for the download location.
When the installer is launched, a User Access Control window will appear, requesting your assent to running the installer. You will need to approve the installer before it will run:
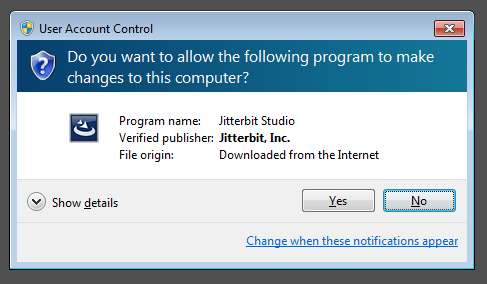
After approving, the running installer window should then appear:
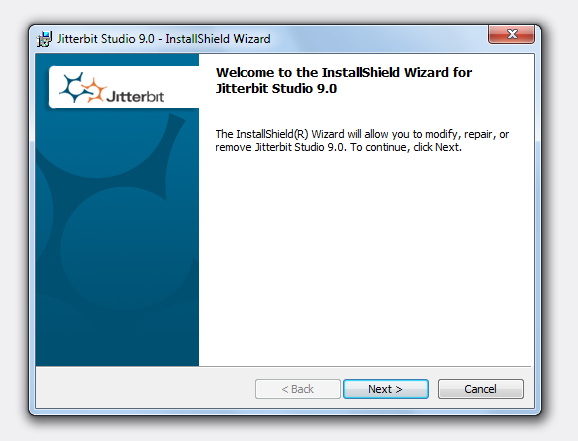
Follow the installer's prompts to install Jitterbit Studio on your computer.
3. Launch Jitterbit Studio to check the installation
To check the installation, launch Jitterbit Studio.
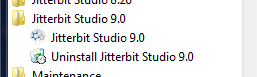
From the Start Menu (depending on your version of Windows), select Jitterbit Studio from the menu:
Jitterbit Studio should start and take you through the splash screen and then to the login dialog where you can enter your username and password:


Upgrade steps
Upgrading Design Studio to a later version can be done without uninstalling the prior Design Studio version, even when upgrading from a 10.x to an 11.x version.
The steps to upgrade Design Studio are the same as those used during initial installation. Follow the installation steps provided earlier on this page to complete the upgrade.