Export as a Jitterpak in Jitterbit Design Studio
Creating a Jitterpak (*.jpk) of a project allows the user to create a "snapshot" in time of the current capabilities of the existing Jitterbit integration. This provides an excellent means of creating different versions of a Jitterbit integration at any given point in time. Additionally, once a Jitterpak is created, a user may "roll" back to a previous version, install the Jitterpak to a new project (i.e. branching), or share the Jitterpak with others.
To export a project as a Jitterpak, follow these steps:
-
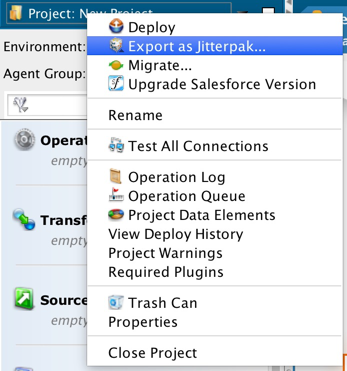
Choose Export as Jitterpak from the File menu, or right-click on the project name at the top of the project items panel and select Export as Jitterpak... from the pop-up menu:
-
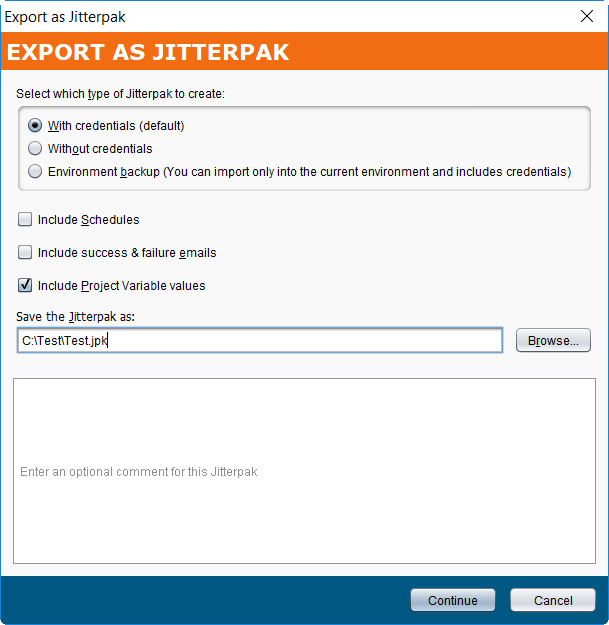
This opens the Jitterpak export dialogue:
-
Select which type of Jitterpak to create: Select one of the three options:
-
With credentials (default): This means that any usernames, security tokens, or passwords specified directly within project item configurations are included in the exported project.
-
Without credentials: This means that the items listed above (usernames, security tokens, or passwords specified directly within project item configurations) are not included. This option is recommended for added security.
-
Environment backup: This means that the exported project will be restricted to be imported only into the current environment. This option also includes credentials.
-
-
Include Schedules / success & failure emails / Project Variable values: Select the checkboxes for any of these project items to include them in the export.
-
-
Save the Jitterpak as: Enter the location and name in this field. The default name is the name of your project, with the extension ".jpk" appended. The project name cannot contain any of these special characters:
\ / : ? * " < > |. The first time you create a Jitterpak, the default location is your system user's home directory. The location you choose is remembered by the client for later exports but can be changed at any time.- Comments: Enter optional comments into the space provided.
-
Click Continue to have Jitterbit Studio create the Jitterpak. A progress dialog will be displayed while this is happening.