QuickBooks connector OAuth 1.0a create a QuickBooks app
Warning
All existing QuickBooks users are required to migrate to OAuth 2.0 authentication by December 17, 2019. See the Intuit Developer Blog Post April 10, 2019 and the Intuit OAuth Blog for additional information.
Before you begin, make sure you meet the requirements defined in QuickBooks connector OAuth 1.0a - prerequisites.
Setting up a QuickBooks Online app is the first of two main activities you need to perform within QuickBooks to allow Jitterbit access to your QuickBooks Online instance. During the creation of your QuickBooks Online app, you will also generate a unique App Token, Consumer Key, Consumer Secret, Access Token and Access Secret to enter into Harmony Design Studio later in the setup process.
The following steps show how to create your QuickBooks Online app within QuickBooks.
Testing environment
These steps assume you are using a QuickBooks sandbox account while developing and testing your integration.
-
Go to https://developer.intuit.com/ and sign in using your QuickBooks account credentials.
-
In the menu at the top of the page, click My Apps. If you already have existing applications created within your account, you will see them listed here. Select the Create new app button to get to the next page. If you do not have any applications created yet, you will already be on the page described in the next step.
-
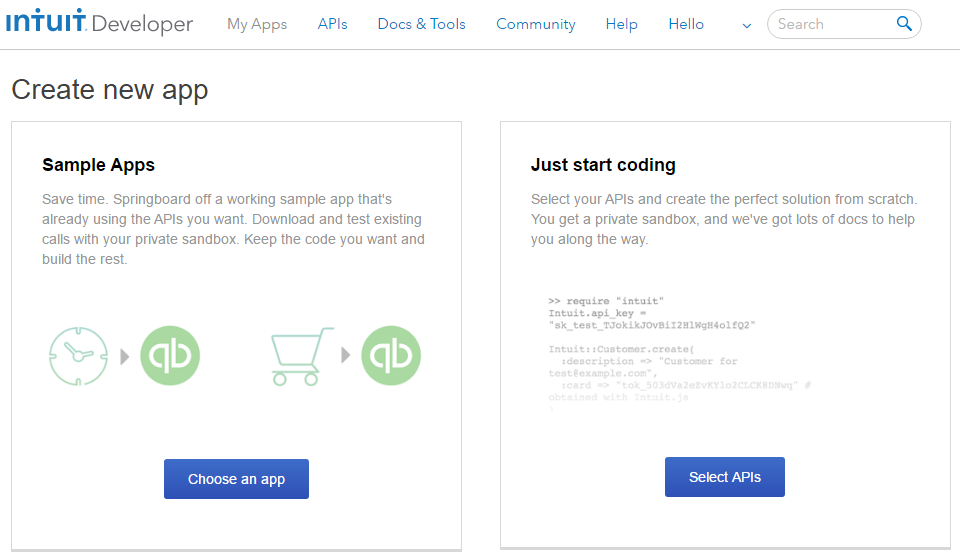
You should now see a page similar to the one shown below. Under the section Just start coding, click the button Select APIs.
-
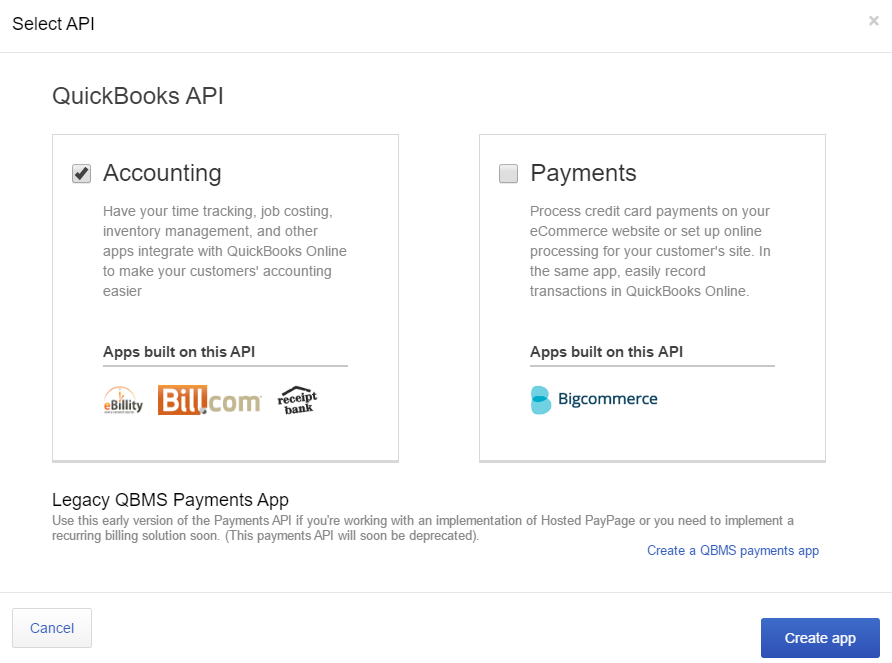
A popup should ask you to select the API. The "Accounting" API is the core API for integrating with QuickBooks Online and should be selected for integrating with Harmony. Check the box for the Accounting API, then click the button Create app.
-
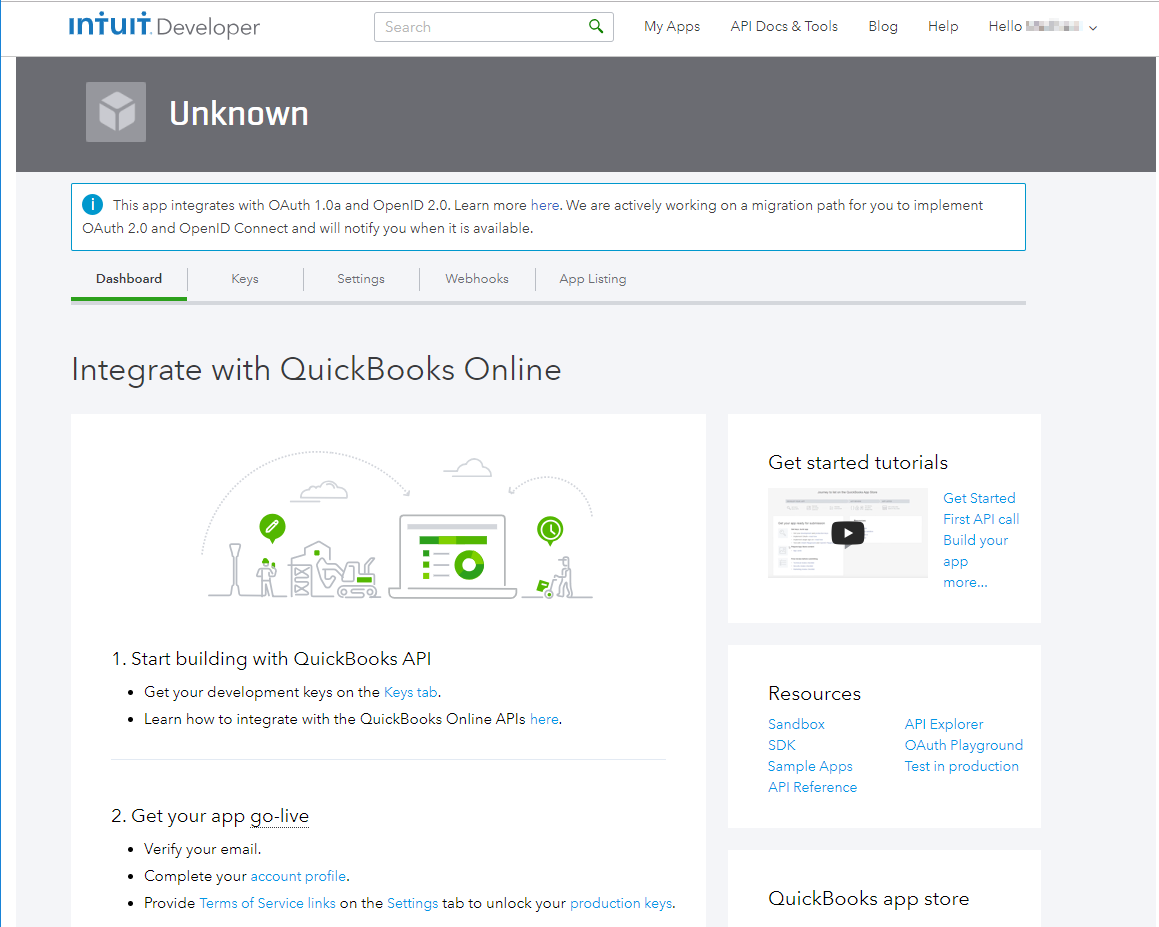
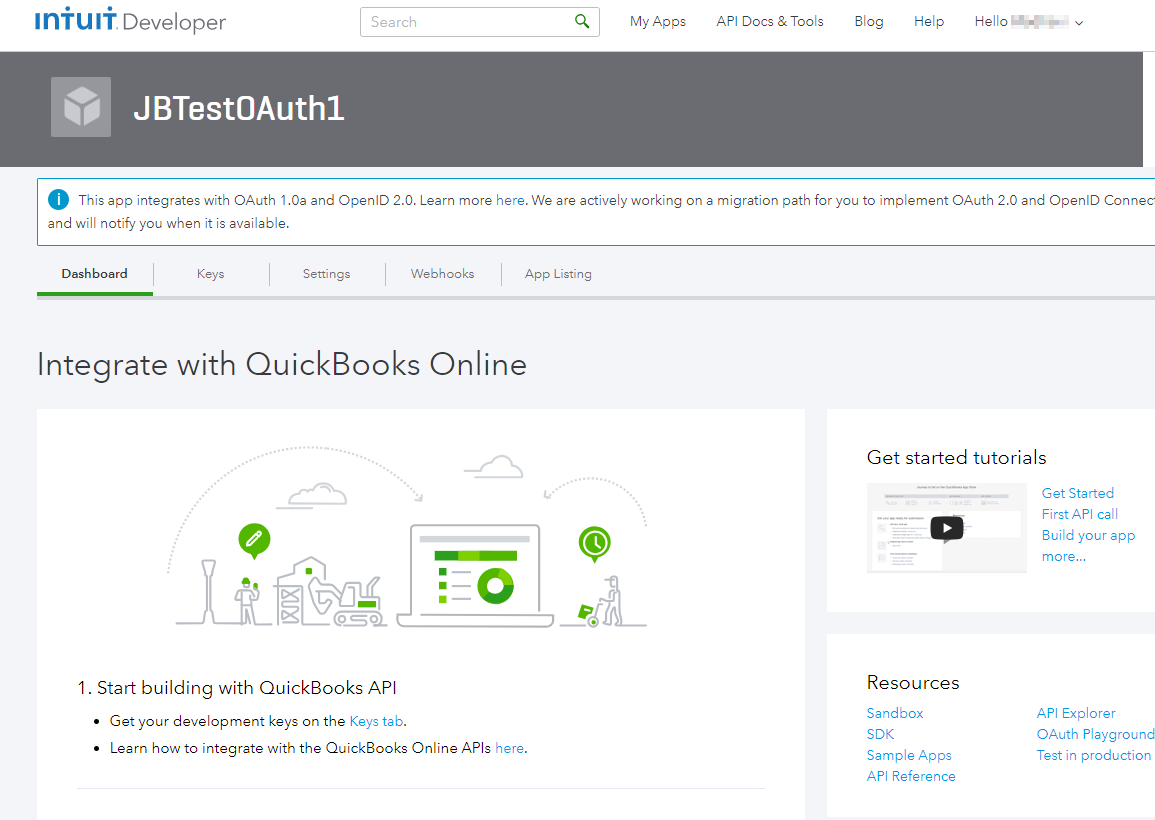
After your app is created, you will be directed to its Dashboard tab under the Development section. The Dashboard page previews the steps you will need to take to set up your new app. Since your app has just been created, it will have a default name of "Unknown."
Note
You can return to your app at any time by going back to My Apps in the menu at the top of any page.
-
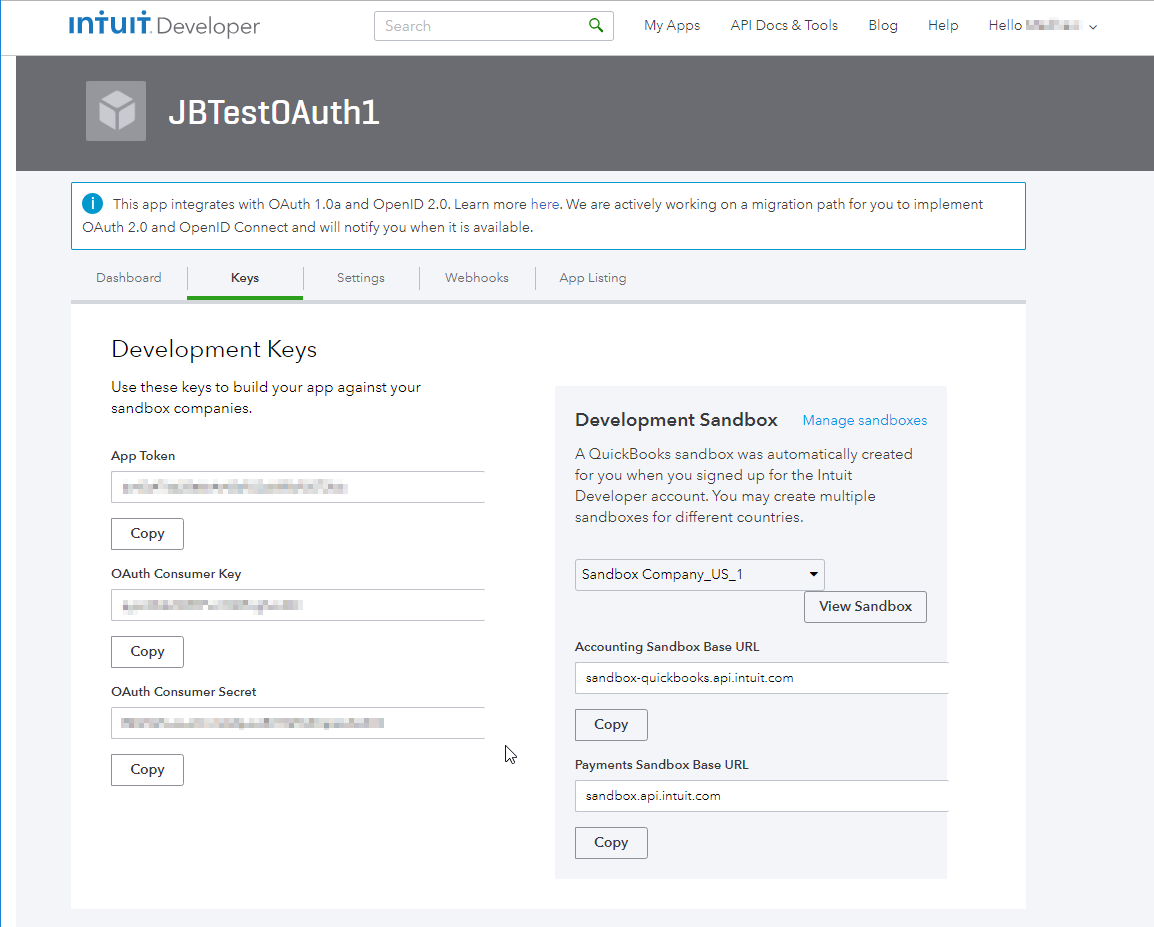
Go to the Keys tab. The keys listed on this page are pre-generated for your new app. These keys will be needed in later parts of this documentation – Both when you generate access tokens, as well as for the unique App Token to enter into Design Studio later on. You will return to this tab later.
-
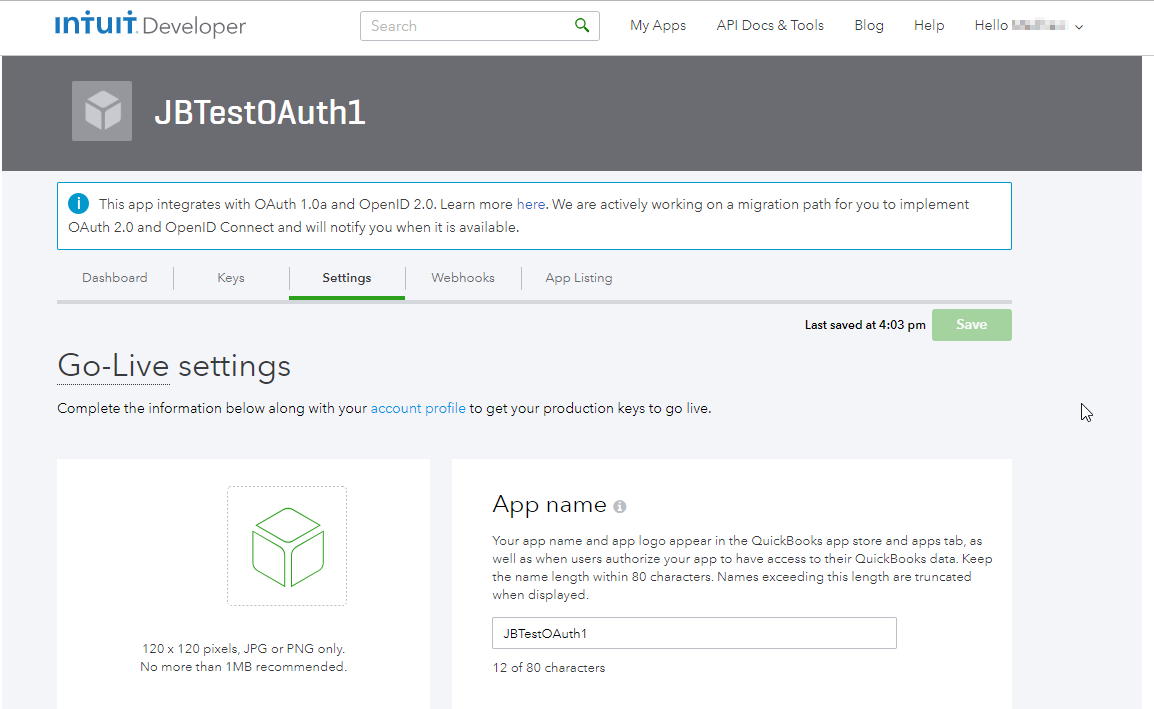
Go to the Settings tab. Here is where you can change the title of your new app, as well as other information depending on your specific integration project. Click within the portion you want to edit to change any information for your app and click on the Save button when the changes are complete. In this example, the app name is changed to" JBTestOAuth1".
-
Return to the Dashboard tab. Under the Resources section, click on the link OAuth Playground.
-
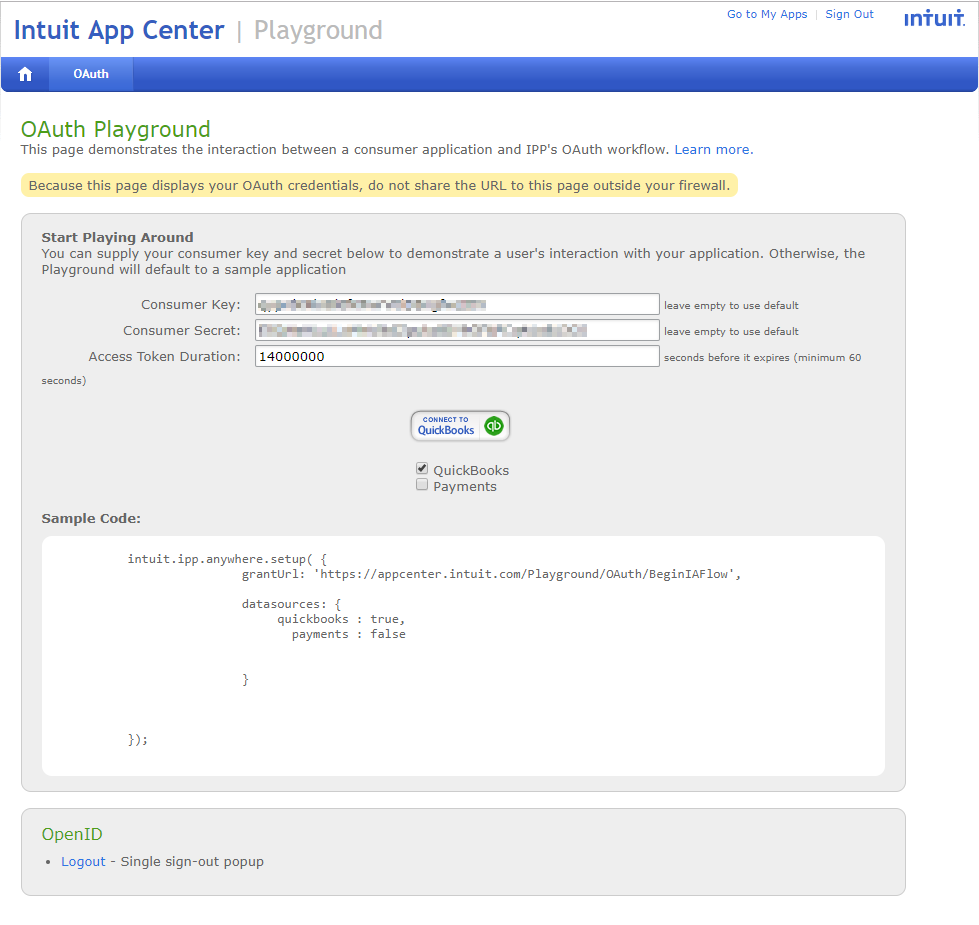
You should now see a page similar to the page shown below, indicating that you are in the OAuth Playground.
- Change the Access Token Duration from the default setting of 120 seconds to a large number, for example 14000000 seconds. This is the length of time your access token will be valid, after which you will need to generate a new token for connection to your QuickBooks app.
- Click the Connect to QuickBooks button in the middle of the screen.
-
A popup warning message indicates you will be leaving the site. Select the Leave button.
-
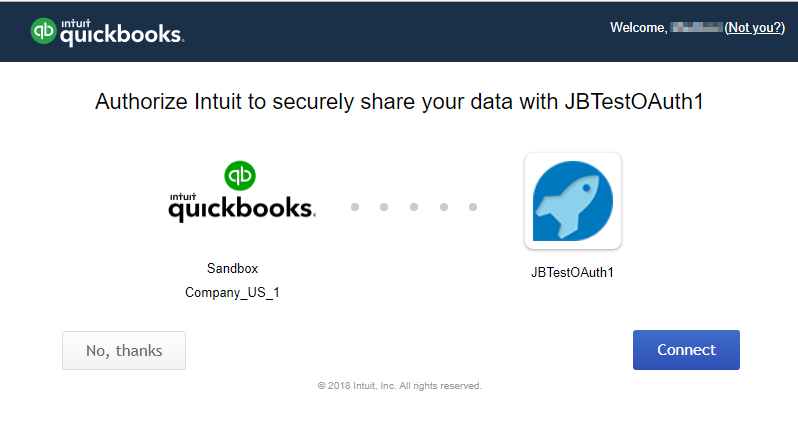
You should now see a page similar to the page shown below. This is the final step within QuickBooks to authorize the Harmony QuickBooks Connector to access your QuickBooks Online data. Select the Connect button.
-
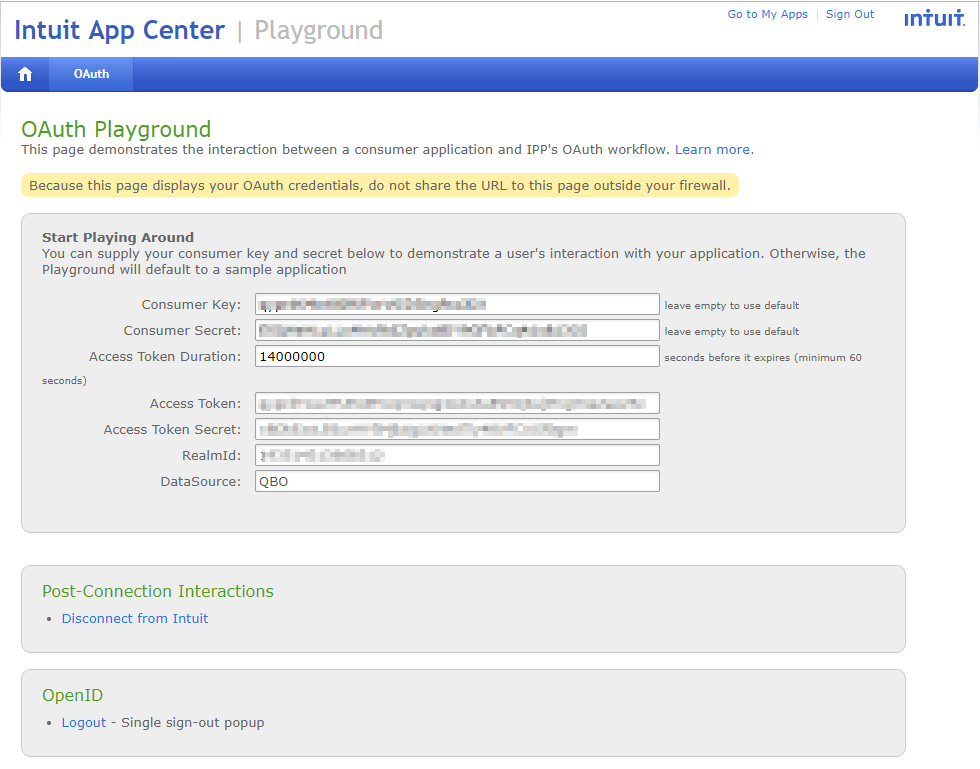
You should now see a page similar to the page shown below and displaying Access Token, Access Token Secret and RealmId, as well as the Consumer Key and Consumer Secret. These credentials will be needed in later sections of this documentation to enter into Design Studio. Leave this page open in your browser as you will need to return here later.
Next Step: QuickBooks connector OAuth 1.0a - create endpoint
Production environment
When you are ready to bring your integration to a production environment, follow the steps below to obtain production keys specific to your application.
-
Go to https://developer.intuit.com/ and sign in using your QuickBooks account credentials.
-
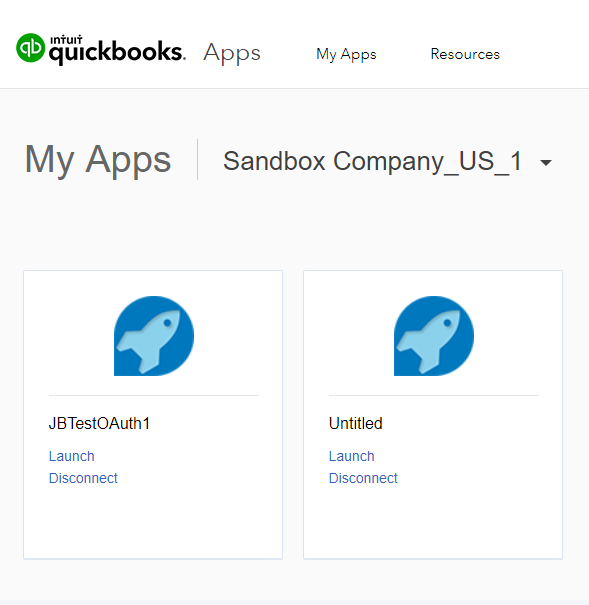
In the menu at the top of the page, click My Apps. Select the app you created during the testing and development stage specifically to set up the Harmony QuickBooks Connector.
-
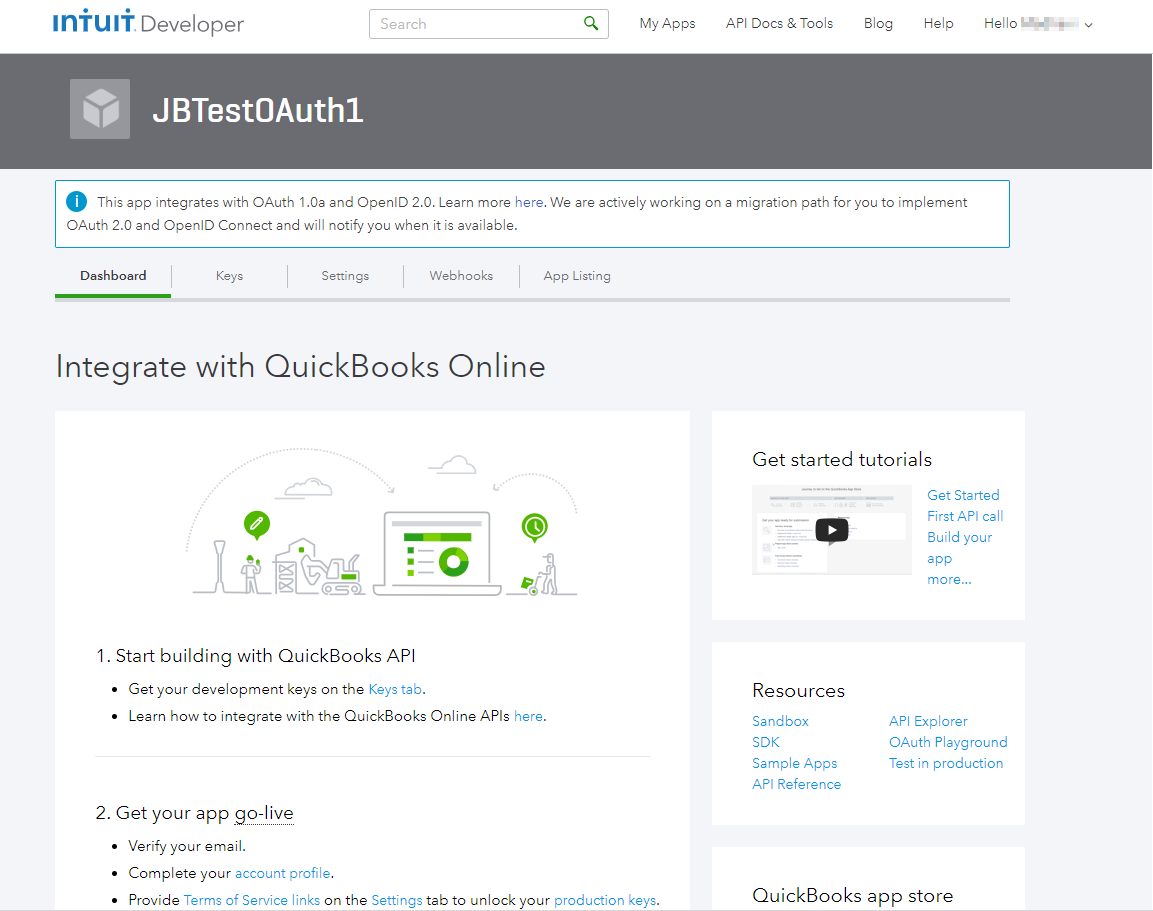
You should now see a page similar to the page shown below. The account profile must be completed before the production keys for your app will be available.
- If you previously completed your account profile, click on the Settings tab and continue to Step 4.
-
If your account profile has not been completed previously, scroll down to the section 2. Get your app go-live and click the link Complete your account profile. Complete the information within the Account Profile page and click on the Save button. Return to your connector app and click on the Settings tab.
-
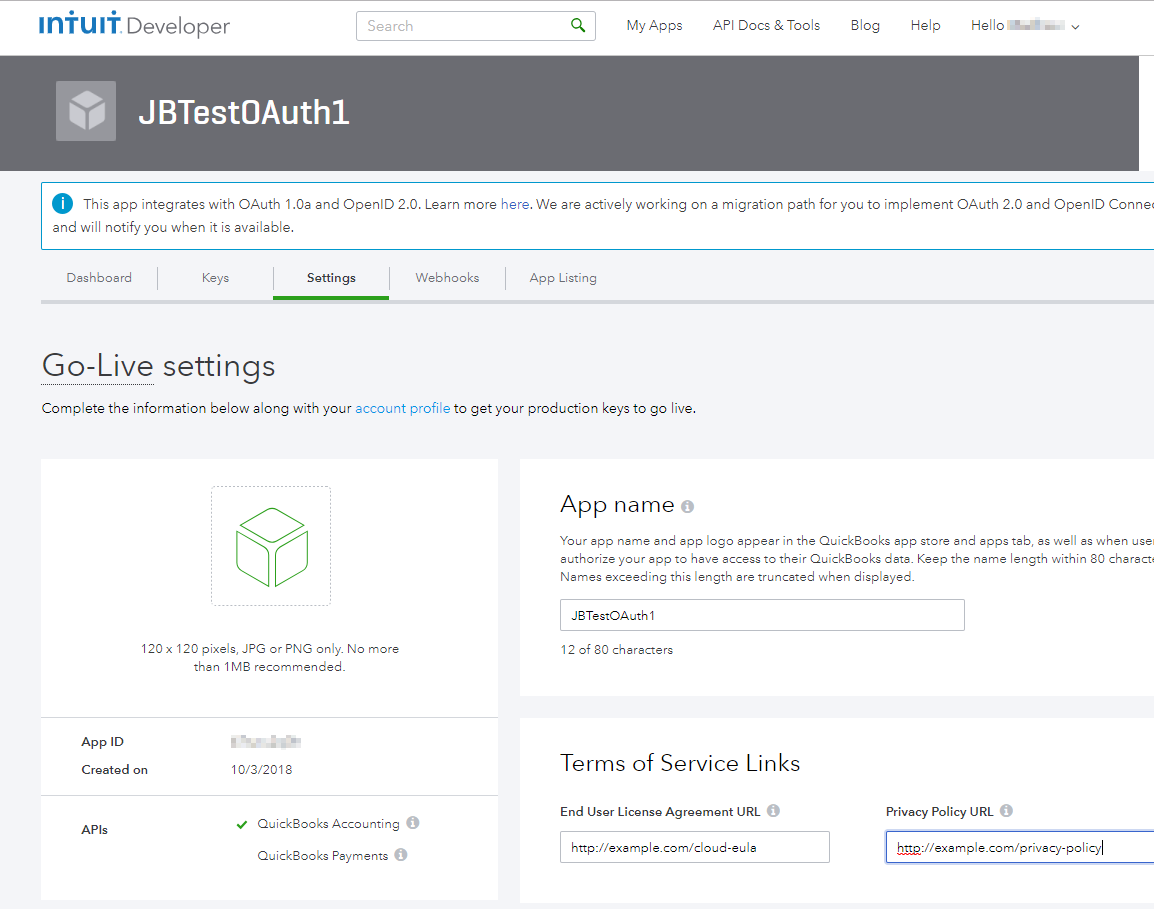
You should now see a page similar to the page shown below. Scroll down to the Terms of Service Links section. Enter the End User License Agreement URL and the Privacy Policy URL for your app. Click on the Save button.
-
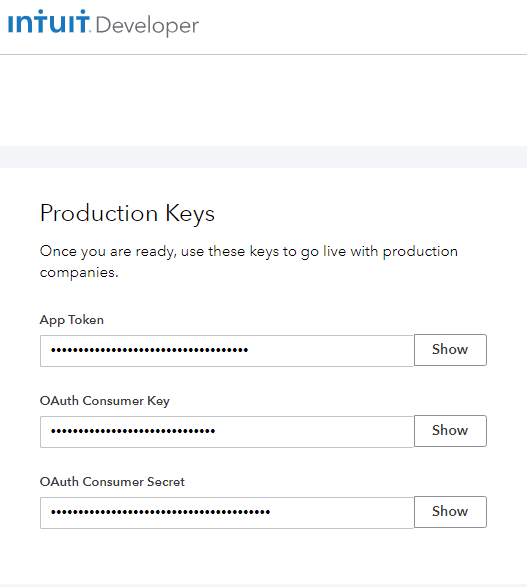
Select the Keys tab and scroll down to the Production Keys. Once the Account Profile and Terms of Service Links are completed, the production keys for your app should display similar to the page below. These keys will be needed in later sections of this documentation – Both when you generate the production access tokens, and to enter into Design Studio later on. You will return to this tab later.
-
Return to the Dashboard tab. Under the Resources section, click on the link OAuth Playground. Leave this window open in your browser so that you are able to more easily return here later.
-
You should now see a page similar to the page shown below, indicating that you are in the OAuth Playground. You will need to copy the Production Keys into the Consumer Key and Consumer Secret fields.
-
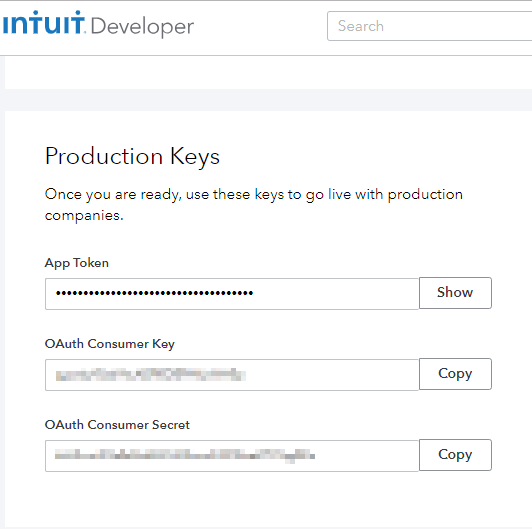
Return to the open browser window displaying the Intuit Developer Dashboard page. Select the Keys tab and scroll down to the Production Keys.
- Select the Show button to the right of the OAuth Consumer Key to display the key. Click on the Copy button, return to the browser window displaying the OAuth Playground and paste the key into the Consumer Key field.
- Select the Show button to the right of the OAuth Consumer Secret to display the key. Click on the Copy button, return to the browser window displaying the OAuth Playground and paste the key into the Consumer Secret field.
-
Click the Connect to QuickBooks button in the center of the OAuth Playground page.
-
A popup warning message indicates you will be leaving the site. Select the Leave button.
-
You should now see a page similar to the page shown below. This is the final step within QuickBooks to authorize the Harmony QuickBooks Connector to access your QuickBooks Online production instance. Select the Connect button.
-
You should now see a page similar to the page shown below and displaying Access Token, Access Token Secret and RealmId, as well as the Consumer Key and Consumer Secret. These credentials will be needed in later sections of this documentation to enter into Design Studio. Leave this page open in your browser as you will need to return here later.
Next Step: QuickBooks connector OAuth 1.0a - create endpoint