Formula Builder features in Jitterbit Design Studio
The Formula Builder is the environment for creating and editing scripts, written either in Jitterbit script or JavaScript.
Currently, most functions are available only when using Jitterbit script, though a portion of the functions have been ported and available through JavaScript.
Modes
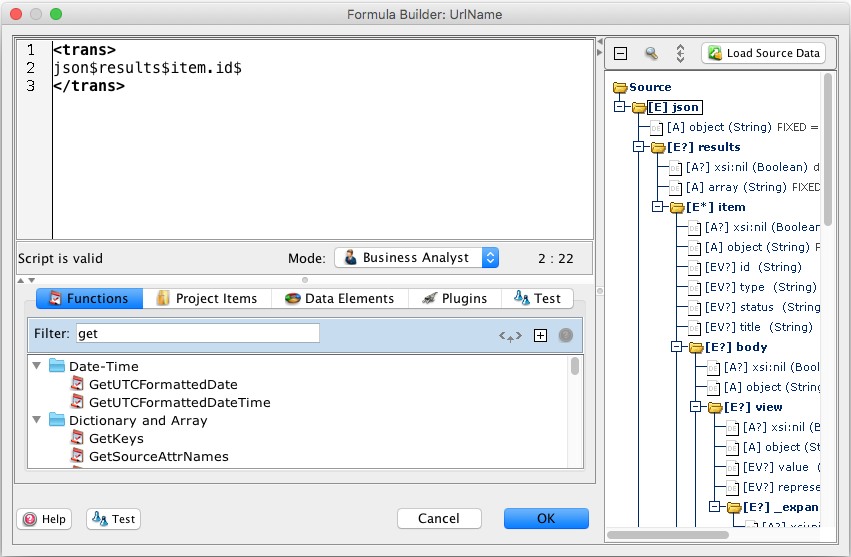
The Formula Builder includes a drop-down allowing you to view the tool's interface in Business Analyst or Developer mode.
Note
If you are in Business Analyst mode, the list of functions indicates with an icon ![]() the functions that have wizards. When you click the insert button (see Using the formula builder), you will be in a wizard to assist with inserting and completing the function in your script. Note: you may need to close and reopen the project in the Design Studio for the icons to appear or disappear if you have changed modes.
the functions that have wizards. When you click the insert button (see Using the formula builder), you will be in a wizard to assist with inserting and completing the function in your script. Note: you may need to close and reopen the project in the Design Studio for the icons to appear or disappear if you have changed modes.
Features
Here are some of the main features of the Jitterbit Formula Builder.
-
Syntax highlighting: Different colors are used to distinguish the different parts of an expression, such as function names, strings, and variables.
-
Parentheses matching: Placing the cursor in front of an opening parenthesis will highlight the corresponding closing parenthesis with a green color. If no matching closing parenthesis is found, the opening parenthesis is highlighted with a red color.
- Similarly, placing the cursor after a closing parenthesis will highlight the corresponding opening parenthesis green, if one is found. Otherwise the closing parenthesis is highlighted with red.
- With the cursor standing next to an opening (closing) parenthesis, pressing CTRL+SHIFT+P (COMMAND+SHIFT+P on OS X) will automatically move the cursor to the matching closing (opening) parenthesis, if one exists.
-
Auto-completion: Pressing CTRL+SPACE in the expression area will display a list of available function names or variables matching what has already been typed.
- This feature can be controlled in the Jitterbit Studio preferences, and can be set to either "Automatic" (to automatically display the popup menu) or "Code Editor" (to display only if CTRL+SPACE is pressed). The default is "Automatic".
- Note: To bring in non-local variables (global, project, or Jitterbit variables), you need to start by typing a
$and then the first letters of the variable name. - Example 1: Type
"Da"and press CTRL+SPACE. This displays a popup menu with matching functions: Date, DateAdd, DayOfMonth, and DayOfWeek. You can navigate through the list using the arrow keys on your keyboard. The documentation for the selected function in the list is also displayed (with a short delay) next to the popup. Pressing the ENTER or TAB keys will automatically insert the selected function or data element into the expression area. - Example 2: Type "
RunOperation("and with the cursor placed after the opening bracket, press CTRL+SPACE (on Windows; automatic on OS X). You will see a popup menu of all operations in the current project that can be used as an input argument to the RunOperation call. This works for all functions that take a project item as input, such as WriteFile and RunScript.
-
Hover-help: Hovering with the mouse over a function name in the expression area will display the documentation for that function in a popup window. The window disappears when the mouse is moved away from the function name.
- The function tree also has hover-help, but it only displays the function's signature and the first sentence of the function's description.
- To see the complete documentation for a function in the tree, select the function and either press F1 or click the
 Help button located above the function tree.
 - Variables in a script: Hovering with the mouse over a variable name in a script will display the type and current value of the variable in a popup. Note that the Design Studio does not always know the type or value of a variable; this functionality is intended for use when you have stopped a script or are executing at a breakpoint.
-
Auto-insertion of closing characters (Auto-Assist): When typing a single or double quote (
'or") in a script, Formula Builder can automatically inserts the closing quote character and places the cursor between the two quotes.- This feature (Auto-Assist) is controlled in the Design Studio preferences, and can be enabled or disabled for each of the characters. By default, it is disabled.
- Similarly, when typing an opening parenthesis, Formula Builder can automatically insert the closing parenthesis.
- Auto-Assist does not happen when you are writing a comment or typing inside an already-existing string value or set of parentheses.
-
Block indentation: When a complete line or lines are selected, pressing TAB will indent the selected lines one tab stop to the right. Similarly, SHIFT+TAB moves out the selected lines one tab-stop to the left. (If no text is selected, SHIFT+TAB moves the line left to where the cursor is.)
-
Toggle comments: Pressing CTRL+/ (COMMAND+/ on OS X) in the expression area comments or un-comments the line where the cursor is positioned, by adding or removing a leading pair of slashes (
//). If more than one line is selected, and at least one of the selected lines is not commented,//will be added to each of the selected lines. If all of the selected lines are commented, the initial//will be removed from each line. -
Font-size controls: Pressing CTRL+NUMPAD+ (COMMAND+NUMPAD+ on OS X) in the expression area will increase the font size. Similarly, CTRL+NUMPAD- (COMMAND+NUMPAD- on OS X) will decrease the font size. The font size is remembered for the next time Formula Builder is opened.
-
Search functionality: Pressing CTRL+F (COMMAND+F on OS X) in the expression area will display a search dialog that allows you to search for text in the expression area.
-
Line numbering: Pressing CTRL+SHIFT+L (COMMAND+SHIFT+L on OS X) in the expression area toggles the display of line numbers in the left-hand side margin.
-
Go-to-line: Pressing CTRL+L (COMMAND+L on OS X) I in the expression area opens an input dialog for entering a line number. Pressing OK will position the cursor at the beginning of the line entered.
-
Drag-and-drop from the project tree: Dragging an item from the project tree and dropping it into the expression area will automatically insert a string for the dropped item that can be used as an input argument to a function.
- Example: Dragging an operation from the project tree and dropping it after the opening parenthesis in "
RunOperation(" inserts the string "<TAG>_[path to the operation]_</TAG>" which is what the RunOperation function expects as input. - To include items from other projects, you must be in Business Analyst mode.
- Example: Dragging an operation from the project tree and dropping it after the opening parenthesis in "