Email messages
Overview
Email messages can be automatically sent upon the success or failure of an operation. Email messages can also be configured to used by an email target in an operation, or used as an argument to the SendEmail function.
Create an email message
Follow these steps to create and configure an email message to be sent on success or failure of an operation:
-
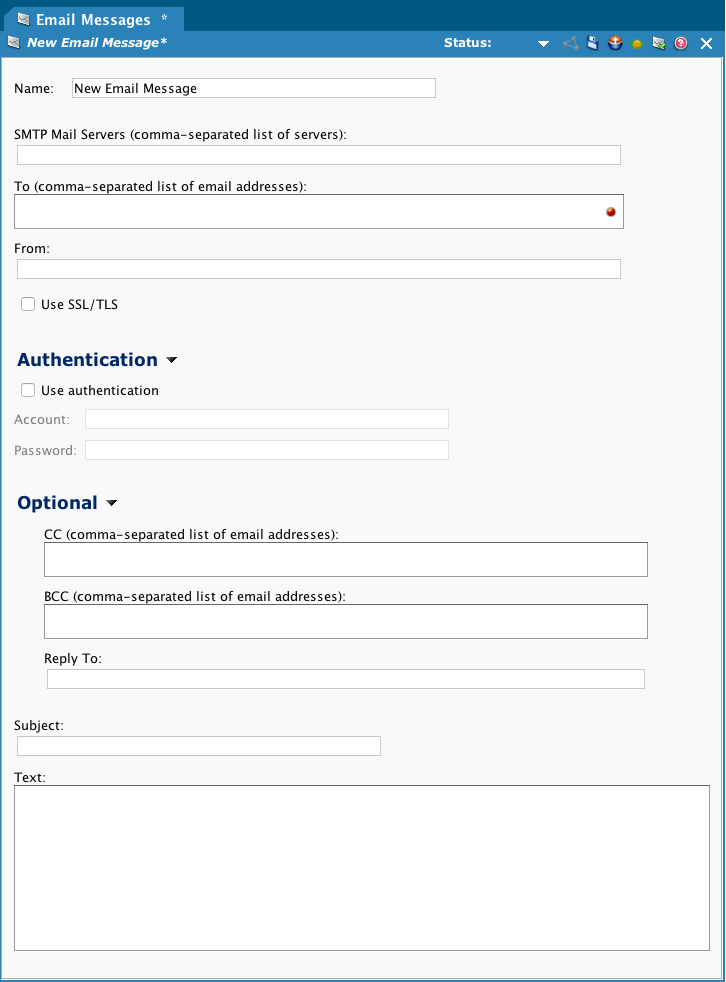
In the project tree, right-click the Email Messages node and from the menu select New Email Message.
The New Email Message tab appears in the right pane:
-
Complete the properties of the message.
Tip
The fields SMTP Mail Servers, To, From, Subject, and Text recognize global variable substitutions. For example, if you don't know who the recipient will be until runtime, you can set a global variable called
notify_emailin the transformation (using aDBLookupor with input data) and then enter[notify_email]in the To field.-
Name: (Required) The name of the message, which must be unique within the project.
-
SMTP Mail Servers: Comma-separated list of SMTP servers to use to send the email. The servers will be tried in the order that they are specified until one is found that accepts the message.
Note
To provide support for OAuth 2.0 with Microsoft 365 email, additional parameters can be passed in the SMTP host string using the SMTP Mail Servers field. For instructions, see OAuth 2 support for Microsoft 365 email below.
-
To: (Required) Comma-separated list of recipients.
-
From: The email address to appear in the From field when the recipient(s) read the email.
-
Use SSL/TLS: Select to encrypt the email using SSL/TLS protocol. This property influences the default value for the optional
starttlsparameter as described in OAuth 2 support for Microsoft 365 email below. -
Authentication: To use basic authentication, expand Authentication and select Use authentication. You can then enter an Account and account Password.
Note
OAuth 2.0 is supported for Microsoft 365 as described in OAuth 2 support for Microsoft 365 email below.
-
Optional: Expand Optional to show additional optional fields:
- CC: Comma-separated list of email addresses to receive a copy of the message.
- BCC: Comma-separated list of email addresses to receive a blind copy of the message.
- Reply To: An email address you want replies to be sent to (used by default when the recipient replies in their email application). This can be used if you send the email from a one account but you want replies to go to a different email account.
-
Subject: The subject of the email.
-
Text: The body of the email.
-
-
Click the Save icon in the toolbar in the upper right to save the email message.
-
In the project tree, click the operation to which you want to add the notification message.
The operation graph appears in the right-hand pane.
-
In the operation graph, click the
 at the top of the operation graphic to show the operation menu.
-
From the menu, select On Success > Email > Select Existing or On Failure > Email > Select Existing.
-
A pop-up window displays the list of existing email messages. Select the email message created in the previous steps and click OK.
-
-
The email message will be added to the operation graphic:
- A green line and icon are shown for an email message configured to send on success of the operation.
- A red line and icon are shown for an email message configured to send on failure of the operation.
OAuth 2.0 support for Microsoft 365 email
To use OAuth 2.0 with Microsoft 365 email, you provide additional parameters in the SMTP host string using the SMTP Mail Servers field. These additional parameters are supported with cloud agents 11.3 or later, 11.x private agents that are at least version 11.1.1, and 10.x private agents that are at least version 10.63.1.
Important
Agent version 10.83 / 11.21 or later is required to use the starttls parameter. Setting this parameter to true is required to force secure traffic over traditionally unsecured ports like 25 when Use SSL/TLS is enabled.
The properties in the SMTP Mail Servers field should be in the following format:
<SMTP Host>?clientId=<Client ID>&tenant=<Tenant>&clientSecret=<Client Secret>
| Part | Description |
|---|---|
| SMTP Host | The SMTP server. |
Client ID (clientId) | The client ID obtained from the OAuth provider. |
Tenant (tenant) | The tenant ID obtained from the OAuth provider. |
Client Secret (clientSecret) | The tenant ID obtained from the OAuth provider. |
These additional optional parameters may also be used if required to override default values:
| Part | Description |
|---|---|
Port (port) | The SMTP port. |
STARTTLS (starttls) | Default: false if Use SSL/TLS is enabled, otherwise true. Set to true to force secure traffic over traditionally unsecured ports like 25 when Use SSL/TLS is enabled. Agents version 10.83 / 11.21 or later are required to use this parameter. |
URL Encoding (urlEncoded) | Default: false. Set to true if values need to be URL-encoded. |
Scope (scope) | Default: https://outlook.office365.com/.default. |
Token (tokenEndpoint) | Default: https://login.microsoftonline.com/ + tenant + /oauth2/v2.0/token. |
Grant Type (grantType) | Default: password. |
Example inputs for the SMTP Mail Servers field using OAuth 2.0:
smtp.office365.com?clientId=1234ab5c6d78e9f&tenant=abcdefgh-ij12-3456&clientSecret=Abc1-d2E3f-GhIjKlMn4-Opqrs_567&port=25&starttls=true
[email.server]?clientId=[clientId]&tenant=[tenant]&clientSecret=[clientSecret]&[scope]&urlEncoded=true
Dynamic parameters
Filename keywords such as [date] do not work in the Subject or Text fields.
As an alternative, you can use the Jitterbit function date. To pass a date as a variable, you can create a variable in a script and assign it a value, and then use it in the email message. For example:
$date = Now();  # Gives the current date and time
$date = CVTDate(Now(),"yyyy-mm-dd HH:MM:SS","yyyy-mm-dd");  # Gives just the date
HTML emails
You can use HTML in the body of the message:
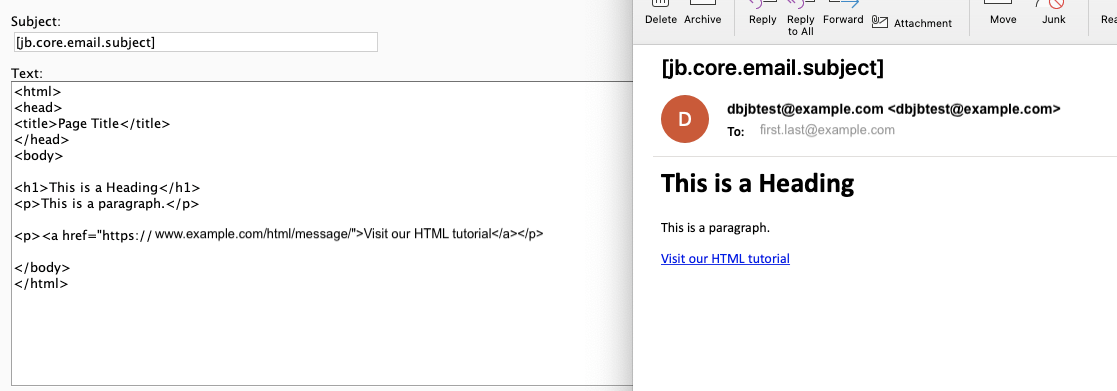
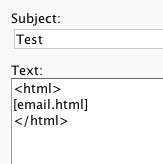
Variables (in this case, a global variable email.html) can be used inside HTML tags: