Conditional mapping
Introduction
Conditional mapping lets you specify that a record in a transformation is mapped based on a defined condition. The condition determines (yes or no) if the record is mapped. As part of that determination, you can include logic to set what values are used in the mapping. For example, a record might be used only if the size of a text field is less than a specified maximum.
Conditional mapping is accomplished by adding a special data element called a condition node to a target folder. The contents of the condition node specifies the condition for generating the record. A condition must return a true (1) or false (0) value. It can contain other logic, and a side effect of that logic can be to set the value of other nodes in the transformation.
There can be only one condition node in a target folder. Thus, all logic for the condition must reside in that condition.
The condition node is always evaluated before any target fields are evaluated. This means that all logic for creating or determining the values for those target fields must be in the condition node if the condition node requires those values in order to complete its determination.
If multiple conditions are present, they are evaluated in the order from outer node to inner node; if they are on the same level, then they are evaluated in the order from top to bottom.
Note
Condition nodes apply only to optional or loop target folders (also known as Target Loop Nodes or TLNs).
Create a condition node
To define a condition:
-
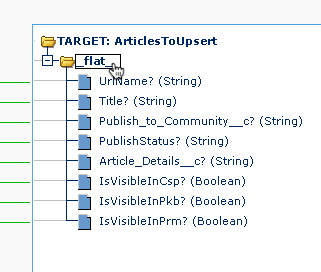
Select the folder to which the condition will apply:
-
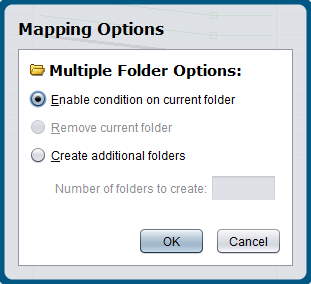
Below the transformation mapping, click on the multiple folders icon
 to display the Mapping Options dialog. For information on all available options, see Add extra folders under Mapping flat to hierarchical structures.
 -
Select Enable condition on current folder and click OK.
-
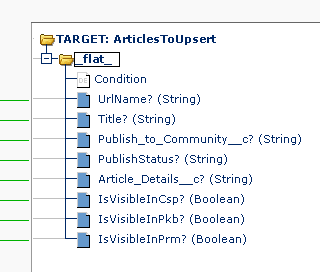
The folder you selected will now display a new Condition data element below the node to which you have applied the condition:
Apply a formula to the condition node
You now have a condition applied to your target. In order for it to be operational, you must apply a formula:
-
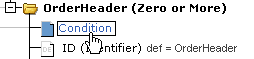
Double-click on the condition in the target tree:
-
The Formula Builder will open. In the script area in the top left, enter an expression that is appropriate for your condition using a combination of formulas, values of source data elements, and mathematical operators.
-
The formula must return either
true(1) orfalse(0) to determine if the mapping for the given record occurs.
Examples
To set a condition such that a record is used only if its flag to publish it was set, you could use a condition such as:
<trans>
bool(Publish_To_Community__c) == true
</trans>
To set a condition such that a record is used only if it is less than a maximum size, assuming that the article text is in the element json$results$item.body$view$value$:
<trans>
pass = true;

// Log article size
$articleDetailsSize = Length(json$results$item.body$view$value$);
WriteToOperationLog('Current article:' +
    json$start$ + ' articleDetailsSize:' + $articleDetailsSize);

// Checks if the article size > $MaxArticleDetailSize;
// if so, the article is ignored
if($articleDetailsSize > $MaxArticleDetailSize,
    WriteToOperationLog("Ignoring Id " + json$results$item.id$ +
        " as too large (" + $articleDetailsSize + ")");
    pass = false;
);

pass;
</trans>
A condition formula can also set values used in other nodes. Using the above example, the condition node can as part of its logic set the intended contents of a field to a global variable:
<trans>
...
$articleDetails = Replace(json$results$item.body$view$value$,
                          'href="/','href="https://example.com/');
...
</trans>
The global variable is then used to set the value in the desired target field Article_Details__c:
<trans>
$articleDetails;
</trans>