Create a REST transformation with a request session token
Step 1
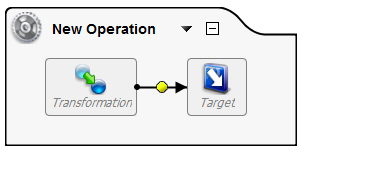
- Create a New Transformation Operation. Delete the Source node from the layout.
Step 2
-
Double-click on the Target and select Create New Target. The New Target should be of type HTTP that points to the RESTful service.
-
Select Options and Create a New Target for the response of the Service call or choose an existing target.
-
Set the Content Type accordingly; for this example, as we are expecting a JSON response, use
application/json.
Note
If the service requires HTTP headers they can be set under Advanced Properties.

Step 3
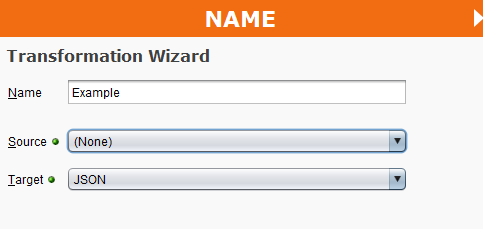
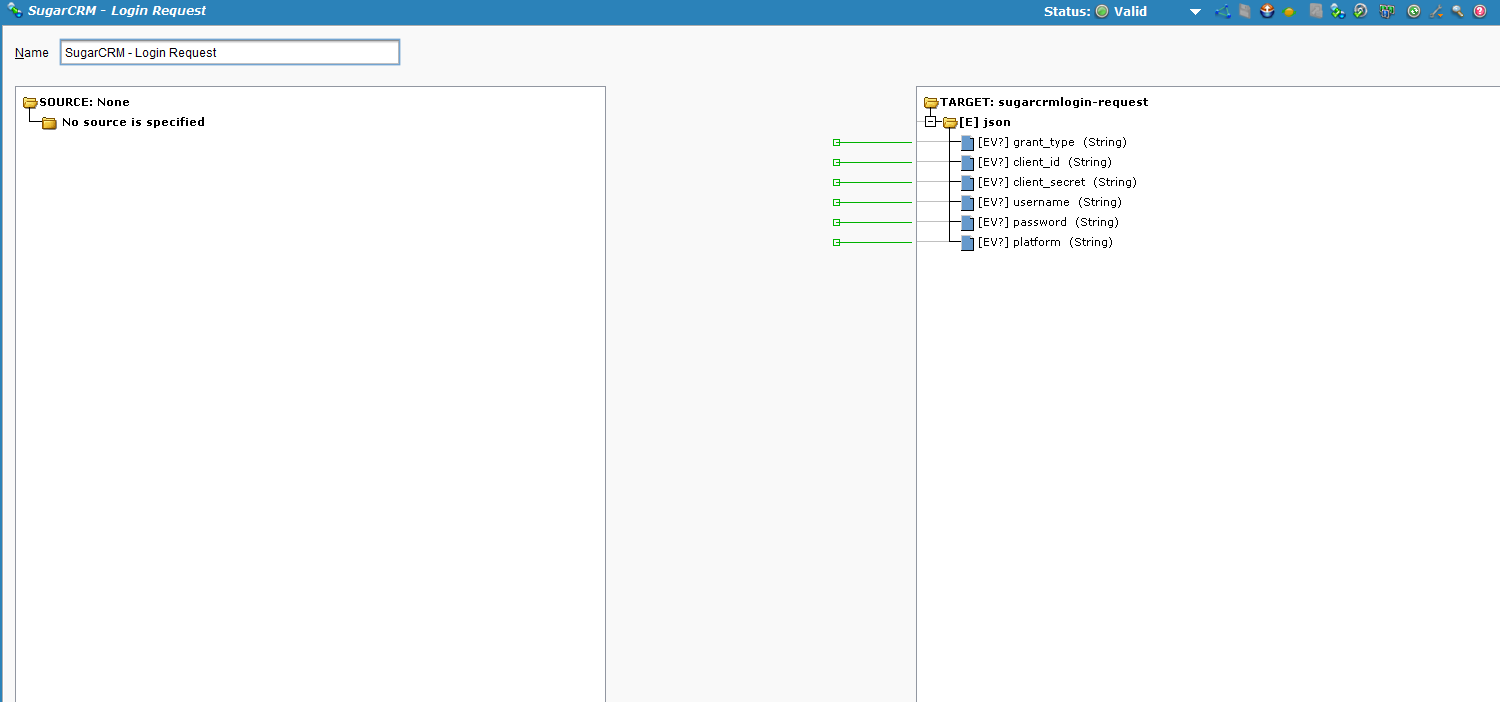
- Double-click on the transformation, select Create New Transformation. For this example, the Source is (None) (located at the bottom of the menu) and the Target is JSON:
Step 4
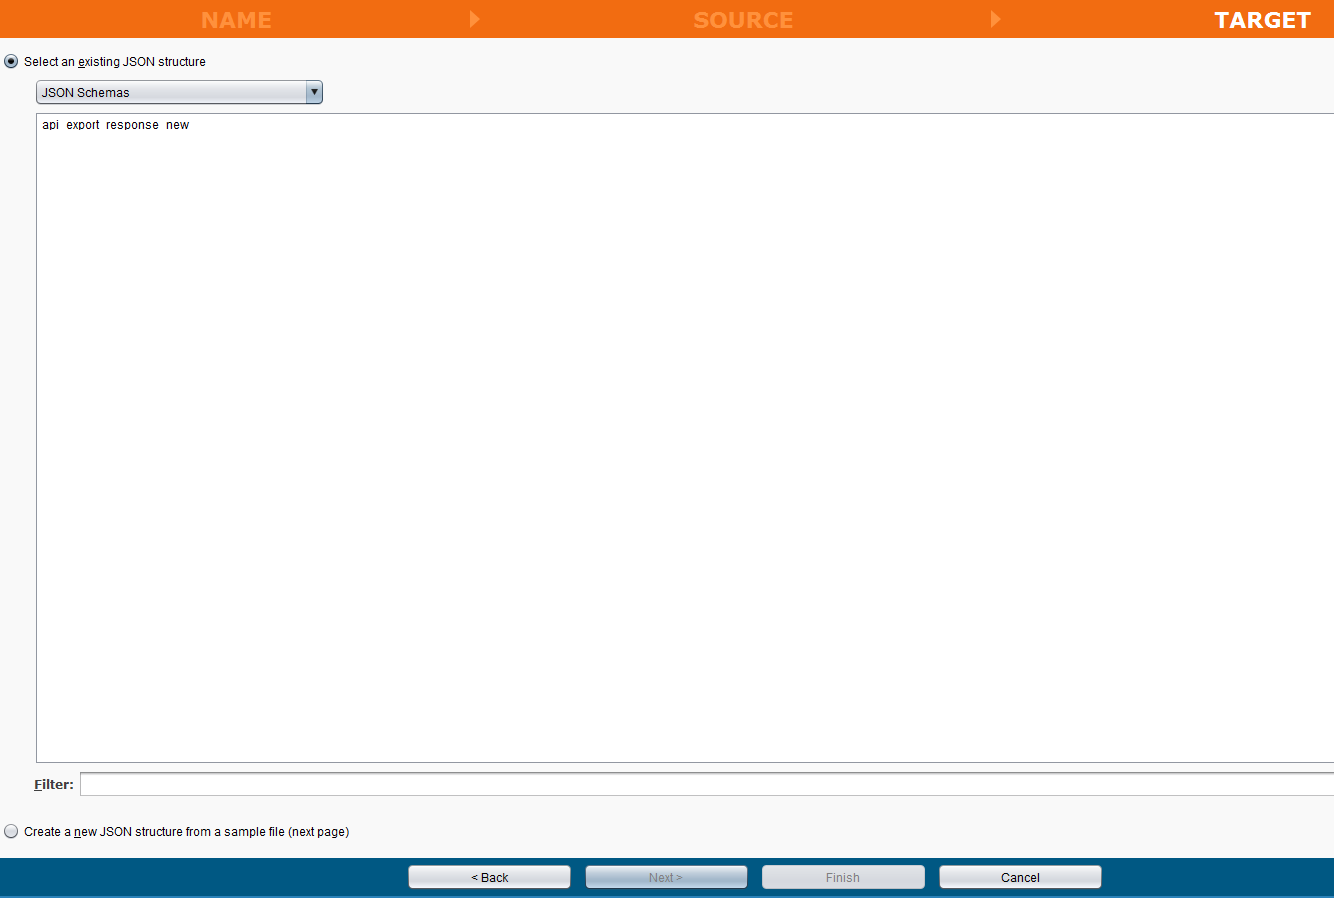
-
For the JSON Schema, either select an existing schema or use an example JSON Request to create the Schema.
-
Example JSON for request:
{

  "grant_type":"password",

  "client_id":"sugar",

  "client_secret":"",

  "username":"admin",

  "password":"password",

  "platform":"base"

}
-
Step 5
- In the Transformation Wizard, map the values you would like to be assigned.
Step 6
-
The operation is complete and it will write the output of the Service call to the target specified in Step 1.
-
To Parse the response Create a second Operation to parse the response.
Step 7
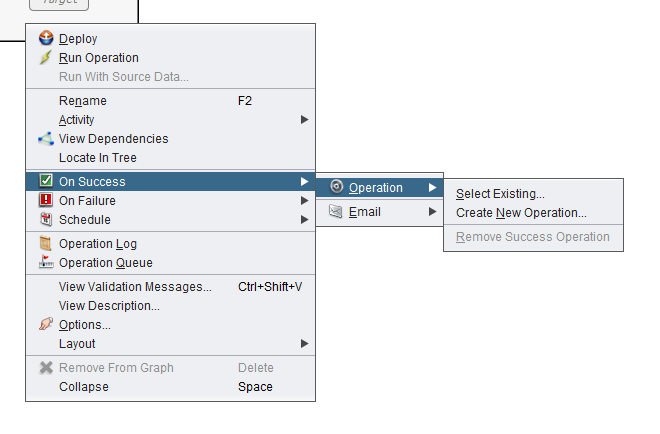
- To create a new operation right-click on the Operation and choose On Success -> Operation -> Create New Operation.
- For the example, we have deleted the Target since we will just be saving the response to variables.
Step 8
- Check the Source list on the left. If you do not have a Source that corresponds to the Target that you used in Step 2, right click on the Target and choose Copy To Source.

Step 9
- Double-click on the Target and choose the Source that corresponds to the Target defined in Step 2.
Step 10
-
Double-click on the Transformation. Choose JSON as the Source and Text as the Target. You will then be given the ability to choose an existing JSON definition or have one created from an example.
-
Example JSON Response:
{

  "access_token":"802b64c0-5eac-8431-a541-5342d38ac527",

  "expires_in":3600,

  "token_type":"bearer",

  "scope":null,

  "refresh_token":"85053198-24b1-4521-b1a1-5342d382e0b7",

  "refresh_expires_in":1209600,

  "download_token":"8c9b5461-0d95-8d87-6084-5342d357b39e"

}
-
Step 11
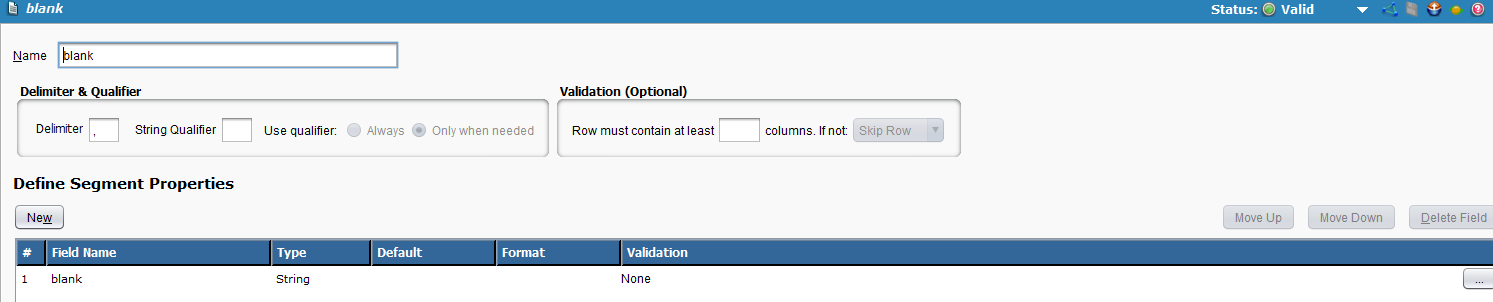
For the Target text definition you can create new one or use an existing one. For the example we use a single column format with blank as the column name. If you were using this for something more detailed or something where you were not saving the response to a variable, you could create a more suitable response or reuse the JSON format that the REST Service provides.
Step 12
-
In the Transformation Wizard, map the data accordingly.
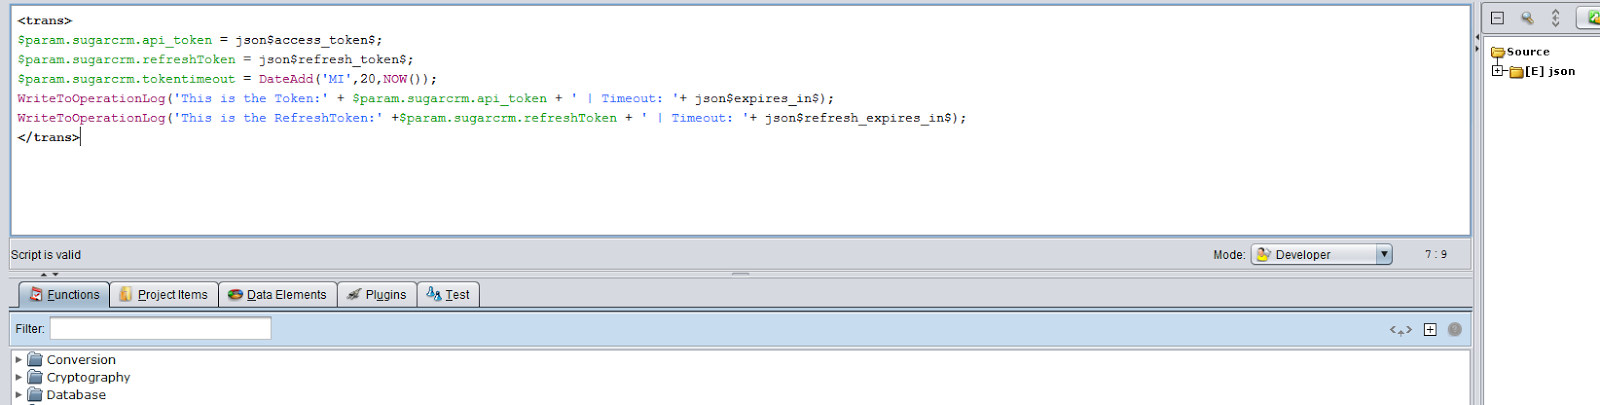
- In the example we are working with access_token, expires_in, token_type,refresh_token, and refresh_expires_in.

Example of the script used under "blank": Token and other values are saved into global variables to be used in other operations.
Step 13
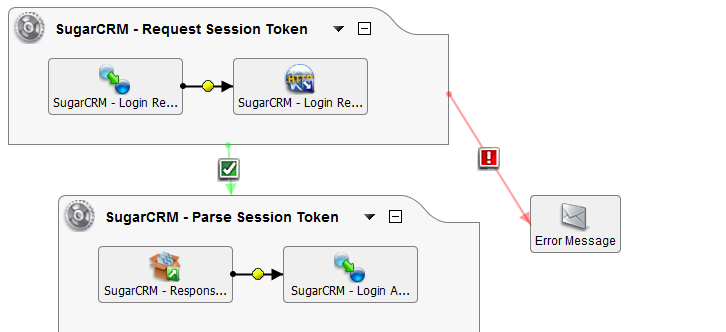
- Now you will be able to run the service. You would start with the Operation created on step 1.
Example of what the service should look like: