Create New AS2
Use the Create New AS2 tab to define AS2 connections. (The tab's label changes to Edit AS2 when editing an existing connection.) It contains the following tabs:
- Connection Information: The AS2 connection's primary details.
- Proxy: Proxy server settings for outgoing transmissions.
- HTTP Authentication: HTTP authentication settings.
- Encryption: Encryption settings.
- Certificate: Public key certificate details.
Connection Information
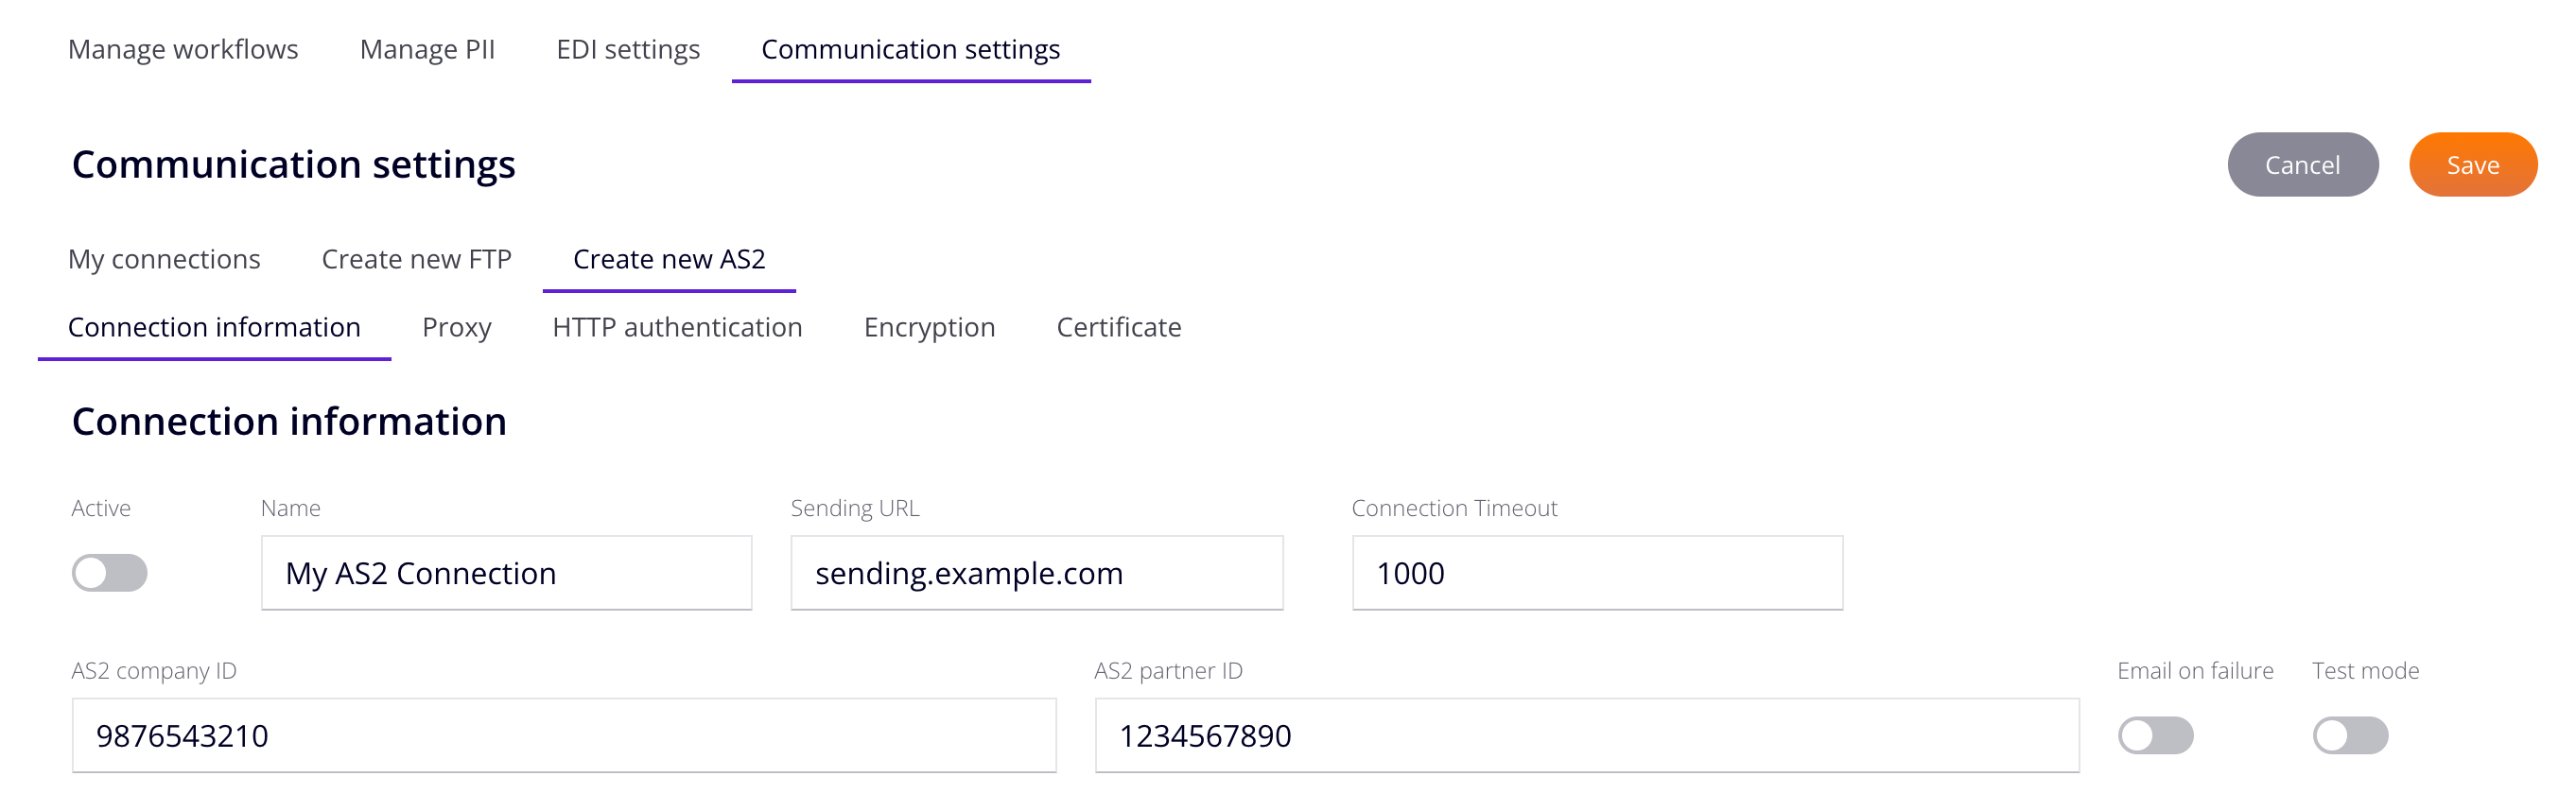
- Active: Enable to make the connection active.
- Sending URL: The URL provided by the trading partner for sending documents through the AS2 connection. The Sending URL is used in conjunction with the Receiving URL that you provide your trading partner so they can send data to Jitterbit's AS2 connection. The receiving URL is different for each Harmony region:
- North America:
na.as2.jitterbitedi.com - EMEA:
emea.as2.jitterbitedi.com - APAC:
apac.as2.jitterbitedi.com
- North America:
- Connection Timeout: The initial connection timeout.
- AS2 Company ID: The AS2 company identifier.
- AS2 Partner ID: The AS2 partner identifier.
- Email on Failure: Enable to send an email when there is a connection failure.
- Test Mode: Enable to test the connection.
Proxy
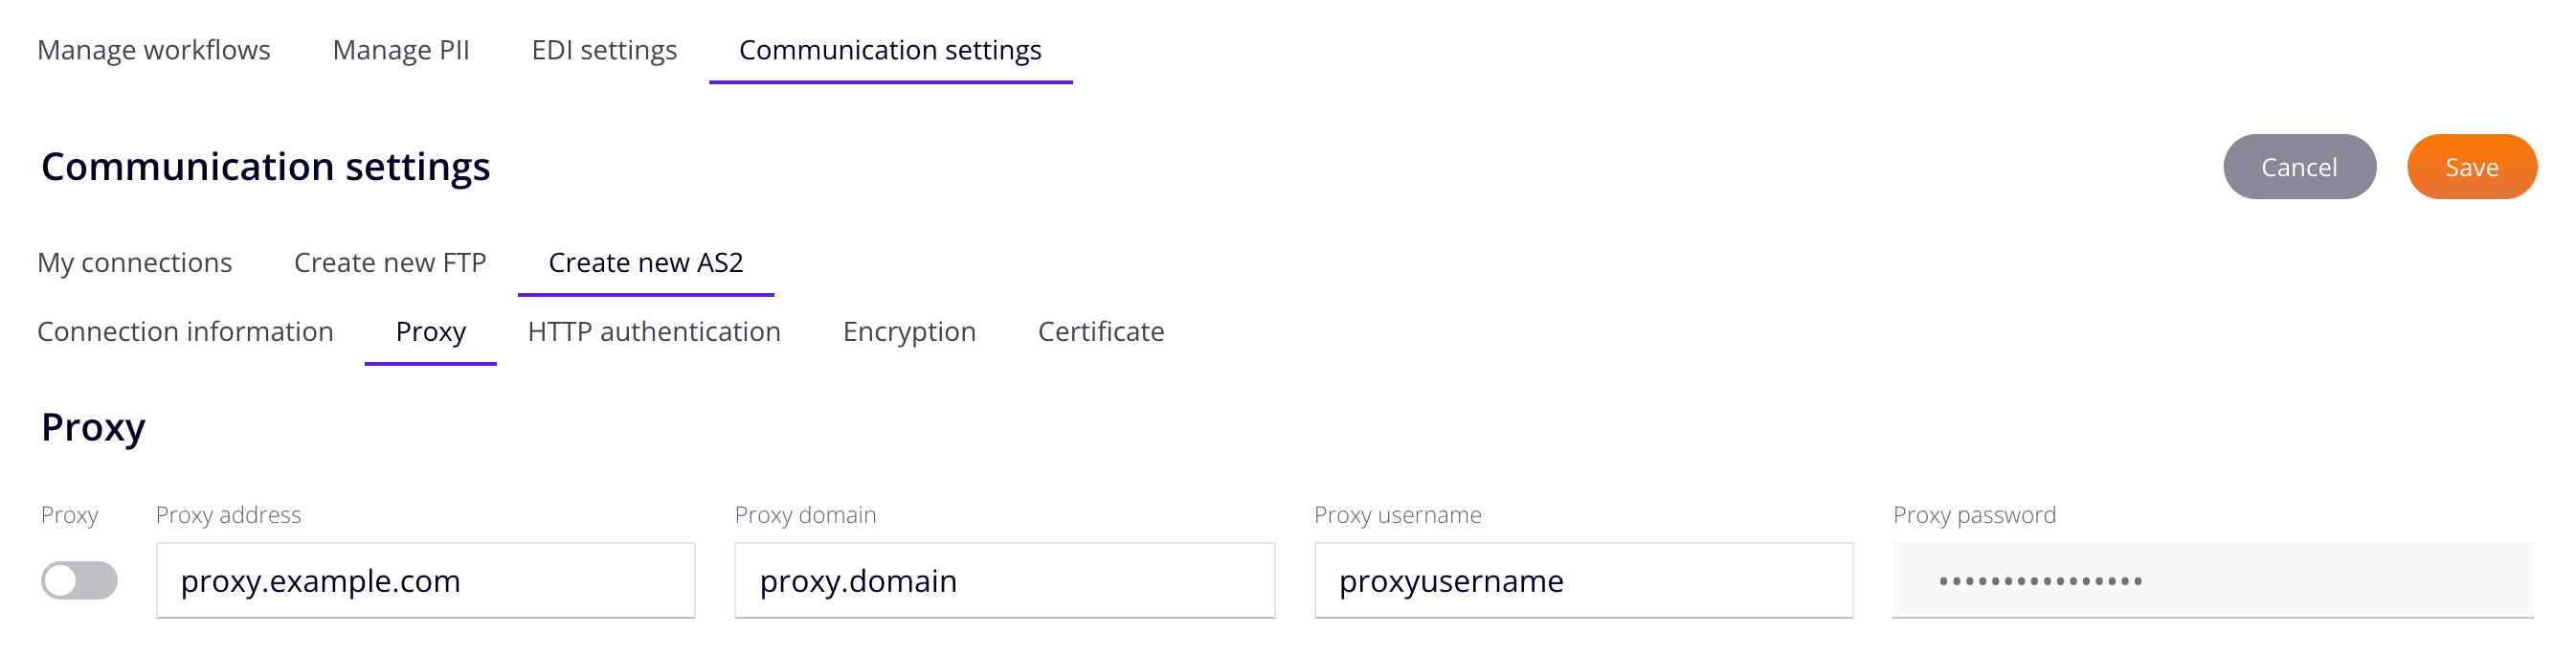
- Proxy: Enable to use a proxy server.
- Proxy Address: The proxy server's address.
- Proxy Domain: The proxy server's domain.
- Proxy Username: The proxy server's username.
- Proxy Password: The password for the proxy server's username.
HTTP Authentication
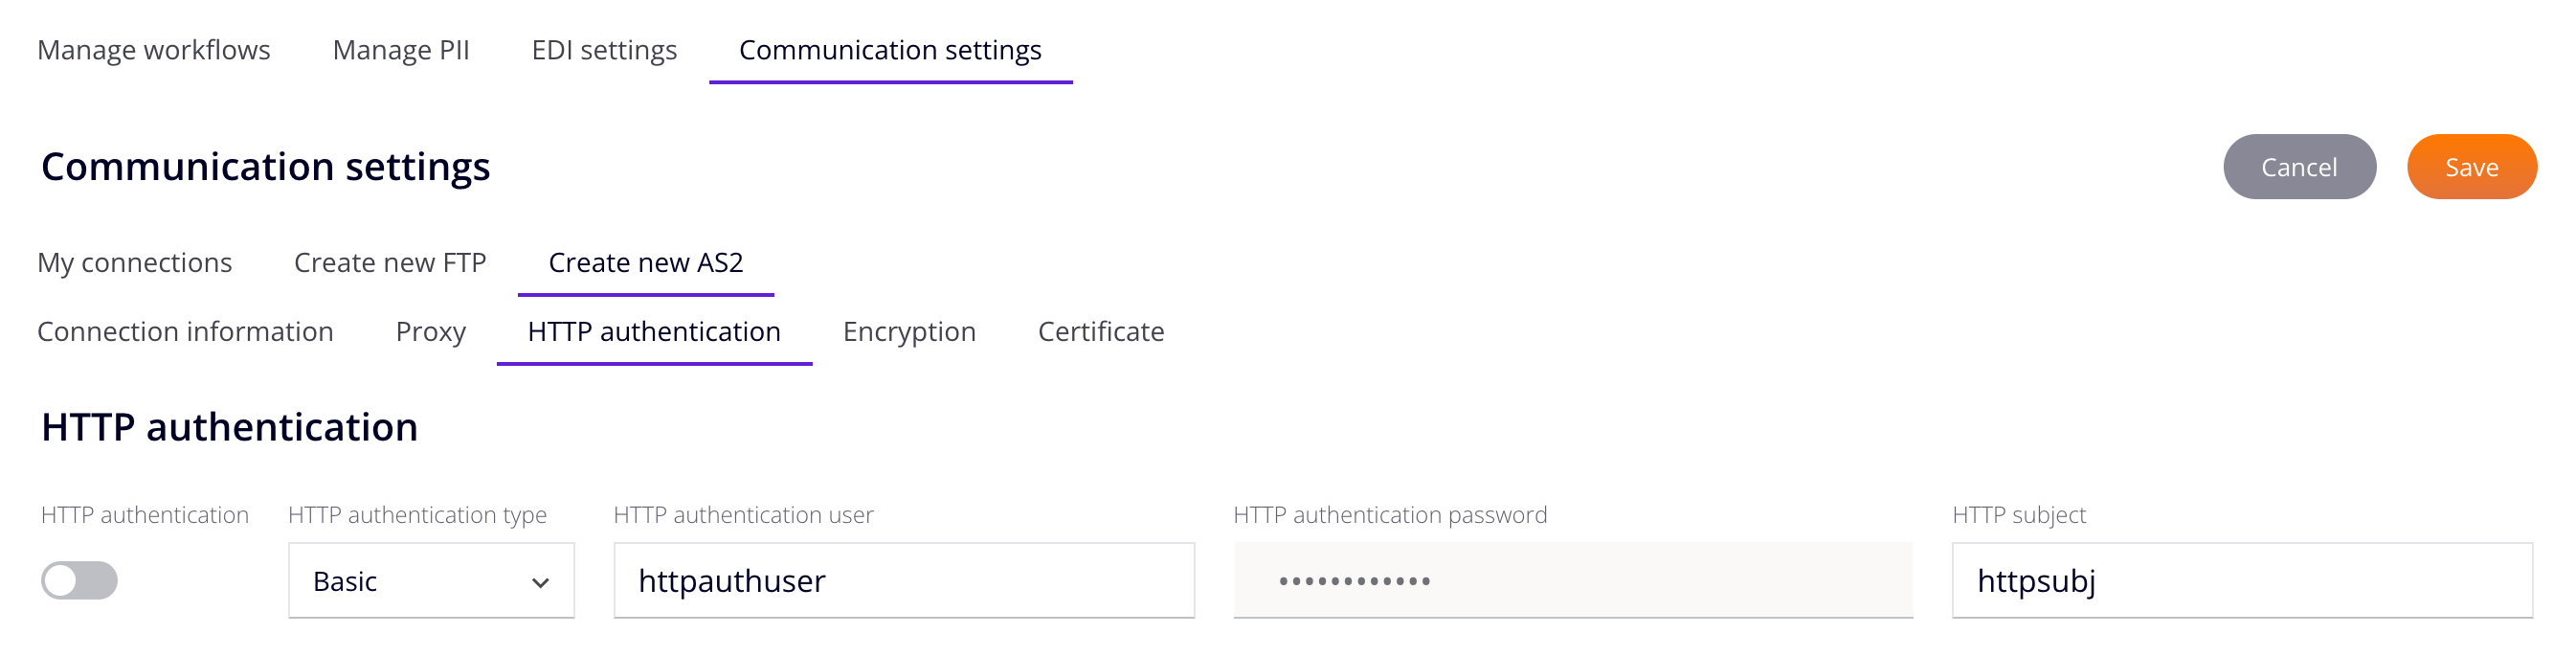
- HTTP Authentication: Enable to use HTTP authentication.
-
HTTP Authentication Type: Select the HTTP authentication type from the following choices:
-
HTTP Authentication User: The username for HTTP authentication.
- HTTP Authentication Password: The password for HTTP authentication.
- HTTP Subject: The subject describing the purpose of the endpoint.
Encryption
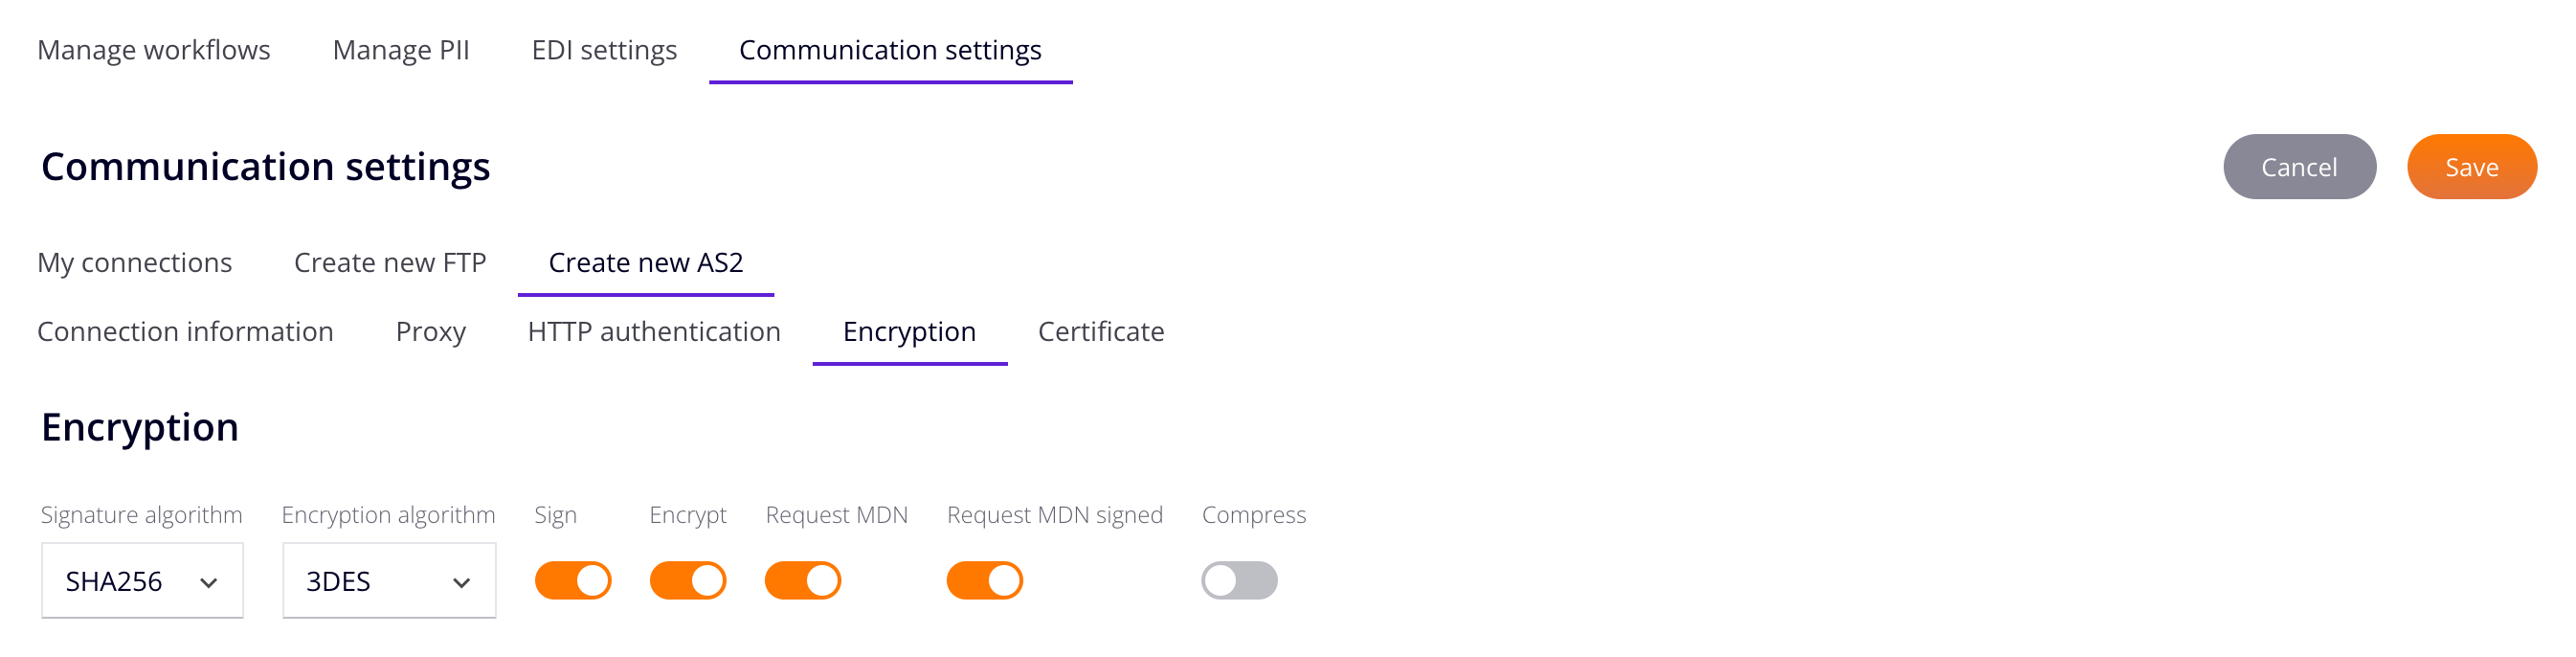
- Signature Algorithm: Select the signature algorithm.
- Encryption Algorithm: Select the encryption algorithm.
- Sign: Enable to reject unsigned incoming messages.
- Encrypt: Enable to reject unencrypted incoming messages.
- Request MDN Signed: Enable to request a message disposition notification (MDN).
- Compress: Enable to use ZLIB compression.
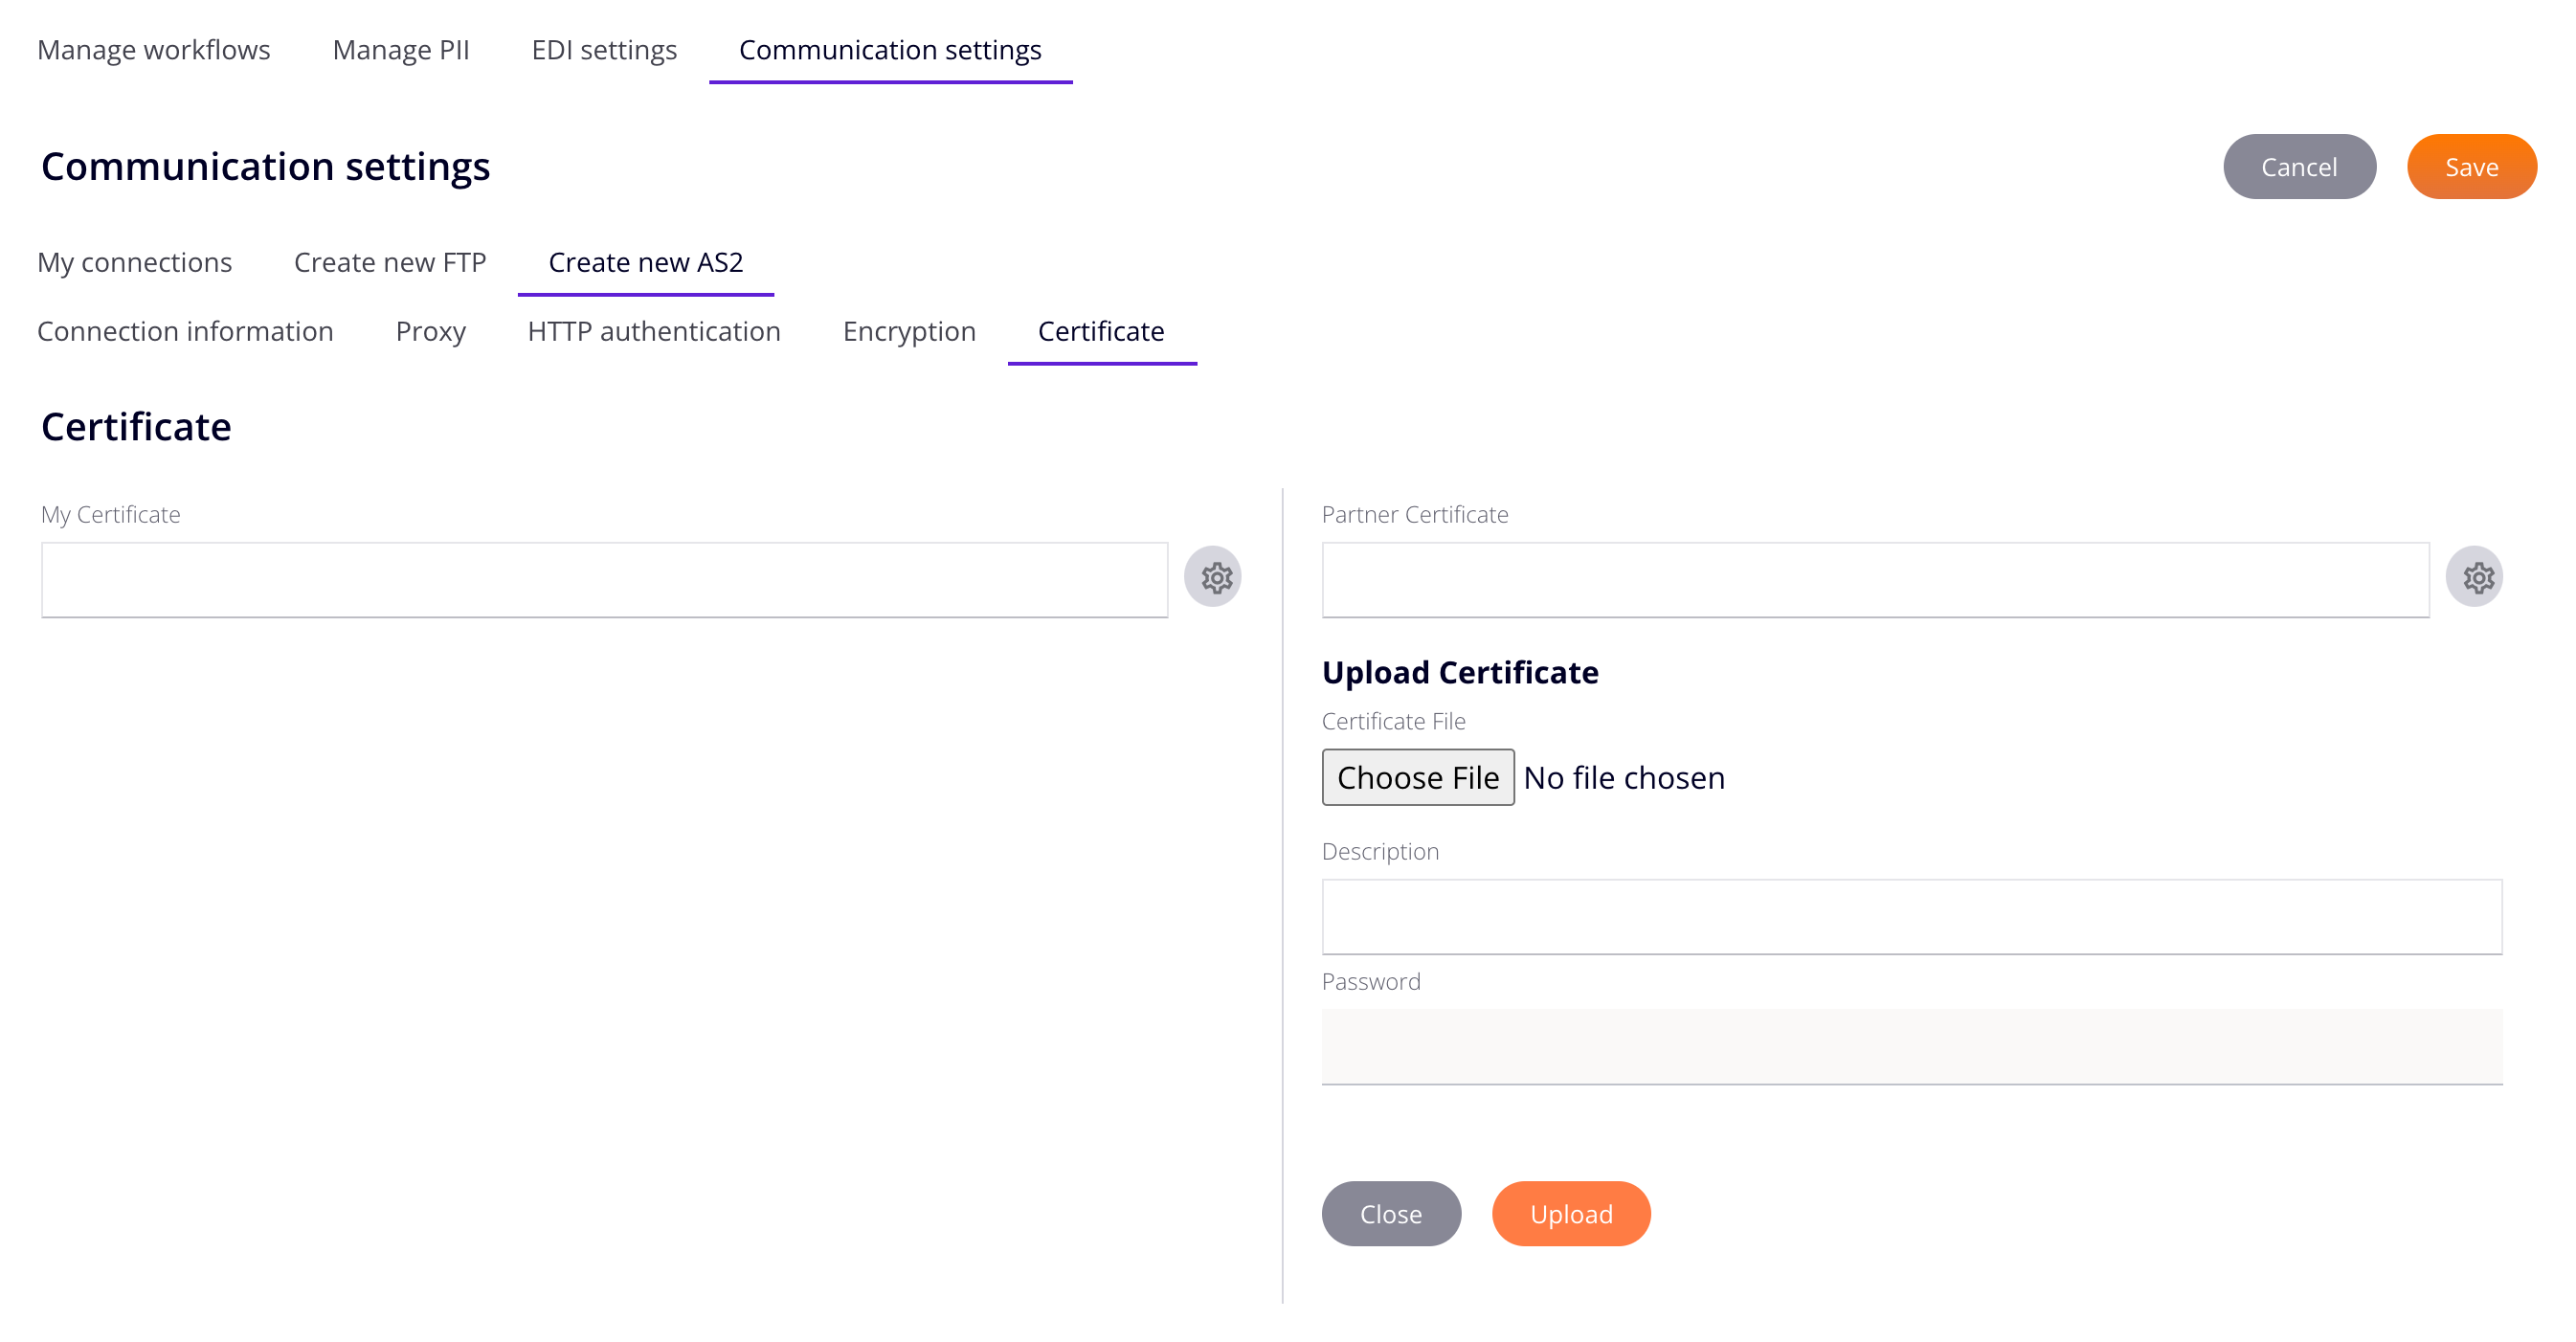
Certificate
Use the Certificate tab to manage certificates for your organization and your trading partners:
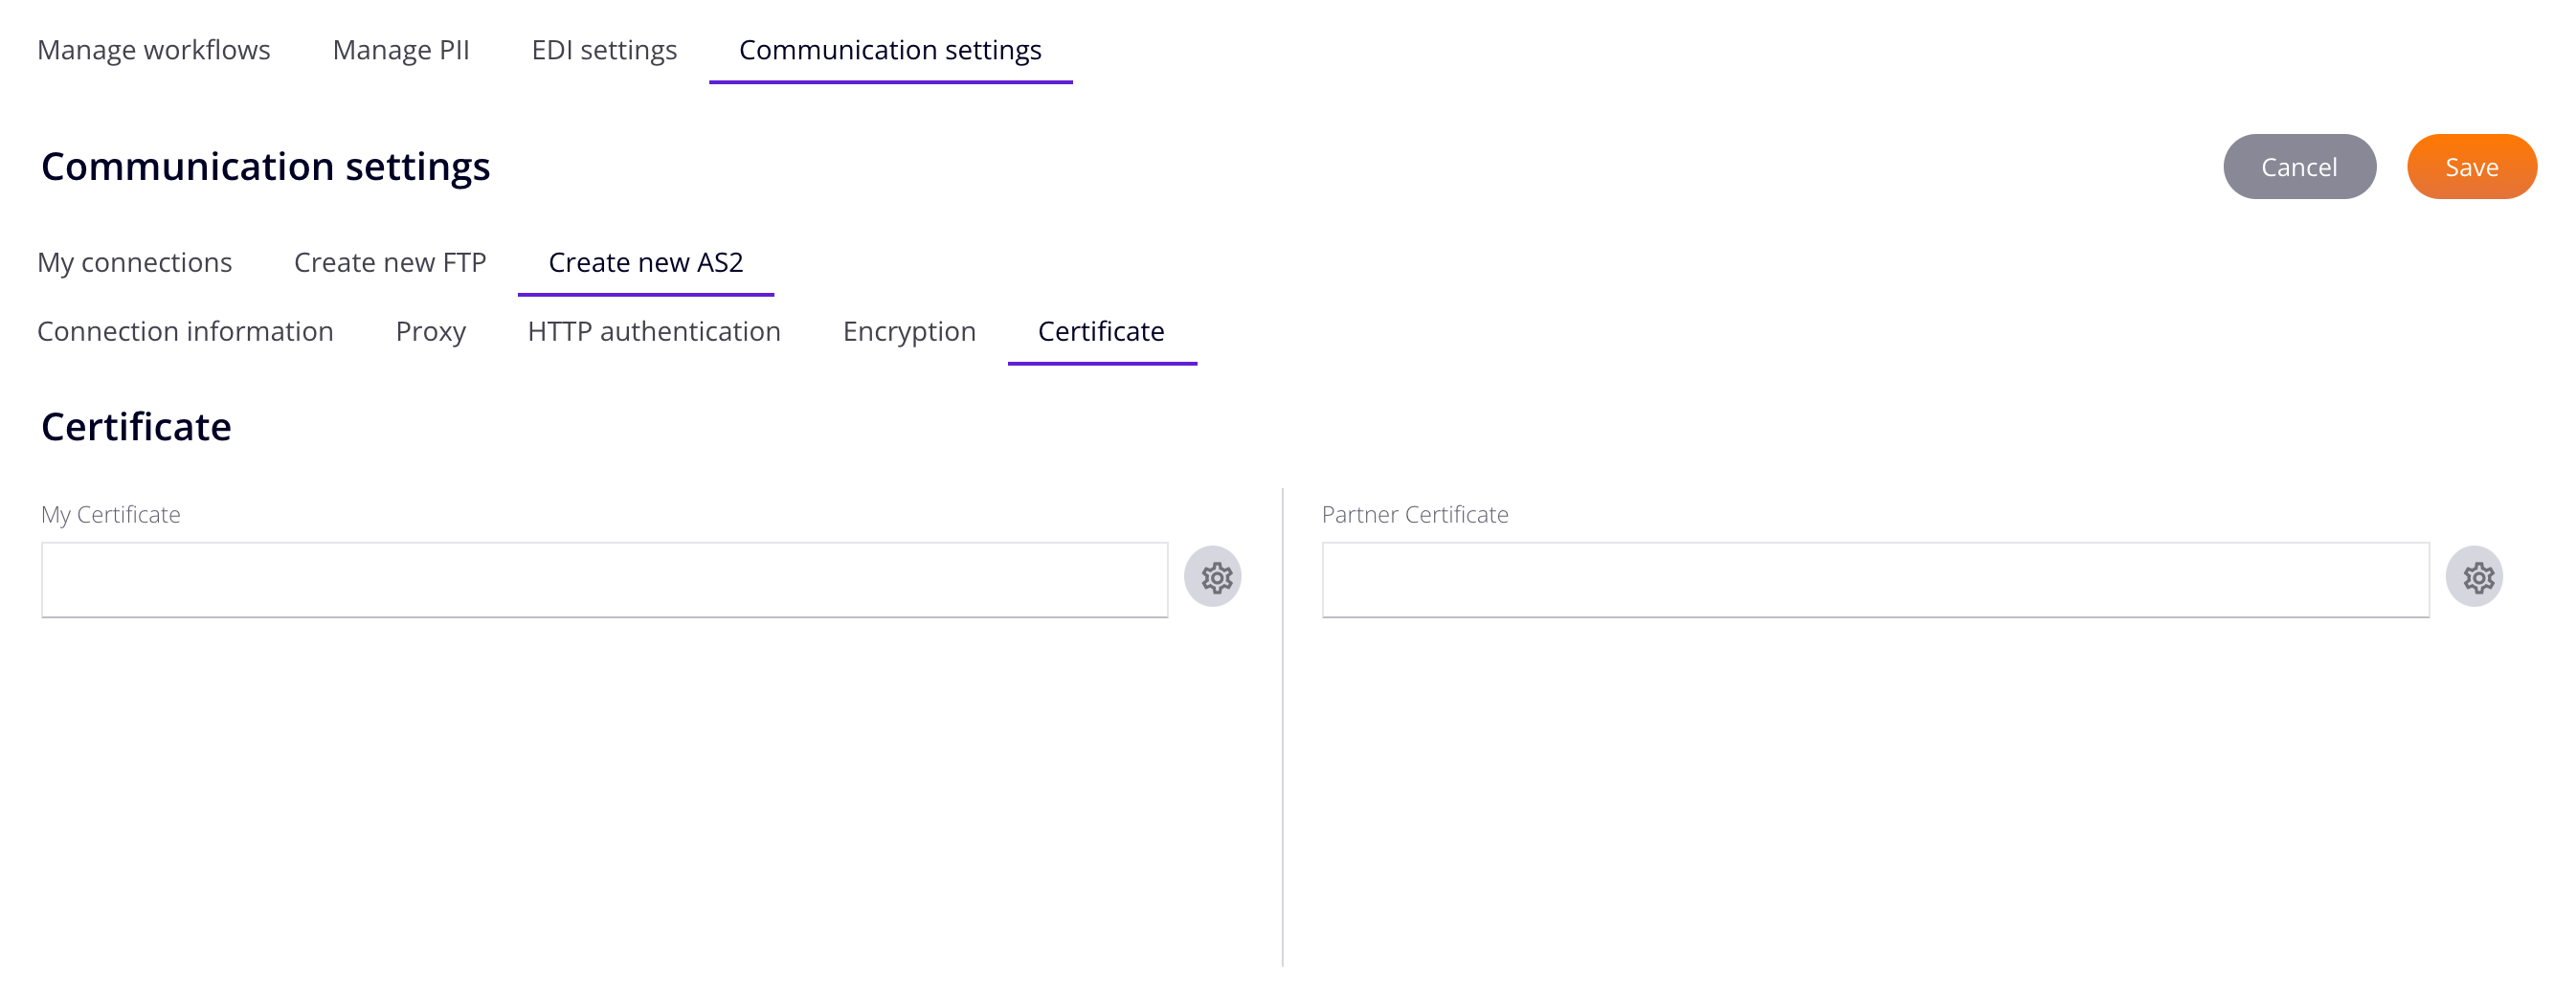
The Certificate tab contains two panes:
- My Certificate: Certificates for your organization.
- Partner Certificate: Certificates for the trading partner.
My Certificate
Click Manage to open the Manage Certificate pane:

The pane contains the following:
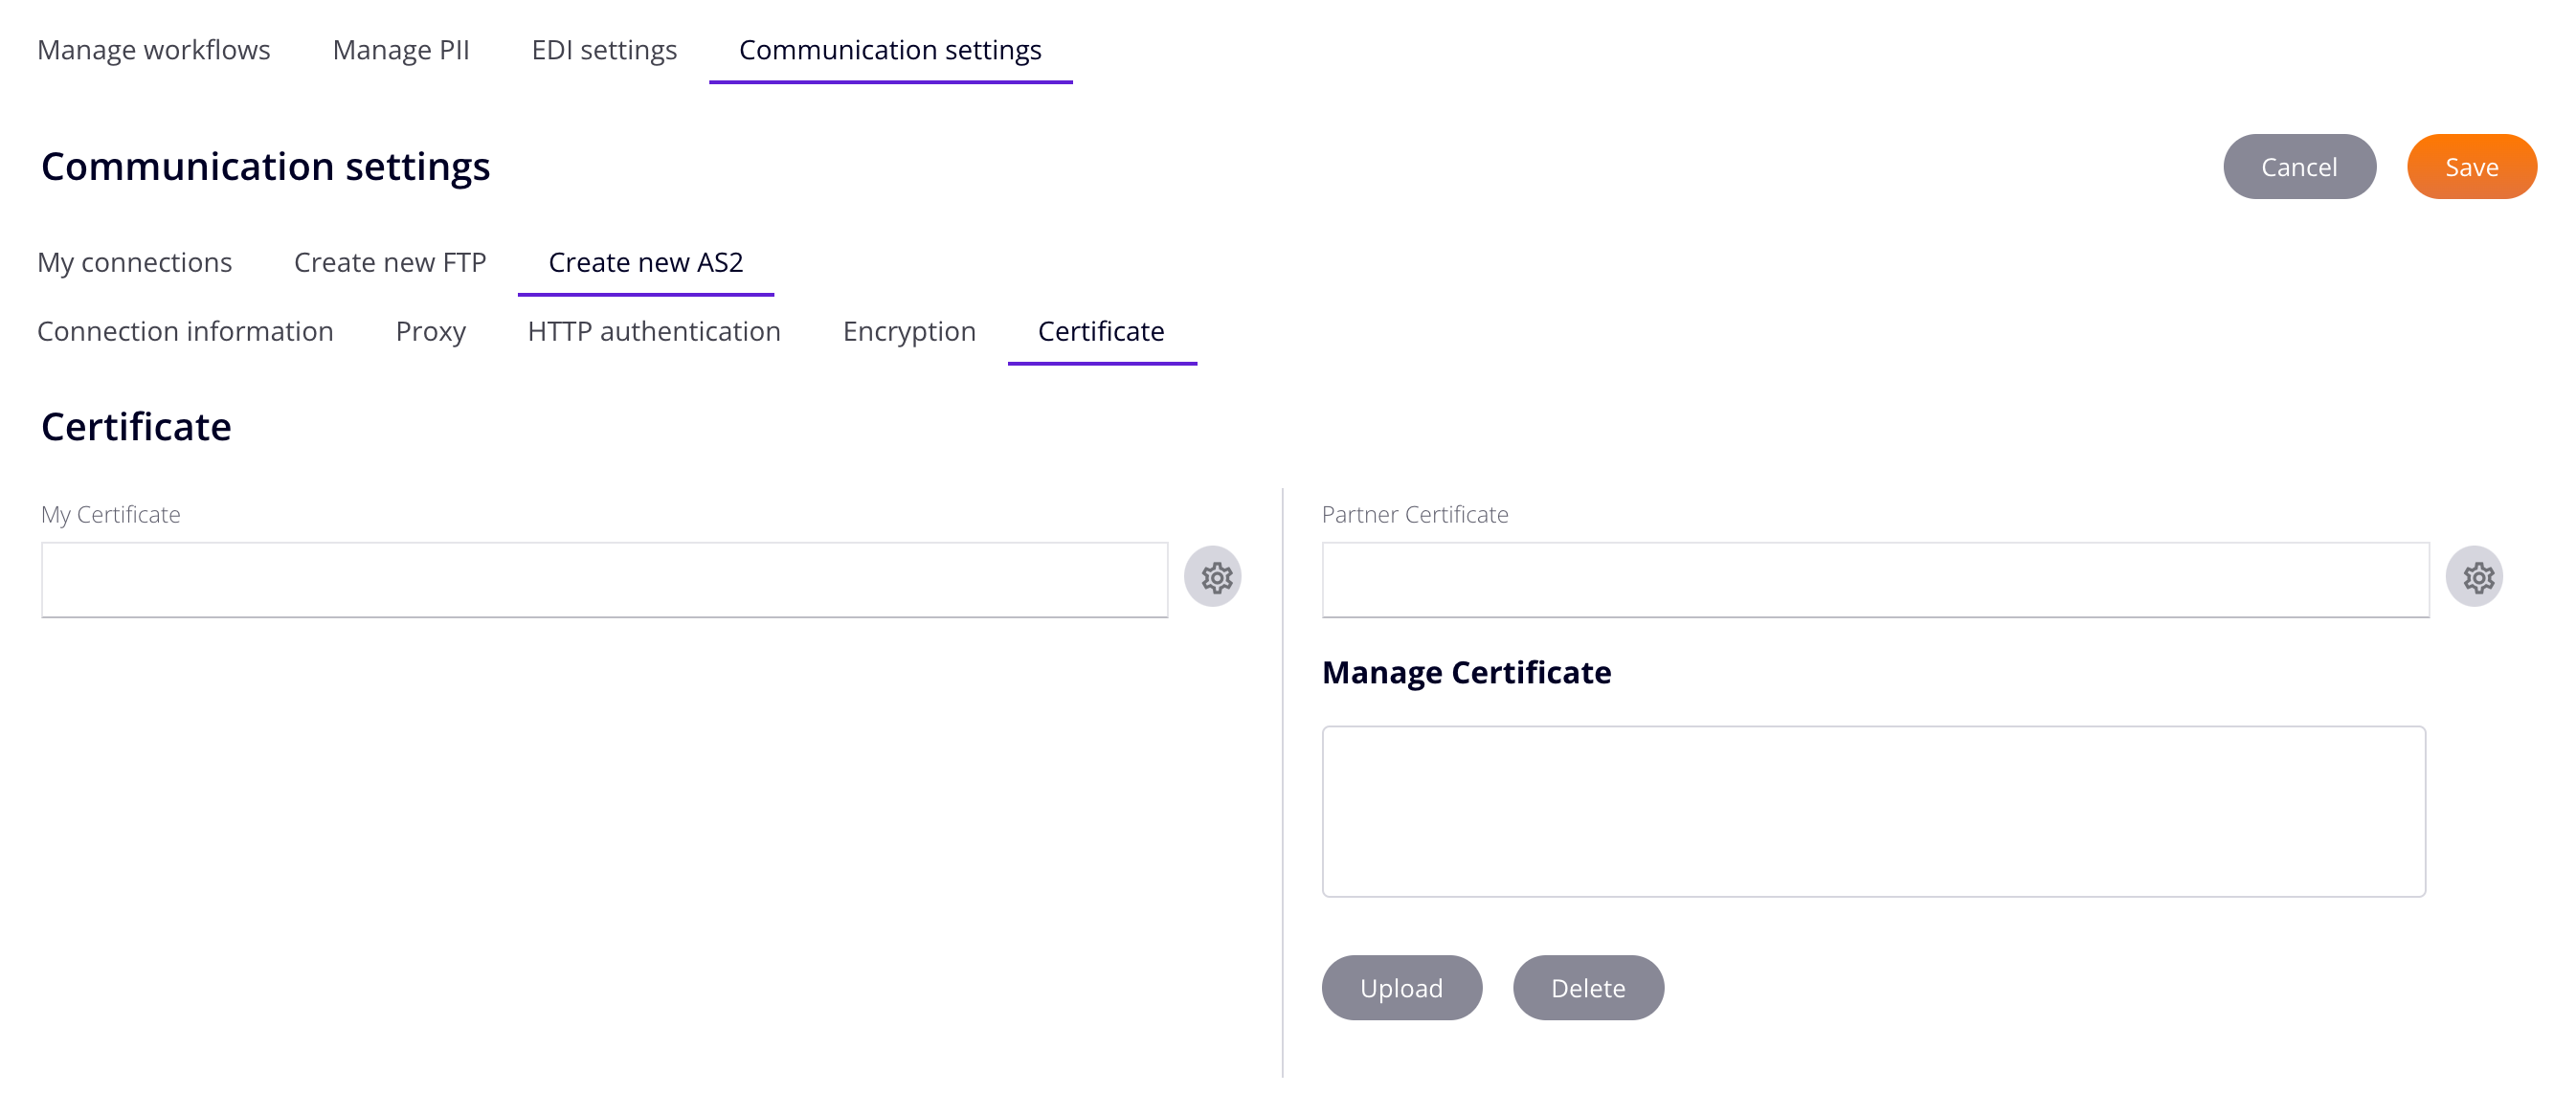
- Manage Certificate: A list of available certificates. Select an entry to edit or delete one. (The selected entry is not highlighted.)
-
Upload: Upload a certificate file. Accepted file types are
.cer,.crt, and.pfx.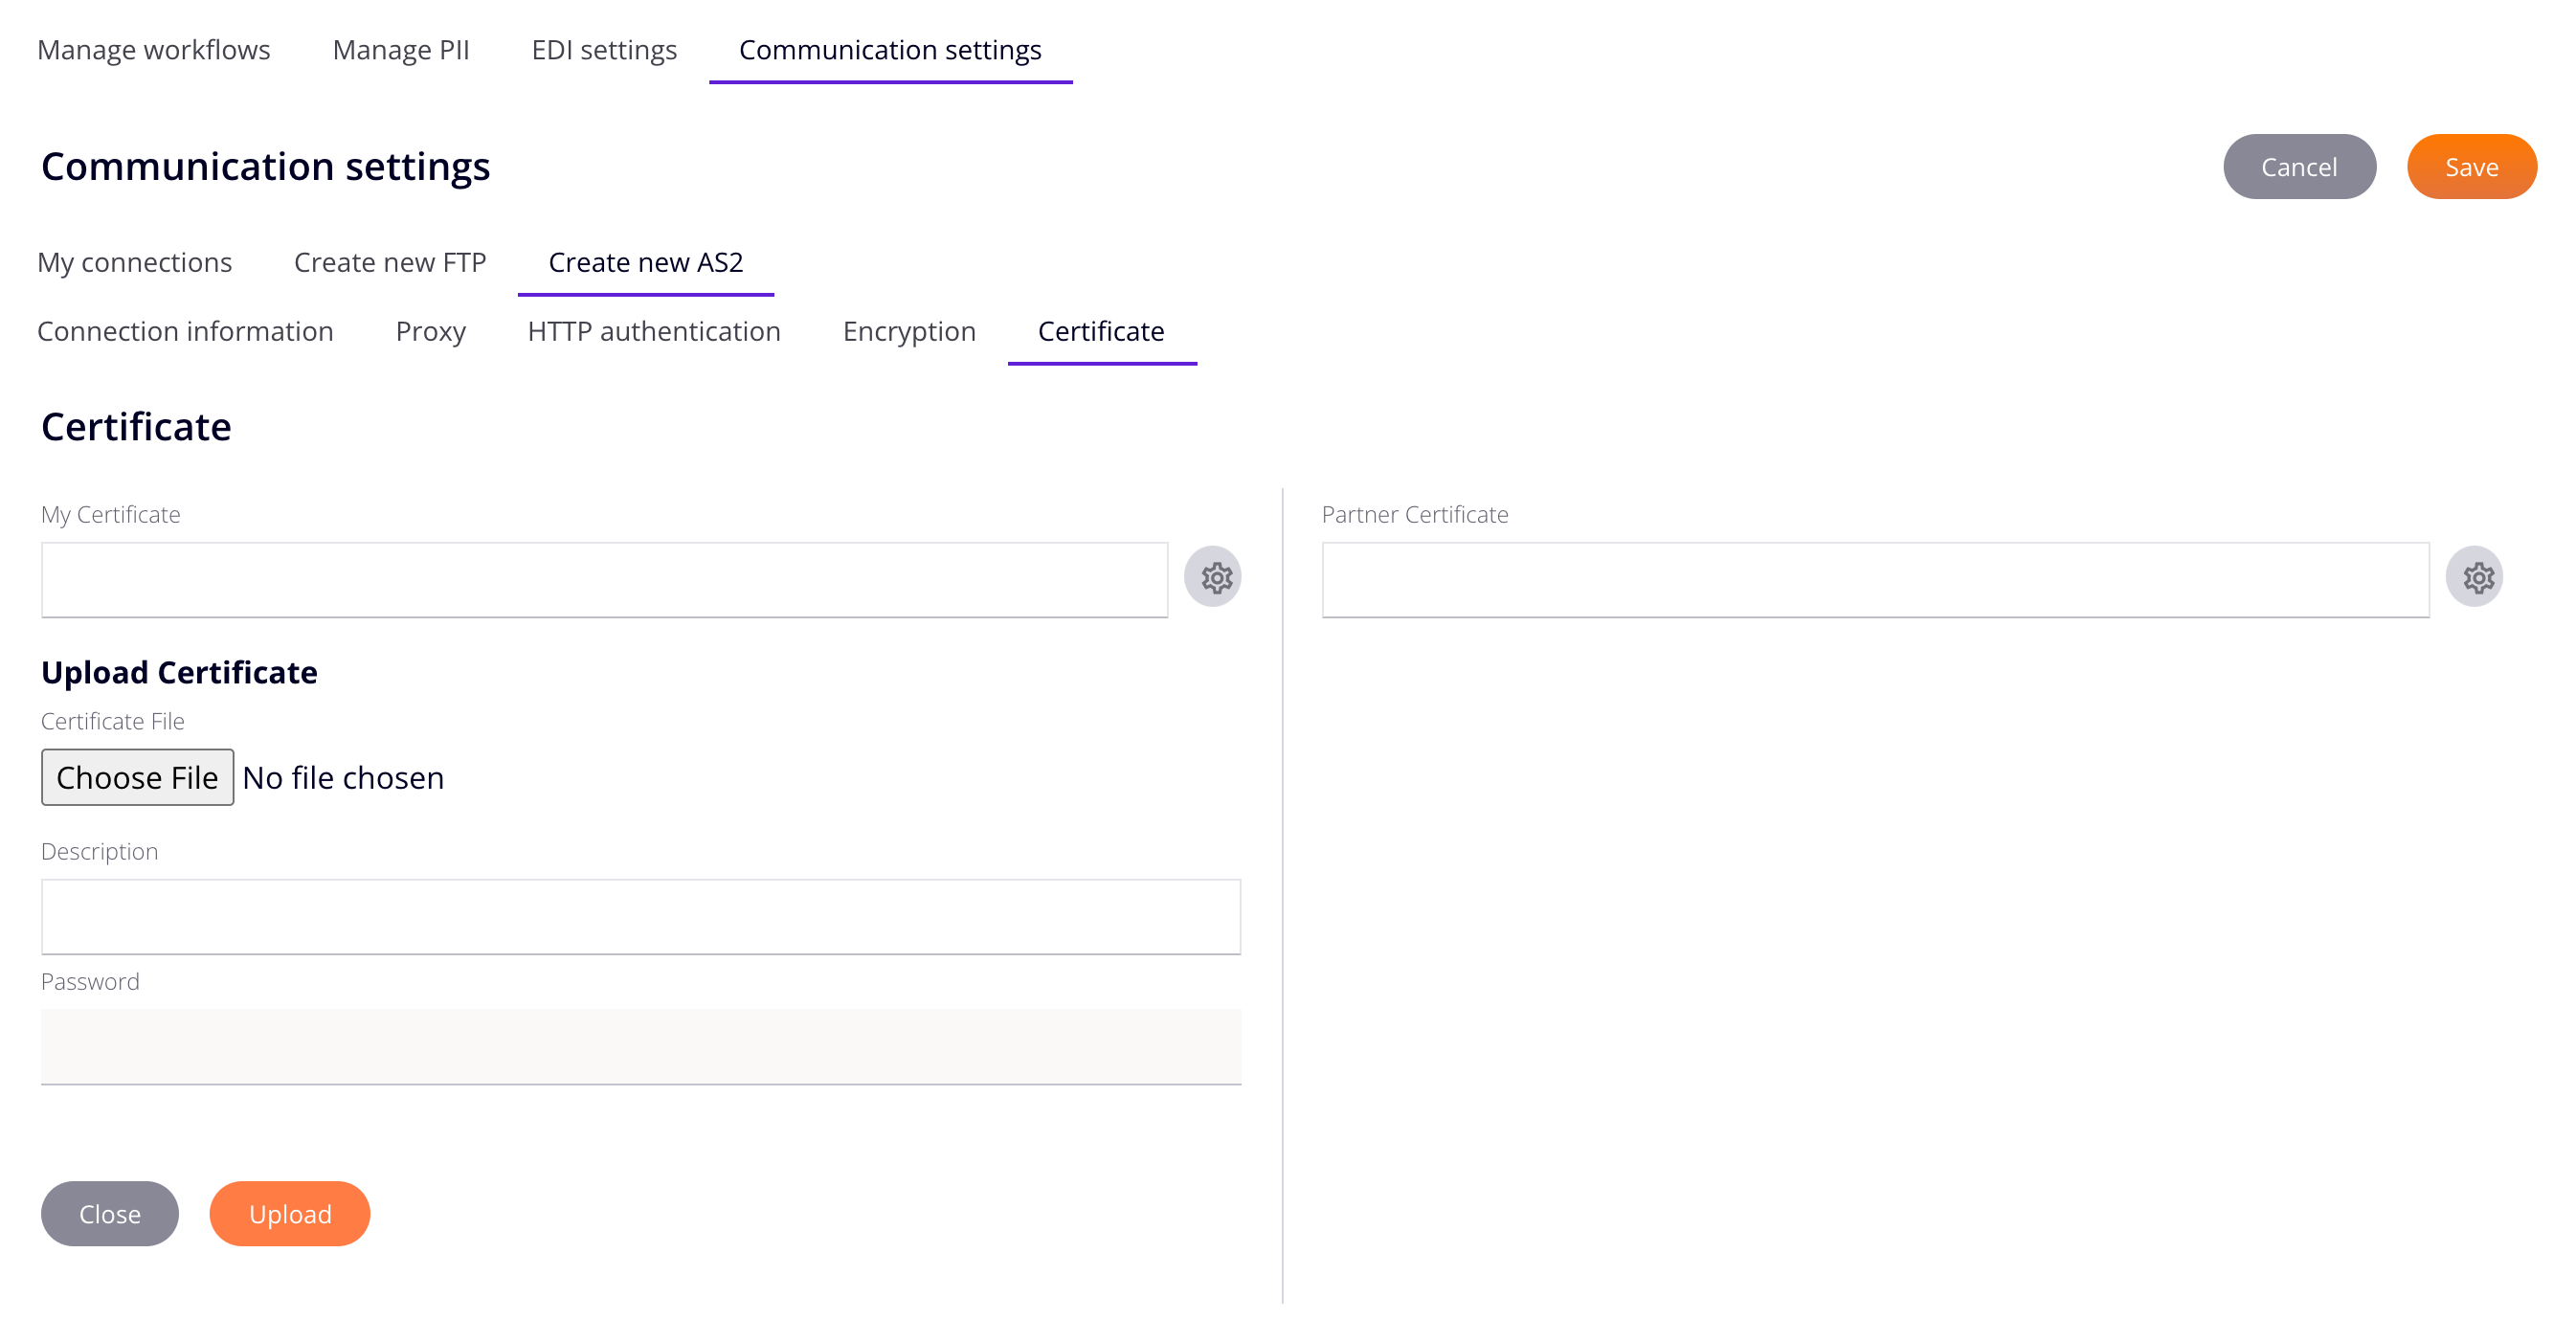
- Certificate File: Click to open your system's file browser. Navigate to a certificate file, select it, then select Open.
- Description: A description for the uploaded certificate. (Required.)
- Password: The password for the certificate. (Required.)
- Close: Close the Upload Certificate pane and return to the Manage Certificate pane.
- Upload: Upload the certificate.
-
Generate: Generate a certificate.
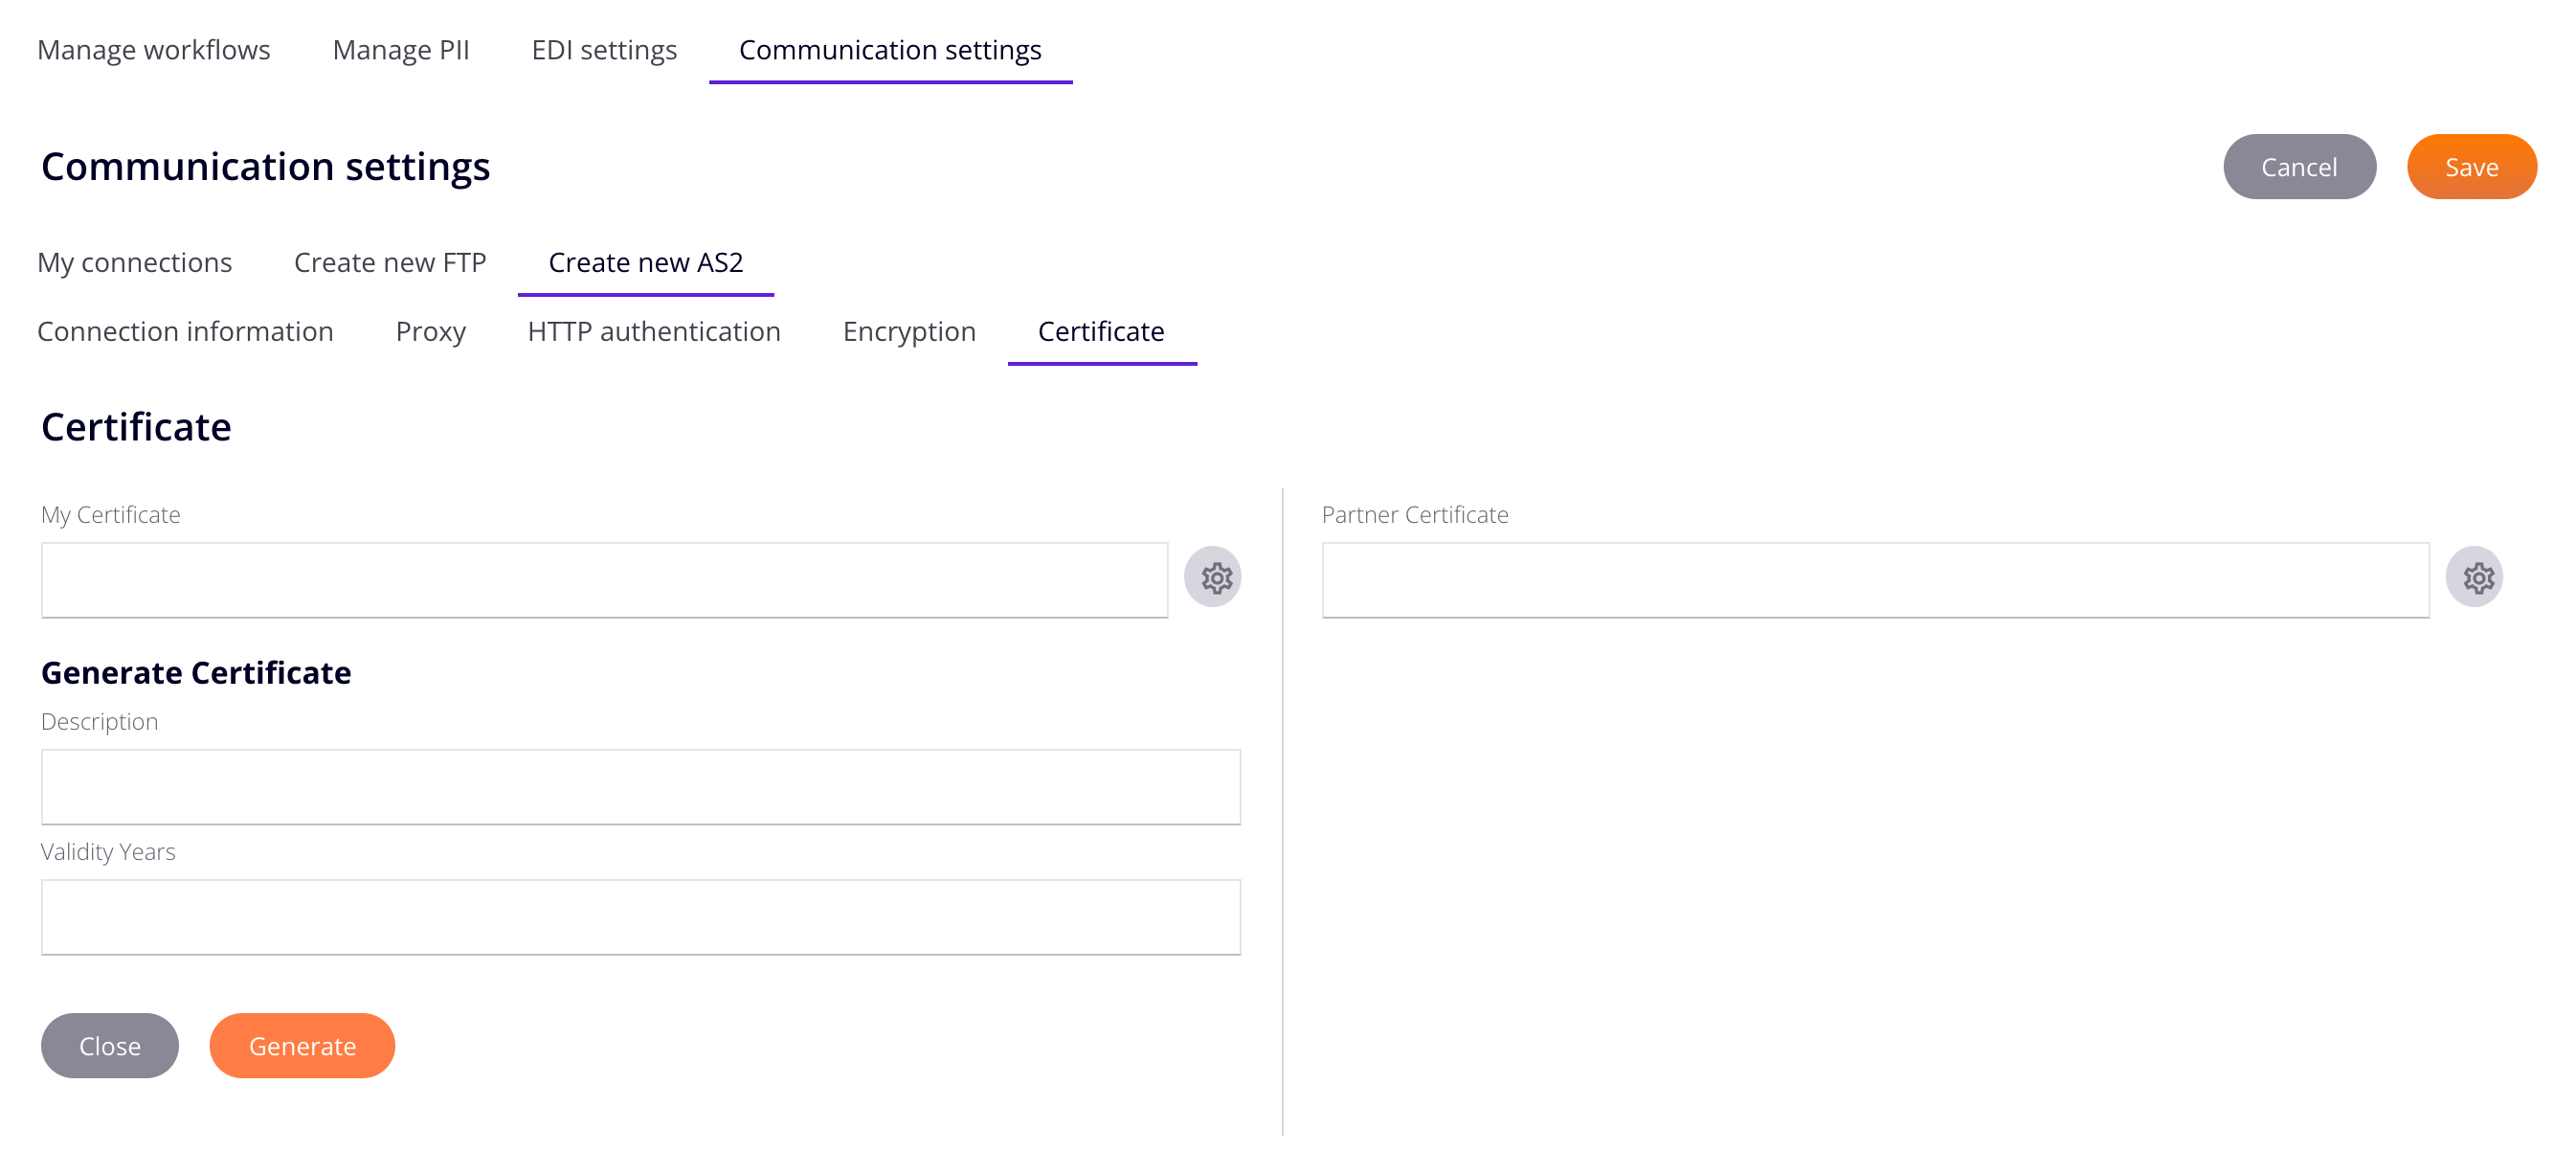
- Description: A description for the generated certificate. (Required.)
- Validity Years: How many years the certificate should be valid for. (Required.)
- Close: Close the Generate Certificate pane and return to the Manage Certificate pane.
- Generate: Generate the certificate.
-
Delete: Delete the certificate selected in the Manage Certificate list.
Caution
Certificates are deleted without confirmation.
-
Download: Download a certificate. The file type is
.cer.
Partner Certificate
Click Manage to open the Manage Certificate pane for the partner certificate:
The pane contains the following:
- Manage Certificate: A list of available partner certificates. Select an entry to edit or delete one. (The selected entry is not highlighted.)
-
Upload: Upload a partner certificate.
- Certificate File: Click to open your system's file browser. Navigate to a certificate file, select it, then select Open.
- Description: A description for the uploaded partner certificate. (Required.)
- Password: The password for the partner certificate. (Required.)
- Close: Close the Upload Certificate pane and return to the Manage Certificate pane.
- Upload: Upload the certificate.
-
Delete: Delete the selected partner certificate.
Caution
Certificates are deleted without confirmation.