EDI settings
Introduction
The EDI settings tab is where you define the EDI settings for transactions made with a trading partner. To open it, use the Harmony portal menu to select EDI > Admin, add or select a trading partner, then select the EDI settings tab:
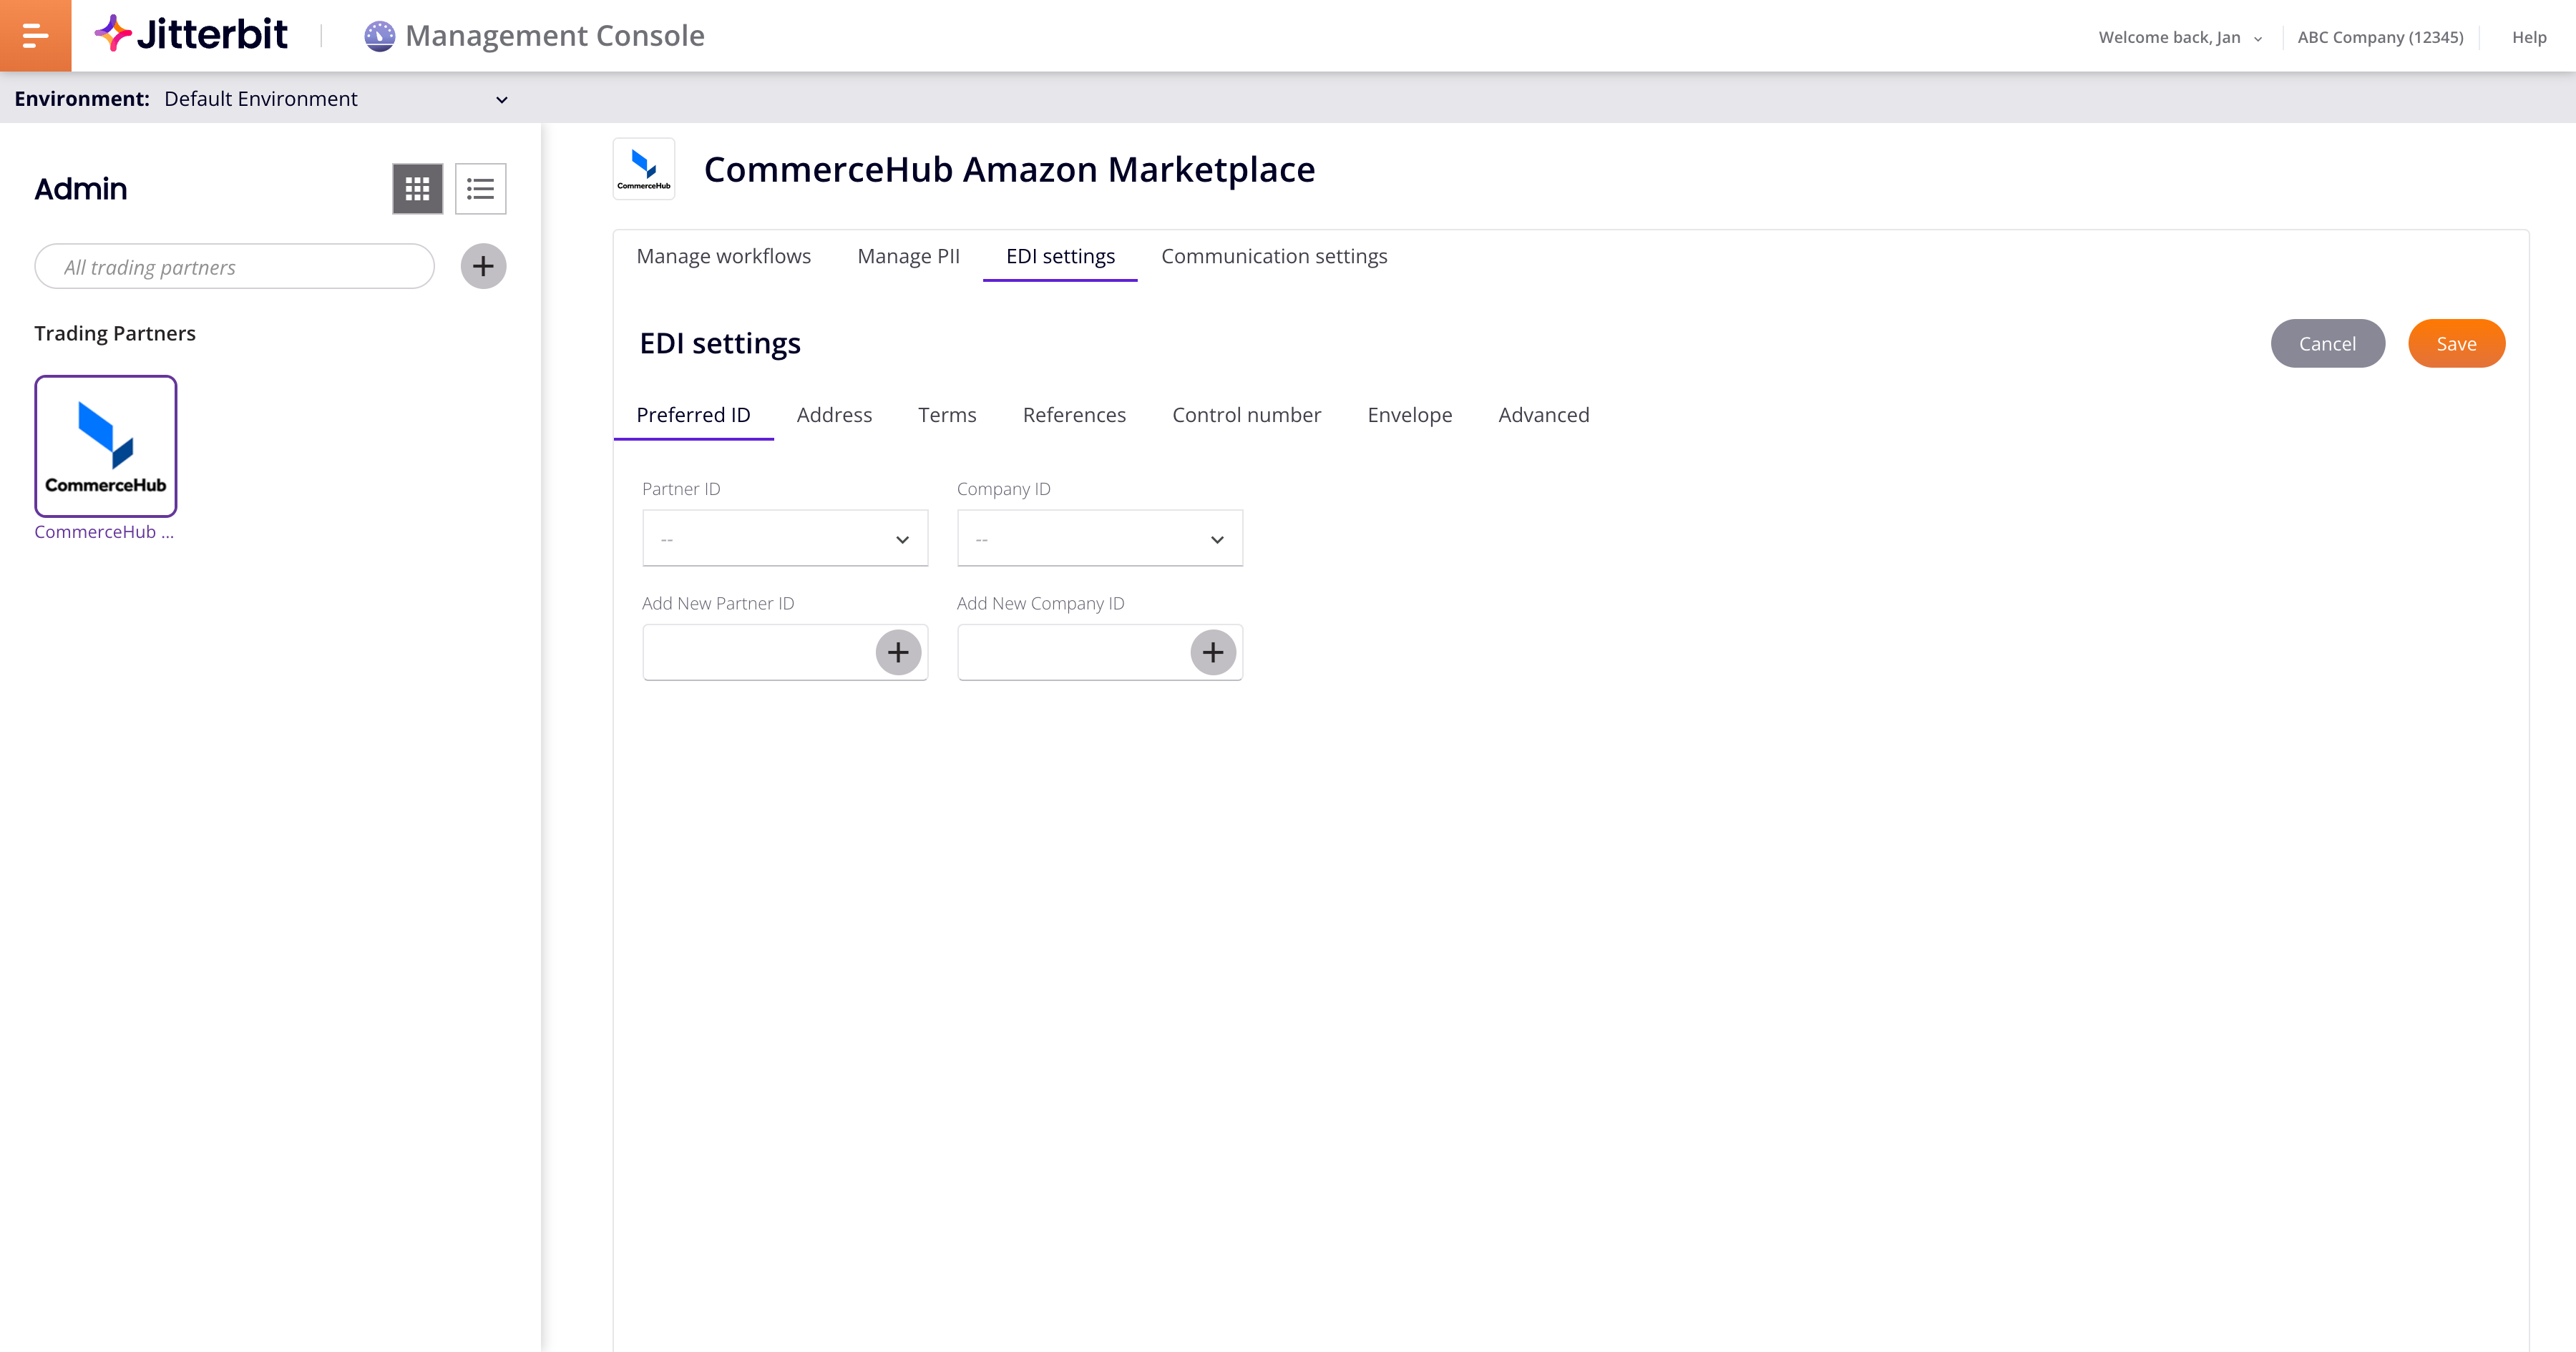
Click Save before changing tabs to save any entered values.
Preferred ID
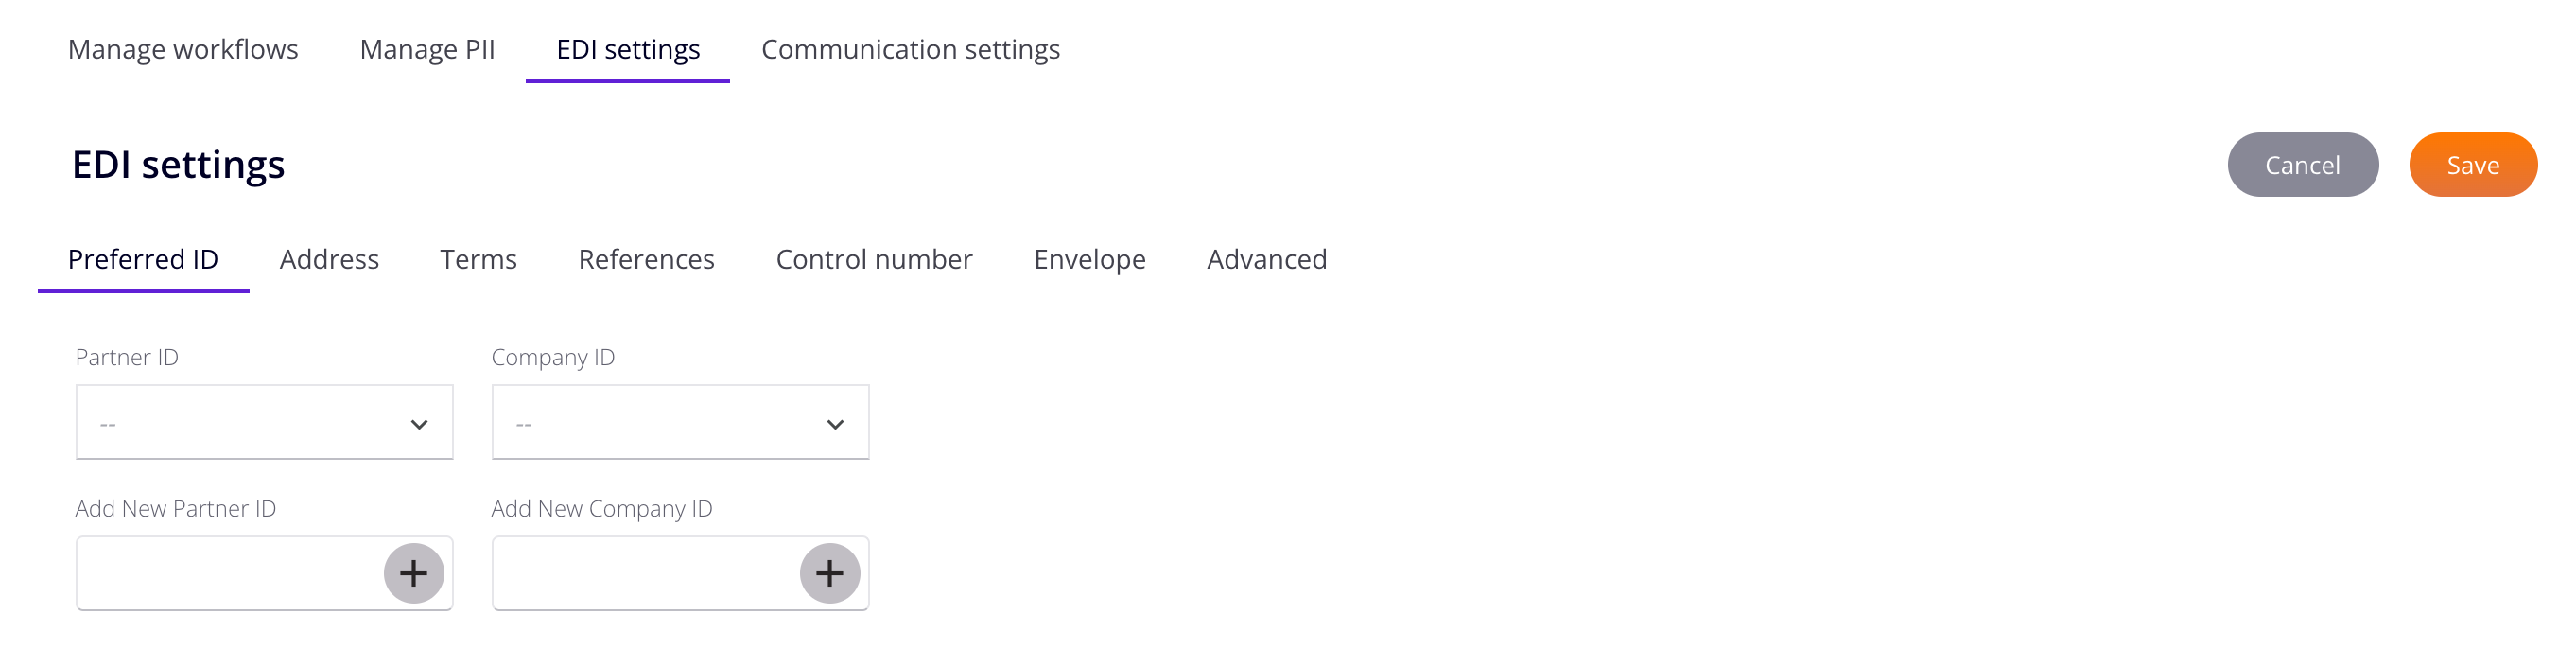
The Preferred ID tab is where you set which company ID (GS ID) to use with each partner:
-
Partner ID: Choose the partner's ID (GS ID).
-
Company ID: Choose the company ID (GS ID) to use with this partner.
-
Add New Partner ID: Enter a new partner ID, click Add, then select the new ID from the Partner ID list.
-
Add New Company ID: Enter a new company ID, click Add, then select the new ID from the Company ID list. (You cannot delete added company IDs.)
Address
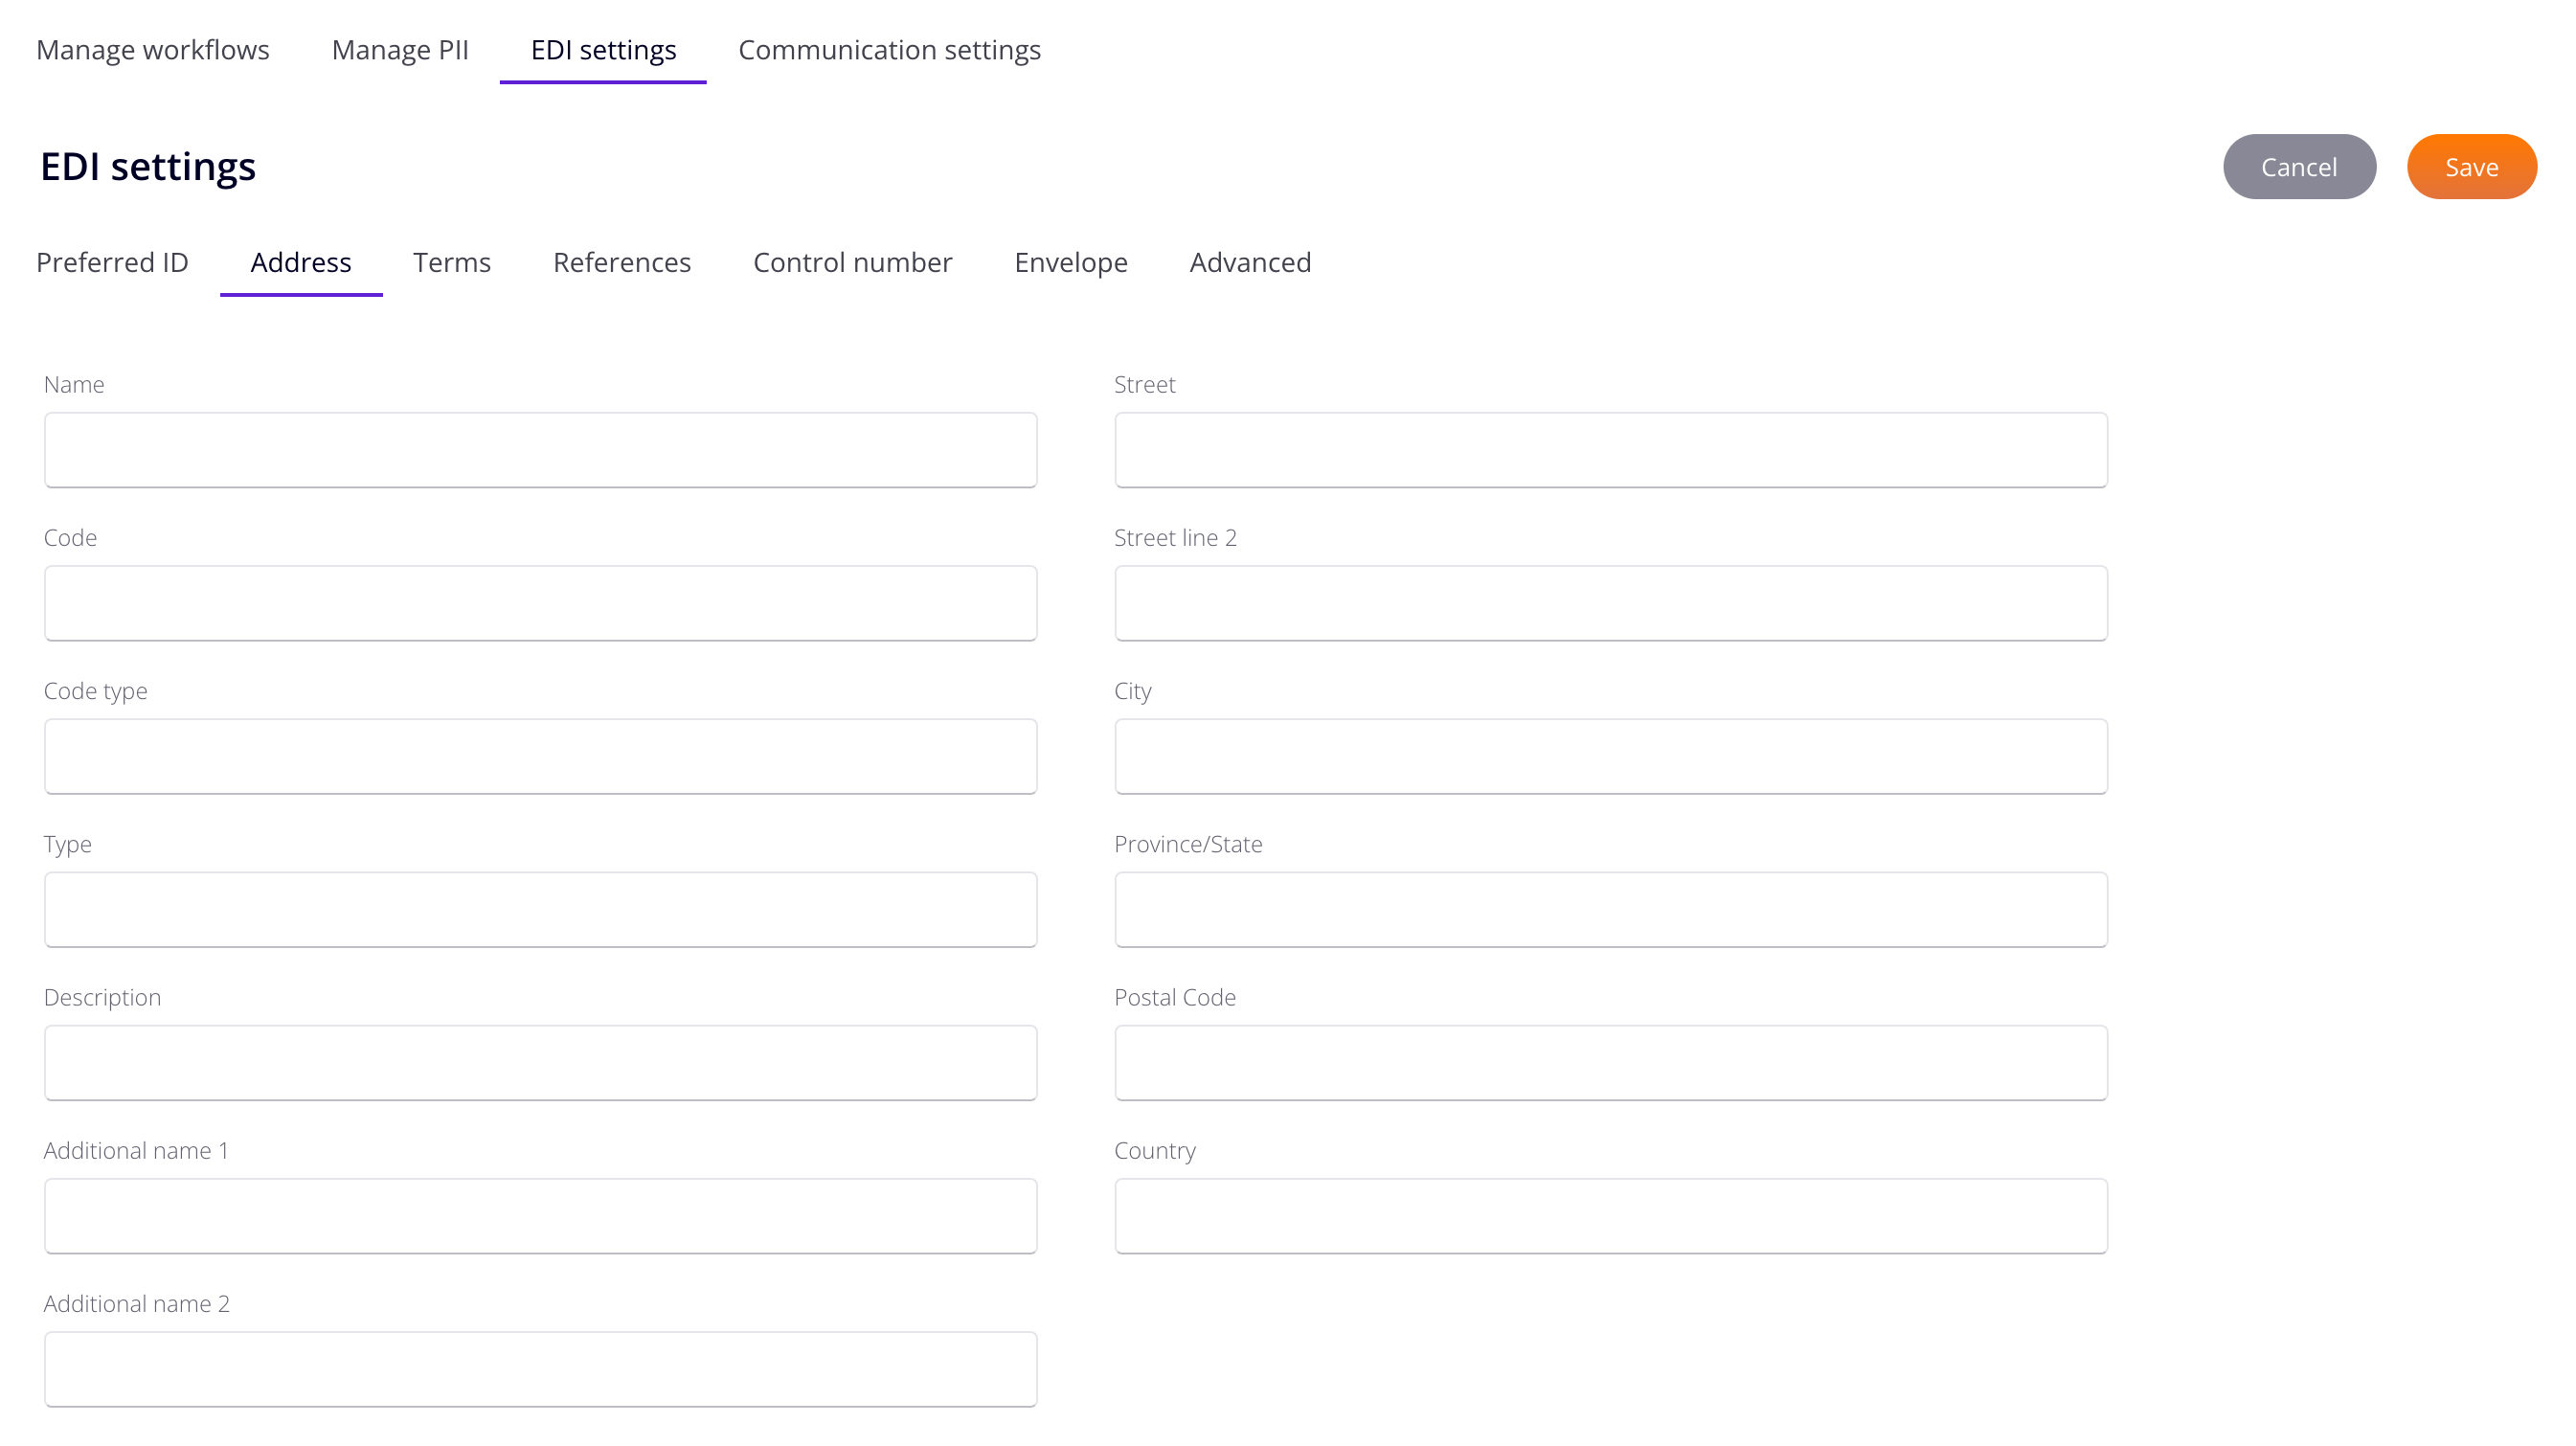
The Address tab is where you enter a partner's details:
-
Name
-
Code
-
Code Type
-
Type
-
Description
-
Additional Name 1
-
Additional Name 2
-
Street
-
Street Line 2
-
City
-
Province/State
-
Postal Code
-
Country
Terms
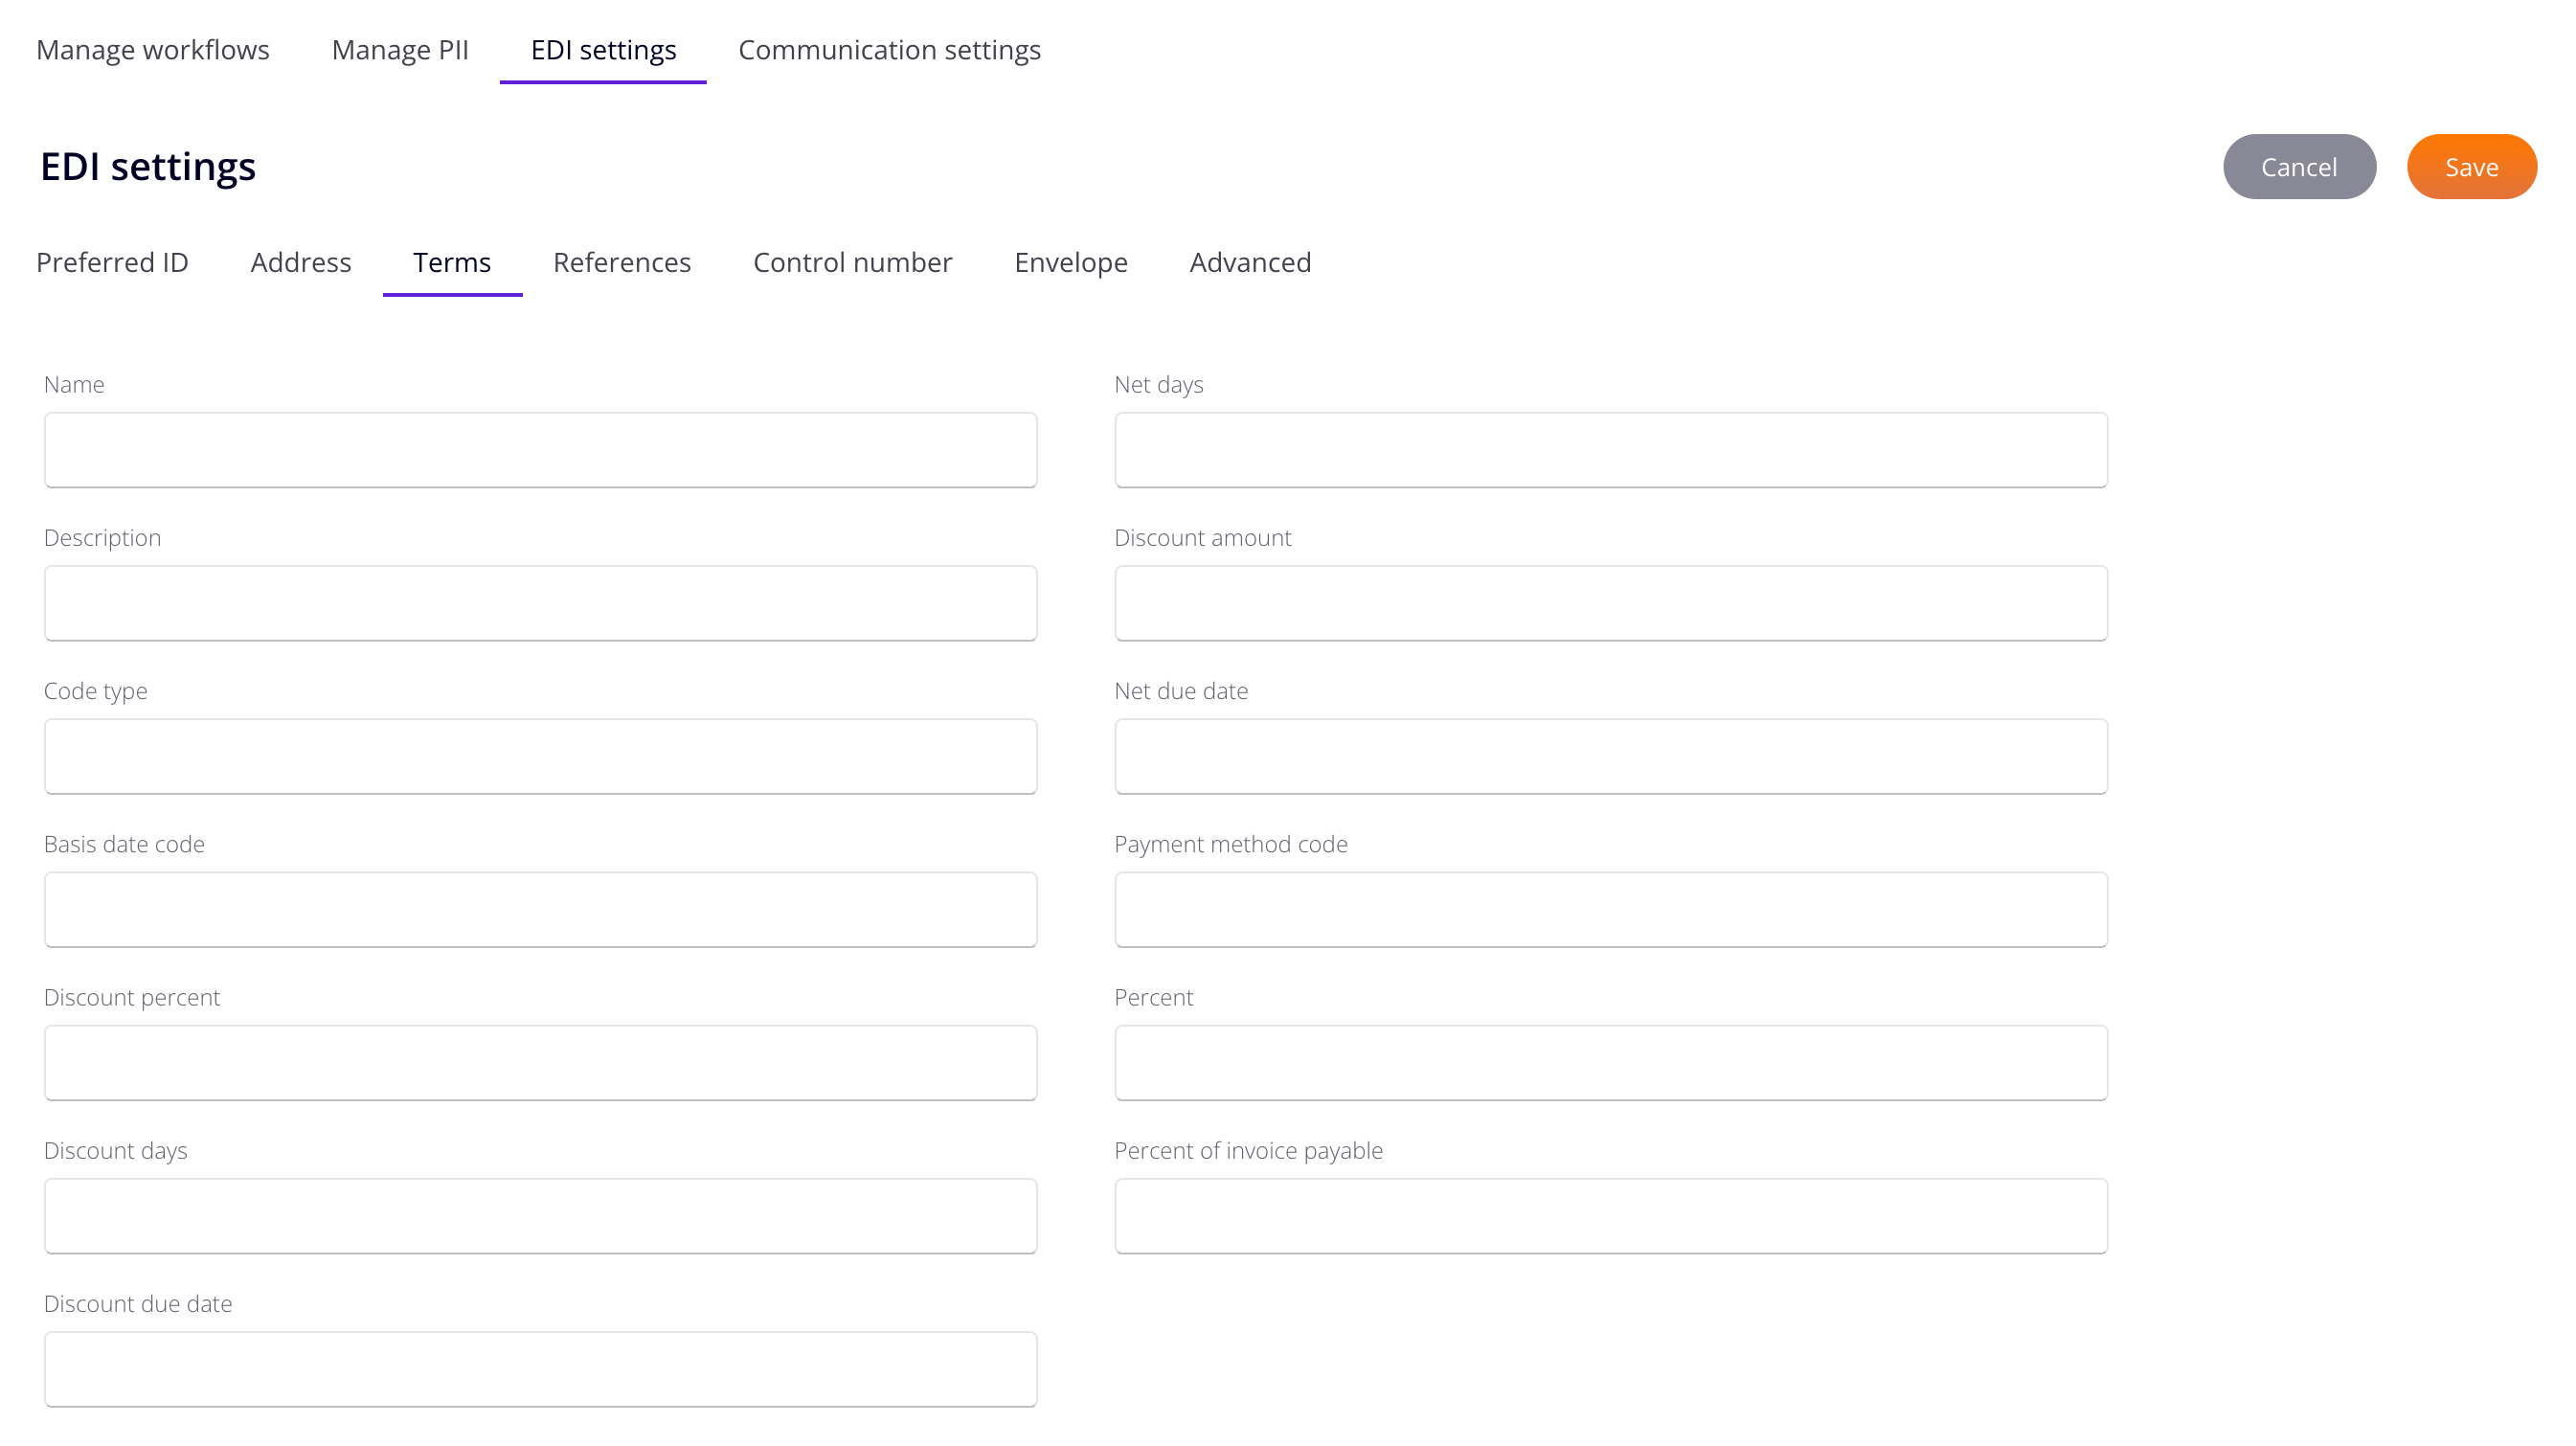
The Terms tab is where you enter the partner's terms of business:
-
Name: Enter the shipping company's name.
-
Description: Enter a description for the term.
-
Code Type: Enter the code identifying the type of payment terms. (See the partner's EDI implementation guide for specific values.)
-
Basis Date Code: Enter the code identifying the start of the term's period. (See the partner's EDI implementation guide for specific values.)
-
Discount Percent: Enter the percentage discount given to a purchaser for invoices paid on or before the discount due date. (See the partner's EDI implementation guide for specific values.)
-
Discount Days: Enter the number of days in the terms discount period for which payment is due (if a discount is applied). (See the partner's EDI implementation guide for specific values.)
-
Discount Due Date: Enter the date payment is due for a discount to be applied.
-
Net Days: Enter the number of days until the total invoice amount is due (discount not applicable). (See the partner's EDI implementation guide for specific values.)
-
Discount Amount: Enter the total amount of discount.
-
Net Due Date: Enter the date (in YYYYMMDD format) when the total invoice amount becomes due.
-
Payment Method Code: Enter the code identifying the type of payment procedure.
-
Percent: Enter the percentage discount expressed as a decimal.
-
Percent of Invoice Payable: Enter the percentage amount of invoice payable.
References
The References tab is where you define one or more partner reference items:

-
References: Enter the reference information as defined for a particular transaction set, or as specified by the reference identification qualifier. Enter text in the field to filter entries.
-
Code: The code qualifying the reference identification is automatically entered when References is set.
-
Description: Enter a description for the reference.
-
Value: Enter the value used to identify one or more reference numbers or identification numbers as specified by the reference qualifier.
-
Add: Add a reference item. When added, click Delete to delete an item.
Control number
The Control Number tab is where you set the partner's control number:
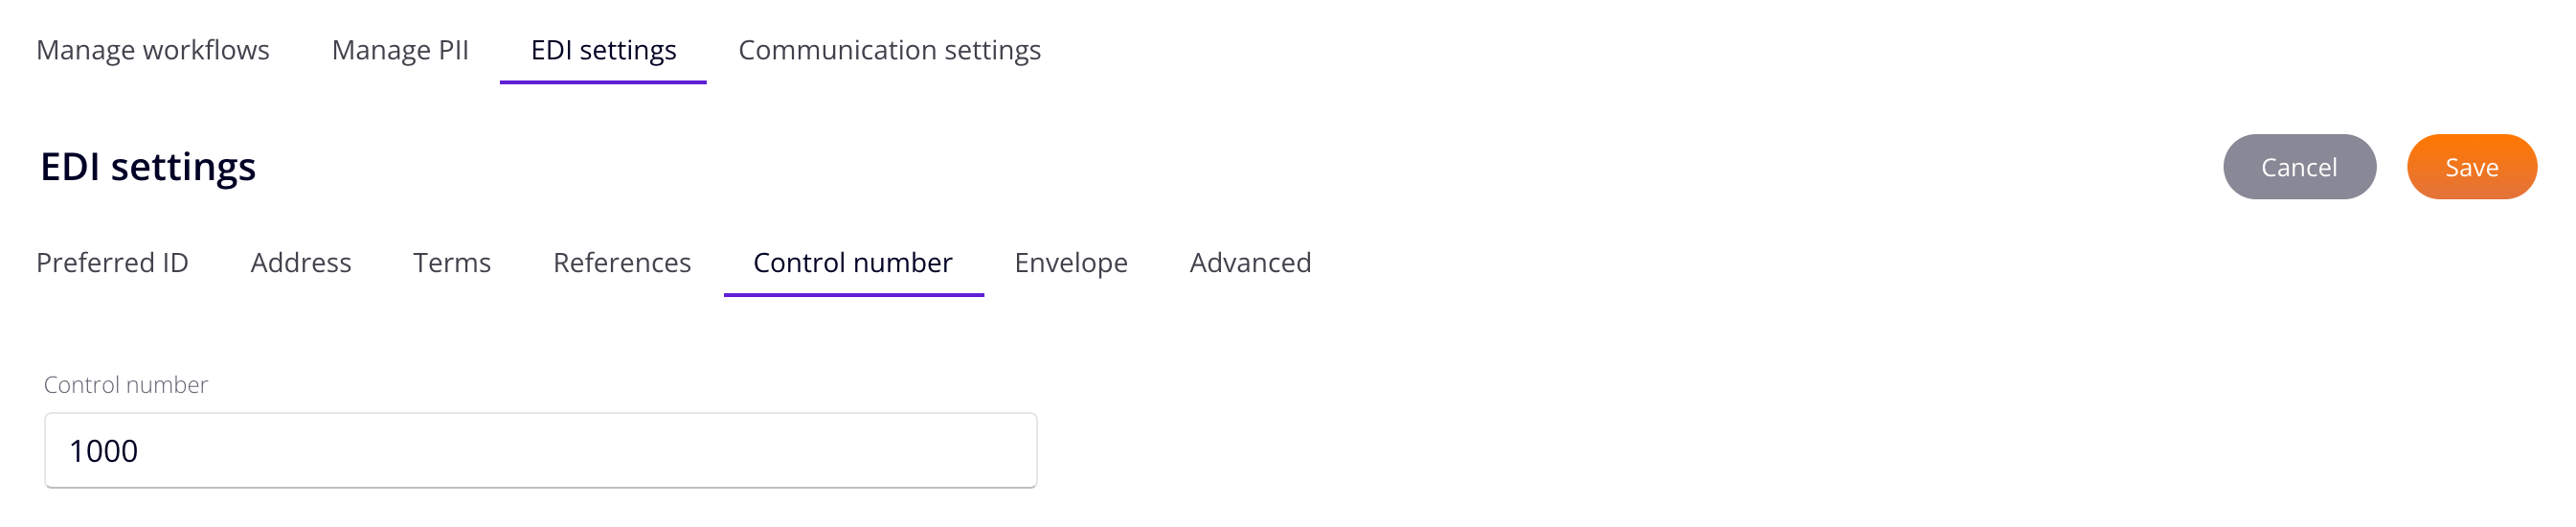
- Control Number: Enter the number used in the header of an EDI document to validate exchanged documents.
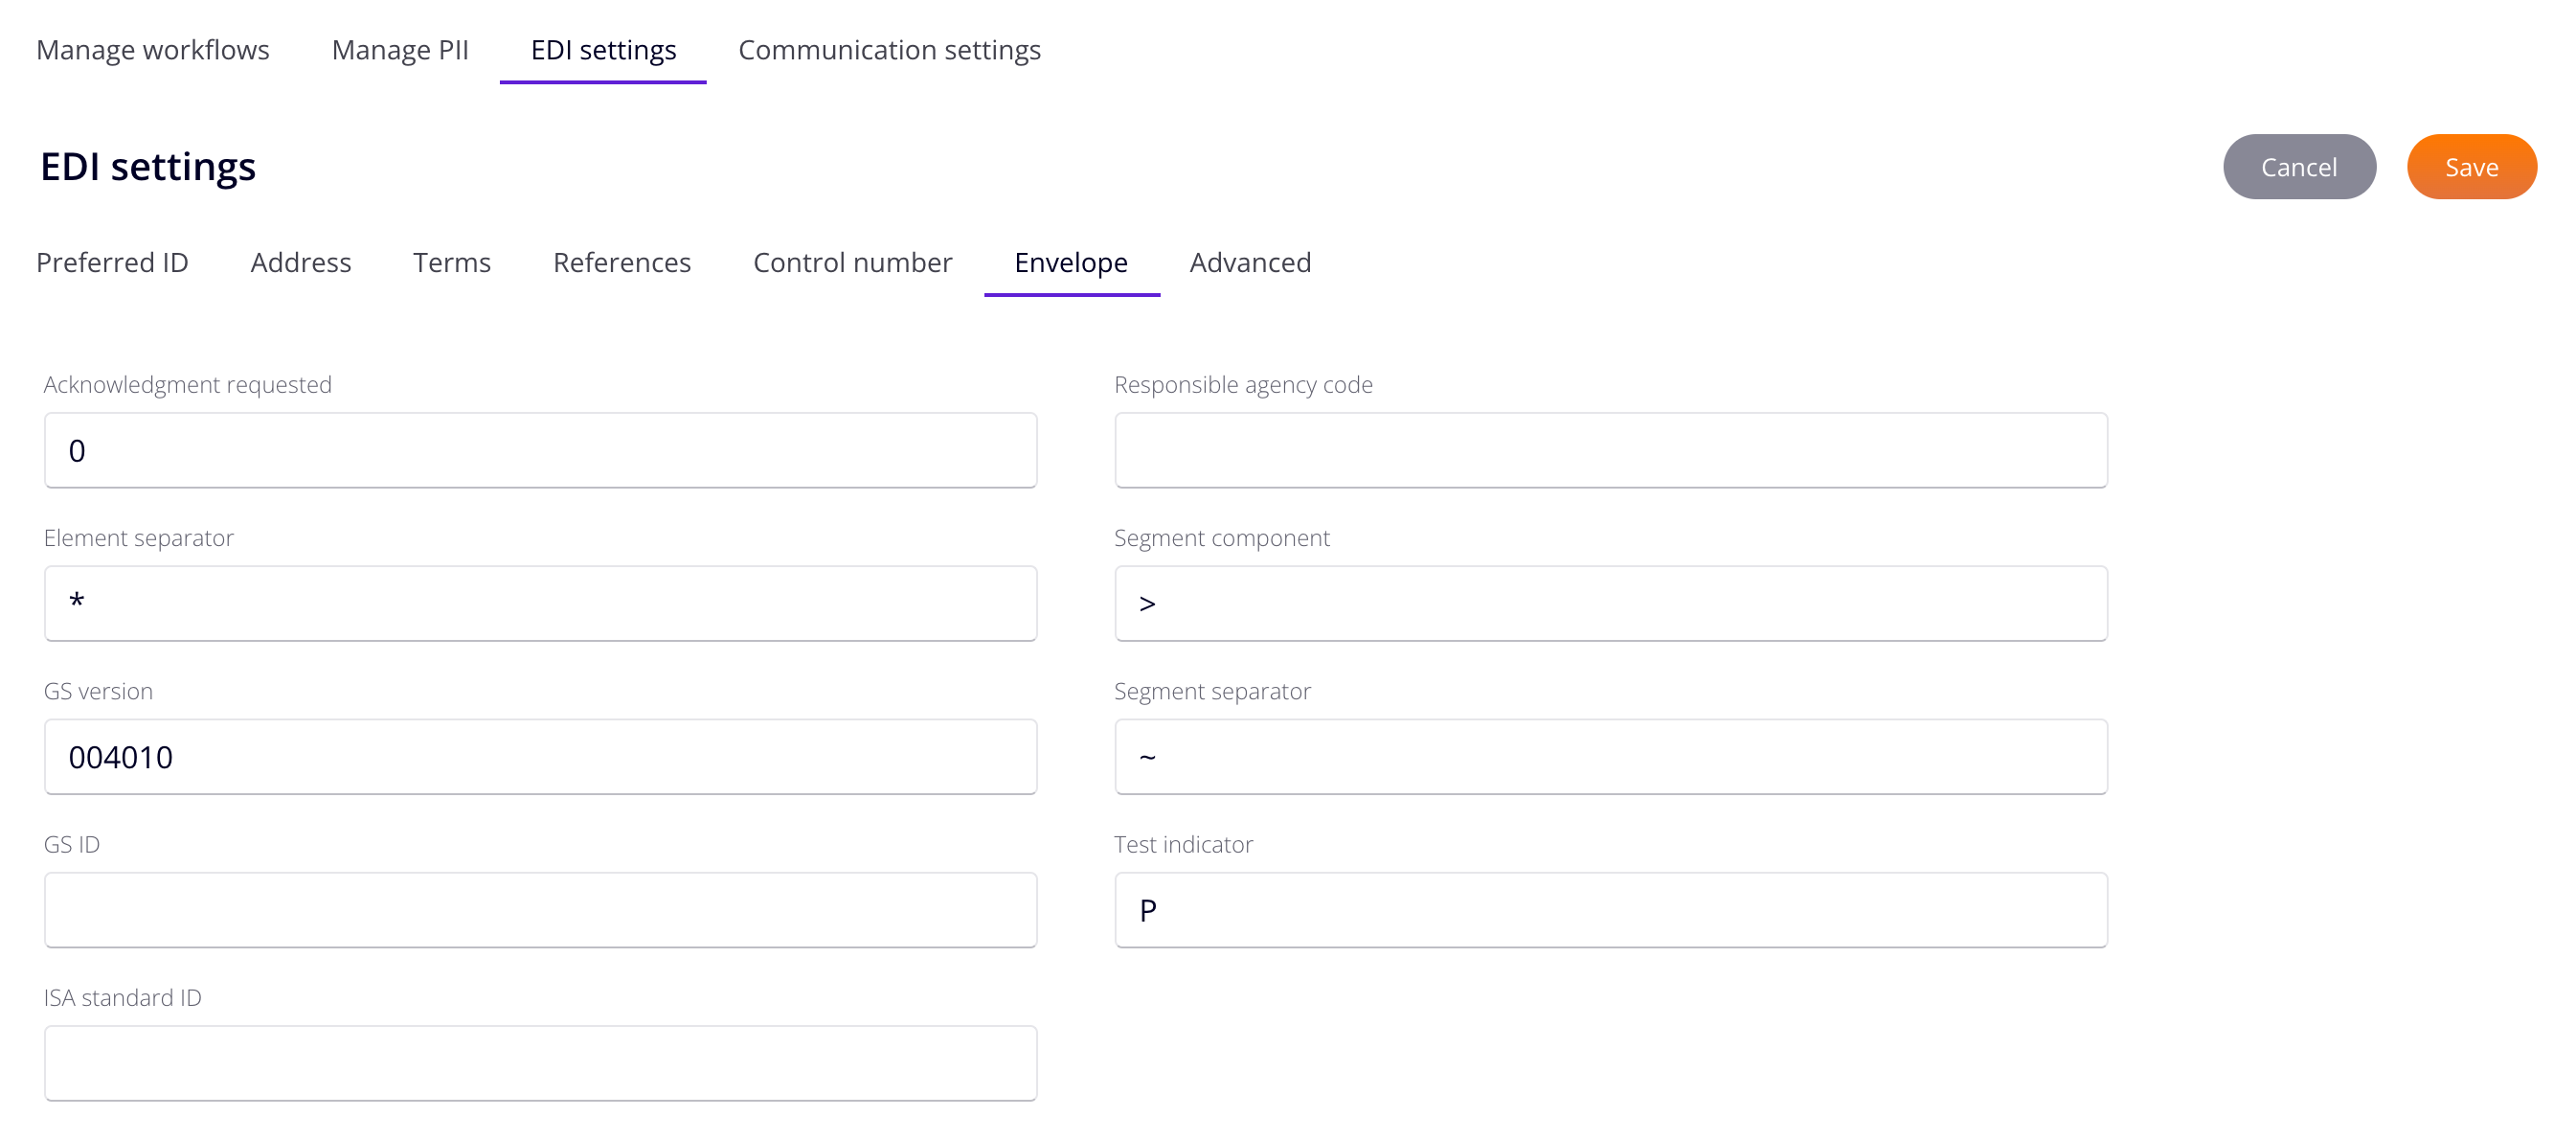
Envelope
The Envelope tab is where you define envelope settings for a partner:
-
Acknowledgement Requested:
-
Element Separator: Enter the character used in segments to mark the start of a data element.
-
GS Version: Enter the GS version that indicates the beginning of a functional group for control information.
-
GS ID: Enter the GS identifier (usually identical to your ISA ID).
-
ISA Standard ID: Enter the ISA standard identifier.
-
Responsible Agency Code: Enter the responsible agency code. This is the code identifying the issuer of the standard. It is used in conjunction with Data Element 480 T (Transportation Data Coordinating Committee or X Accredited Standard Committee X12).
-
Segment Component: Enter the segment component.
-
Segment Separator: Enter the character that separates segments.
-
Test Indicator: Enter
Pfor production data orTfor test data.
Advanced
The Advanced tab contains one setting:

- Send 997: Enable to automatically send a functional acknowledgment (997) for every message received.