Manage workflows in Jitterbit EDI
Introduction
A workflow defines which documents are exchanged with a partner, which direction they travel, and how the contents of documents are mapped from one format to another.
Note
EDIXml is the preferred interchange file format. XCBL is available but its use is discouraged.
You can add as many workflows as you need depending on your relationship with partners. Workflows are defined on the Admin page, in the Manage Workflows tab. They are added by one of the these methods, depending on your access:
Add a workflow with map processing selection
Note
Access to this feature is available upon request. To gain access to this feature, contact your Customer Success Manager (CSM).
To add a workflow, follow these steps:
-
Click Add New Workflow. A new row is added:
-
Open the Map Processing menu, then select EDIXml.
-
The following fields appear:
-
Direction: Select the direction, one of Inbound (to Harmony) or Outbound (to the trading partner).
-
EDI Standard: Select the EDI standard your documents should use, one of EDIFACT, Tradacoms, or X12.
-
Document Type: Select a document type. The contents of the menu depend on the setting for EDI Standard.
-
Version: Select a document version. The contents of the menu depend on the setting for Document Type.
-
-
Set the following switches:
-
Active: Enable to make the workflow live. Disable if the EDI document is no longer required.
-
Test mode: Enable when testing. Documents are processed but are not sent to the trading partner.
-
Debug: Enable to log messages.
-
Validation: (Appears when Map Processing is EDIXml and Direction is Outbound.) Enable to check that outgoing transactions are valid EDI documents.
-
-
Click Save. The workflow appears as a new row:
Add a workflow
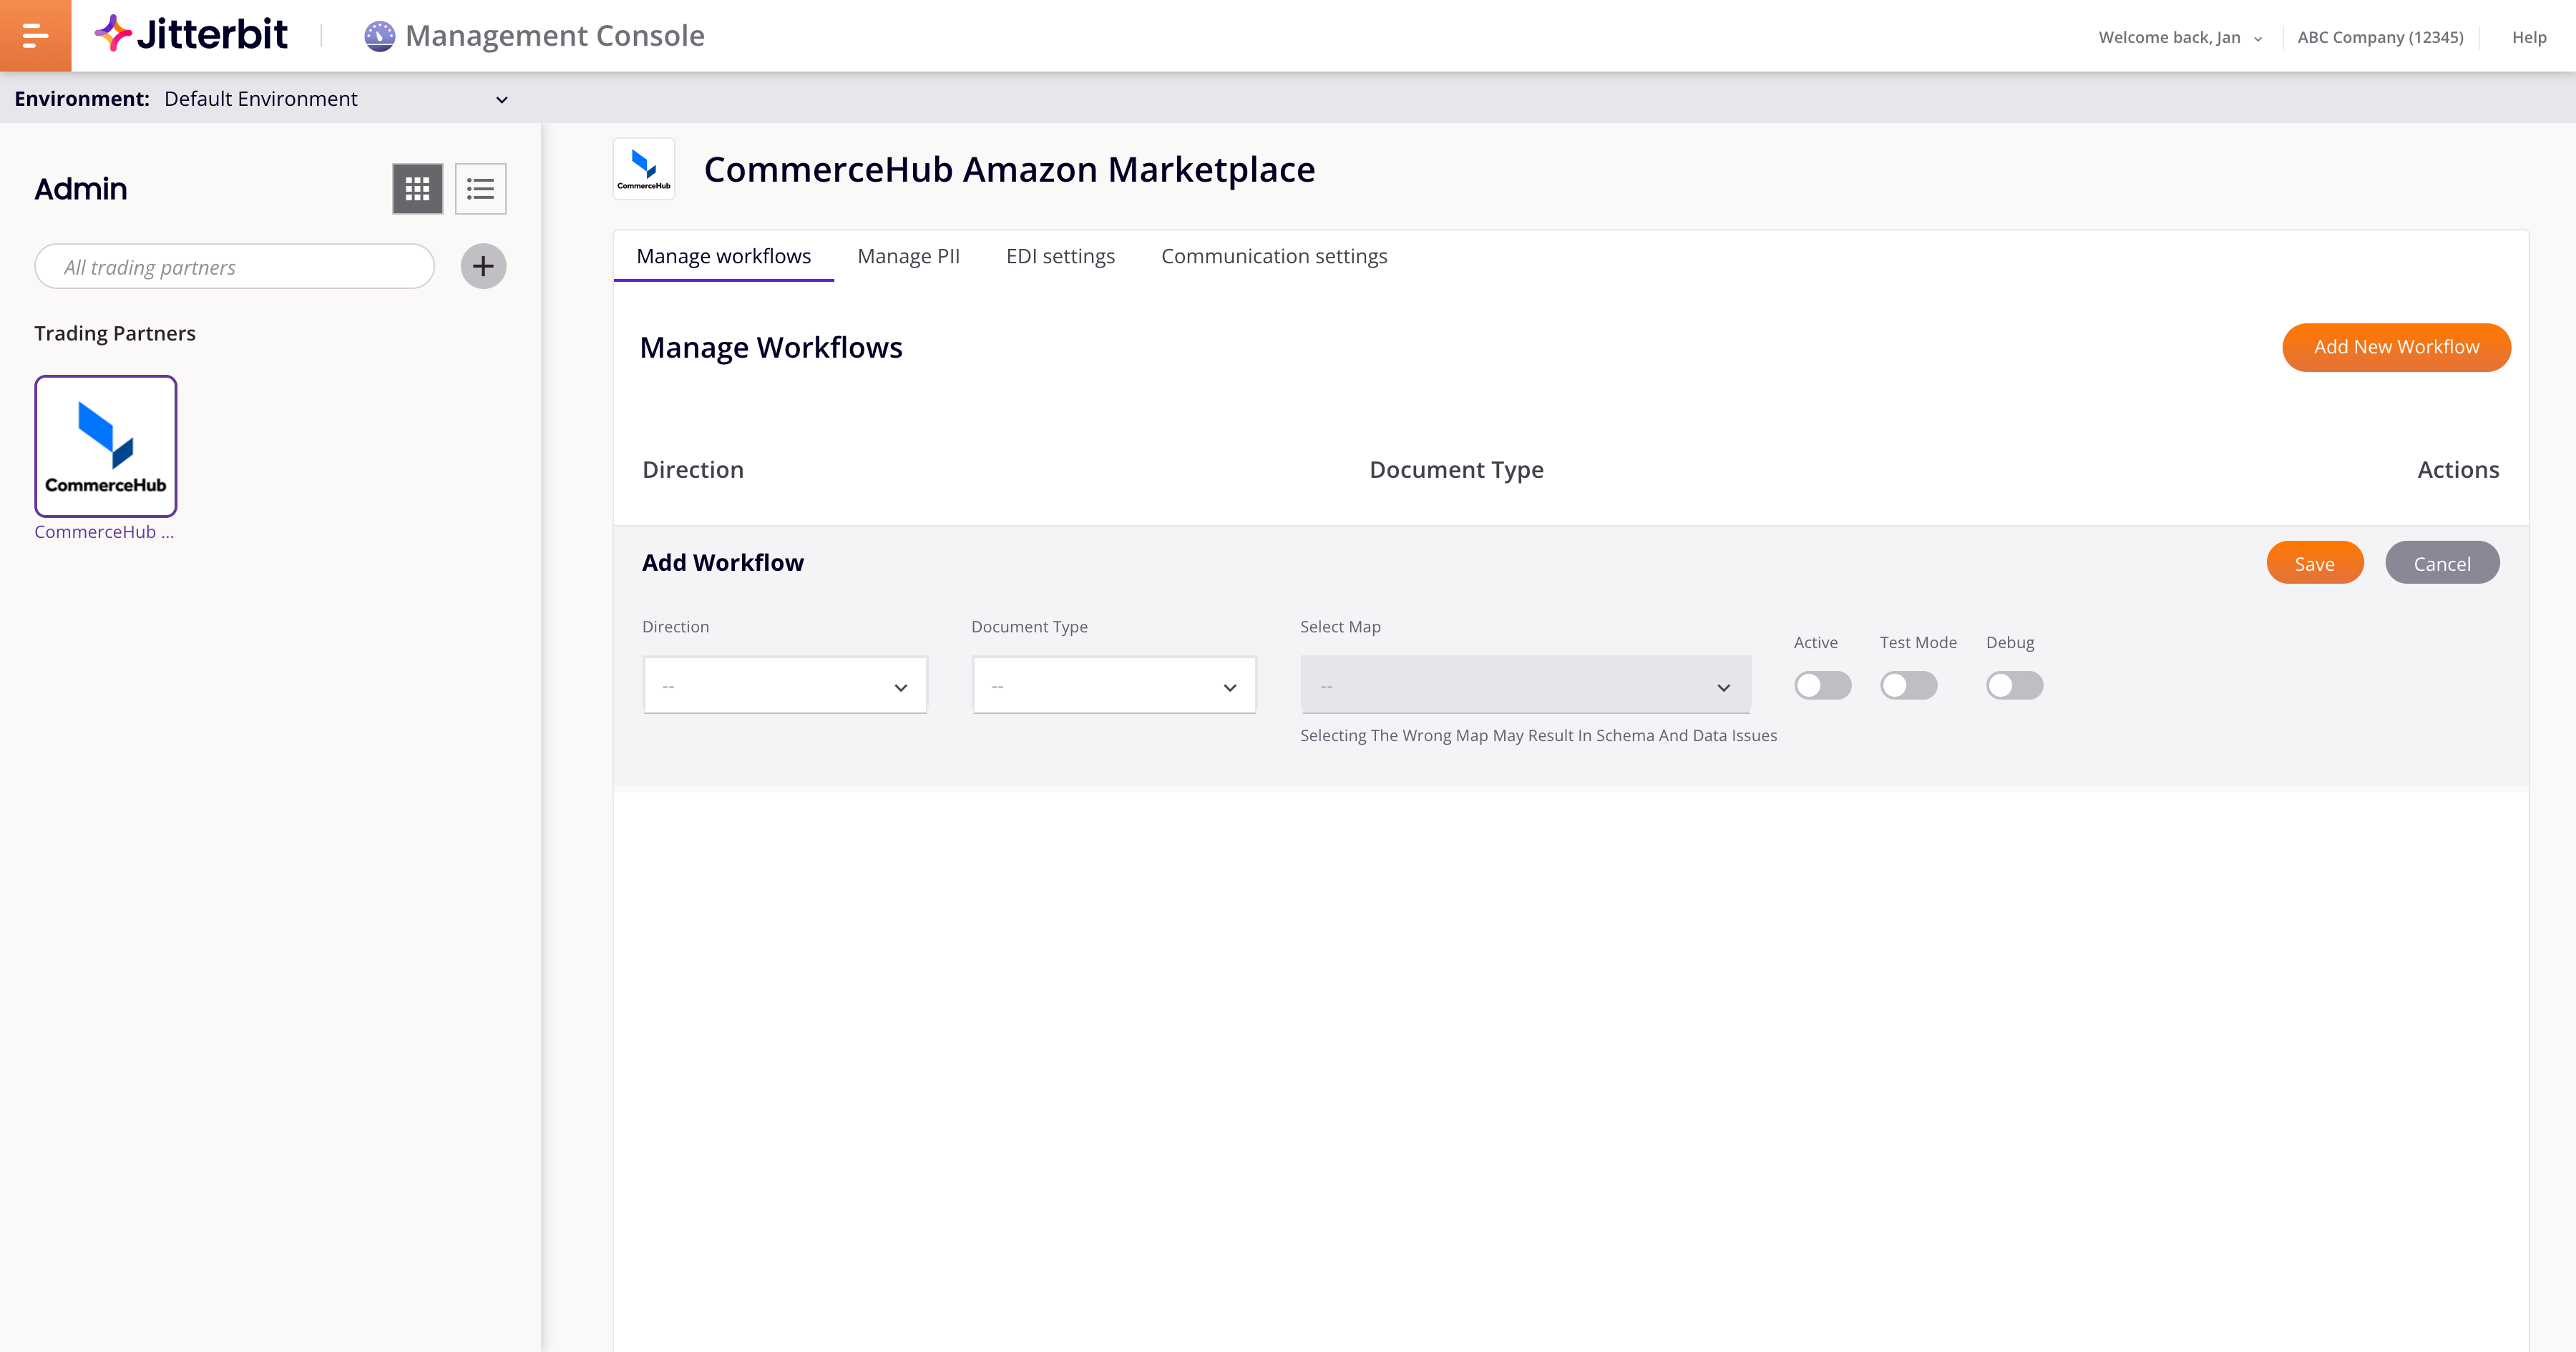
To add a workflow, follow these steps:
-
Click Add New Workflow. A new row is added.
-
Set values for the following fields:
-
Direction: Select the direction, one of Inbound (to Harmony) or Outbound (to the trading partner).
-
Document Type: Select a document type.
-
Map: A default map is automatically selected based on the Direction and Document Type settings. Do not change the selected map unless instructed to do so.
-
Active: Enable to make the workflow live. Disable if the EDI document is no longer required.
-
Test mode: Enable when testing. Documents are processed but are not sent to the trading partner.
-
Debug: Enable to log messages.
-
-
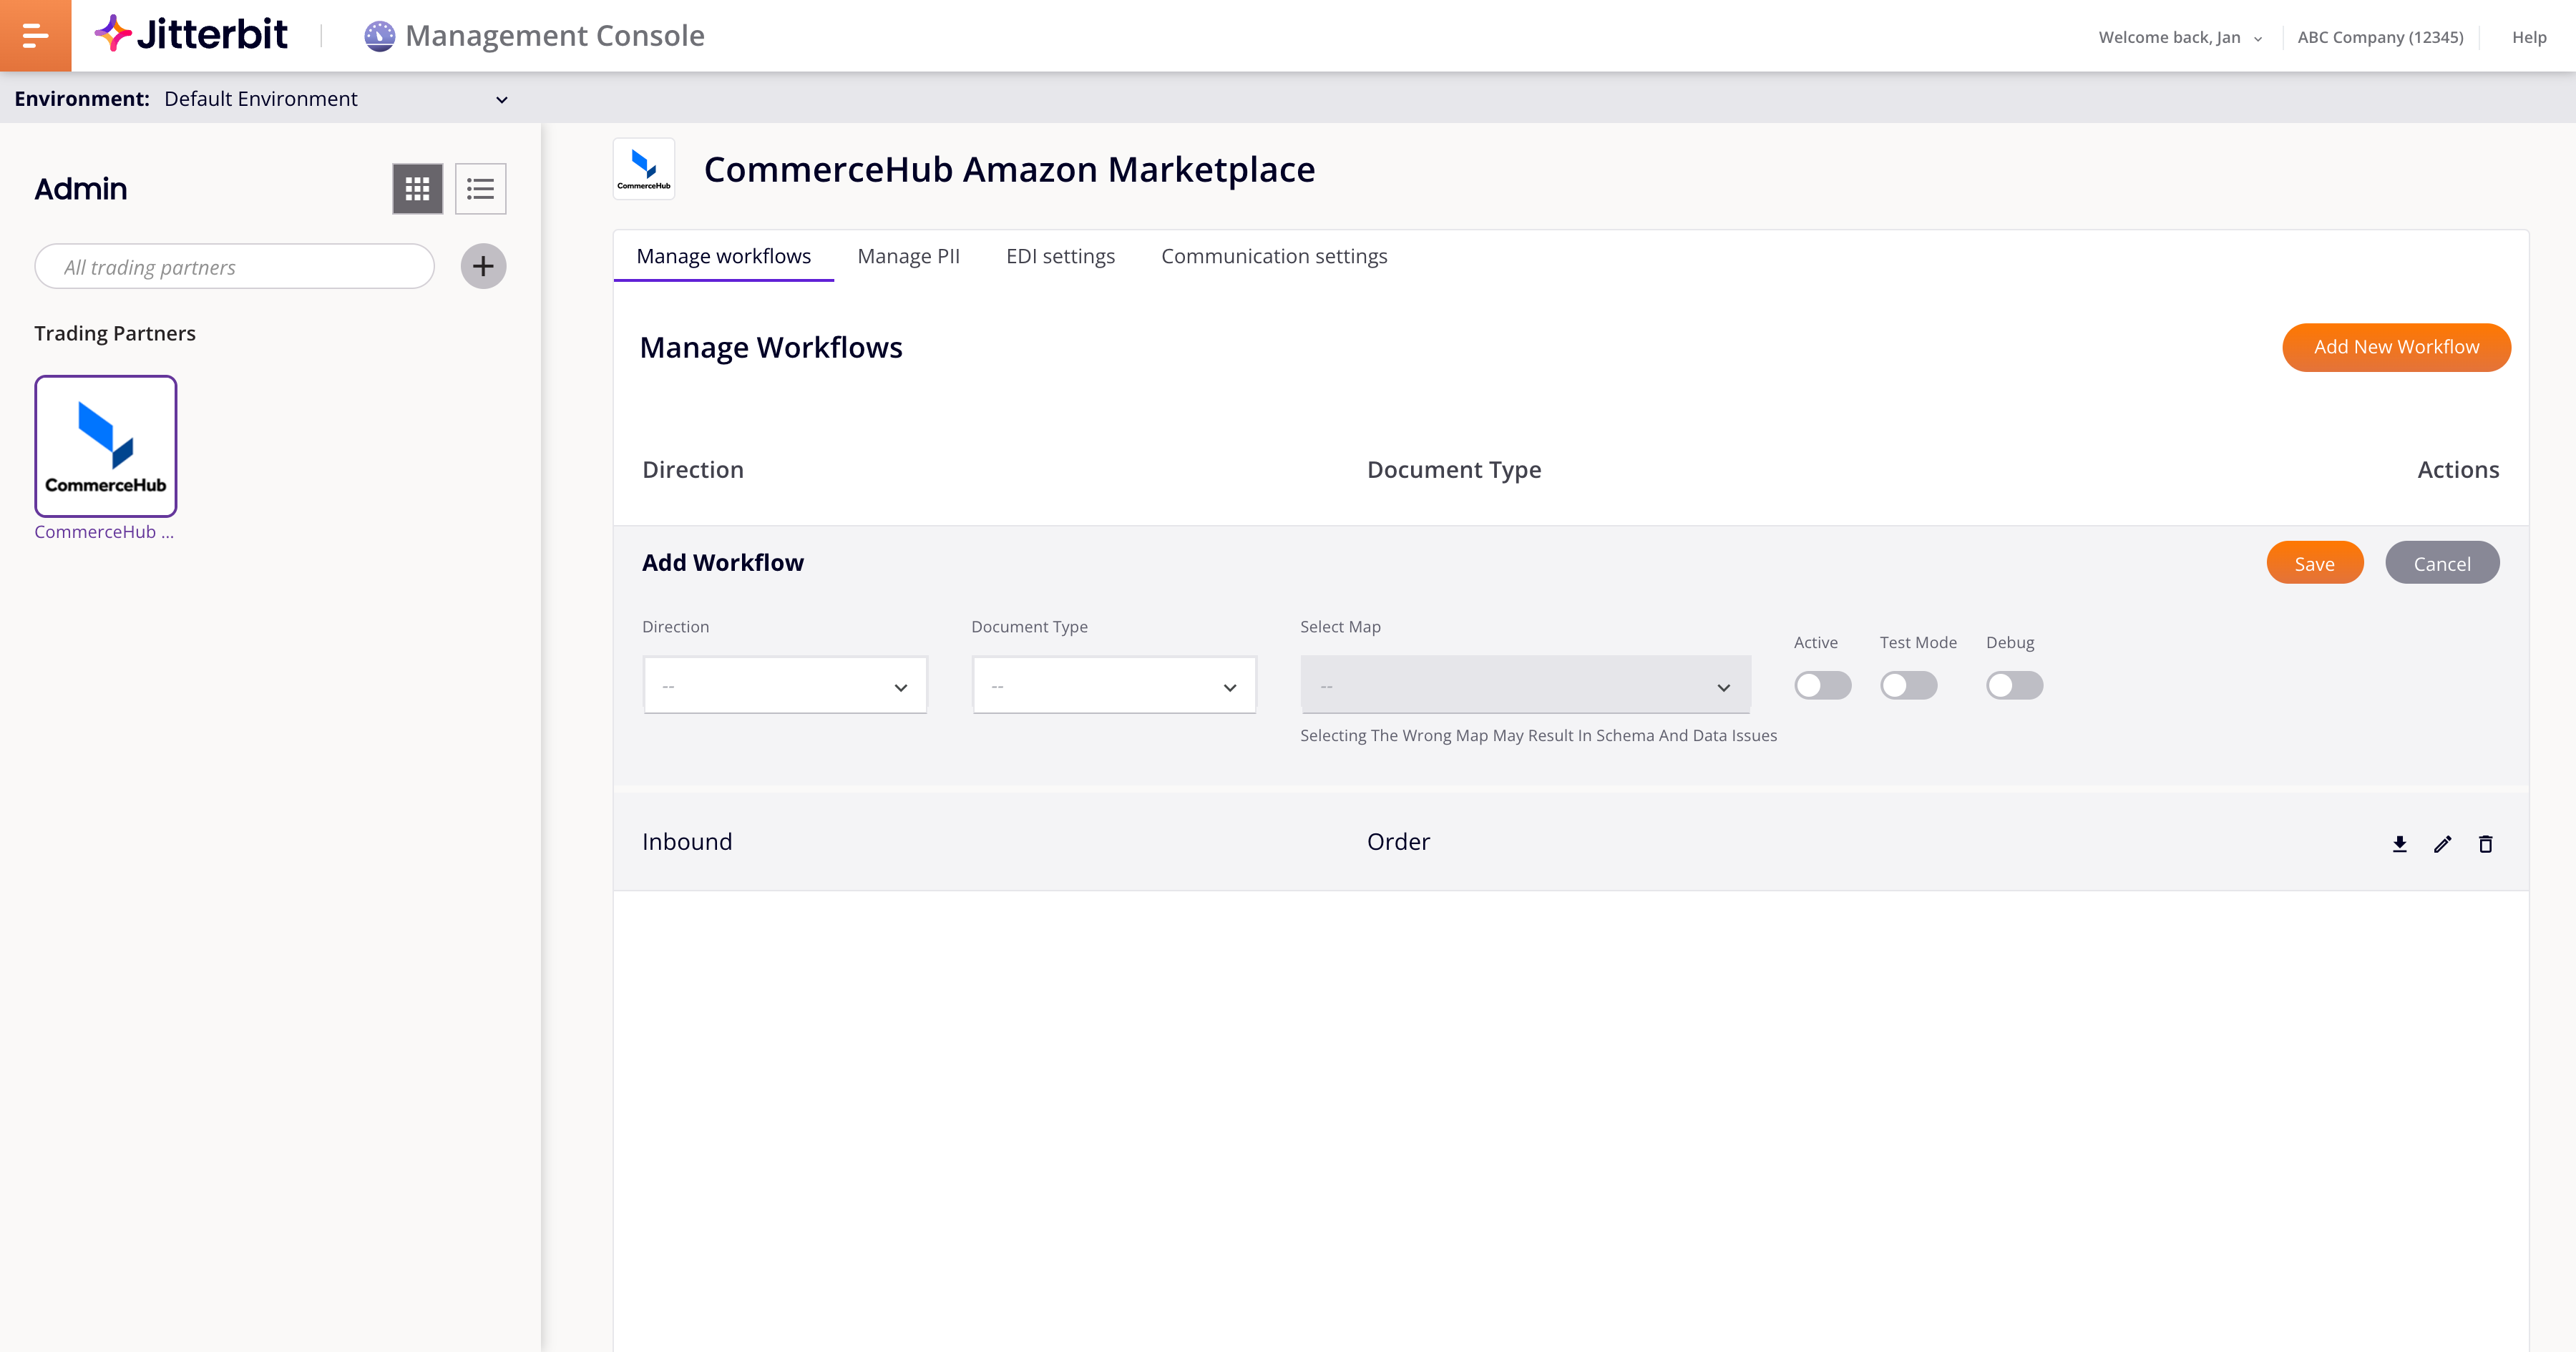
Click Save. The workflow appears as a new row.
Edit a workflow
To edit a workflow, follow these steps:
-
Click the Edit button for a workflow.
-
Change the settings.
-
Click Save or Cancel.
Delete a workflow
To delete a workflow, follow these steps:
-
Click the Delete button for a workflow.
-
The workflow is deleted without confirmation.
Download mapping file
To download an XCBL XPath mapping file for an existing workflow's map, click the Download XPATH button.
To download a file for any map without saving a workflow, add a workflow, select a map, click Download XPATH, then click Cancel.