Module 2: Database to complex XML
Introduction
Module 2 in the Introduction to the Harmony Cloud Studio training course demonstrates querying data from multiple tables in a PostgreSQL database and writing it to an SFTP server in a hierarchical XML format.
Prerequisites
This page assumes you have completed Module 1 - Database to text, where you configured connections to Jitterbit's training PostgreSQL database and SFTP server.
Summary
In this module, you will use the PostgreSQL database to connect to the OrderDetail and OrderHeader tables. Once connected, you'll merge that data and write it in a hierarchical format to the training SFTP server.
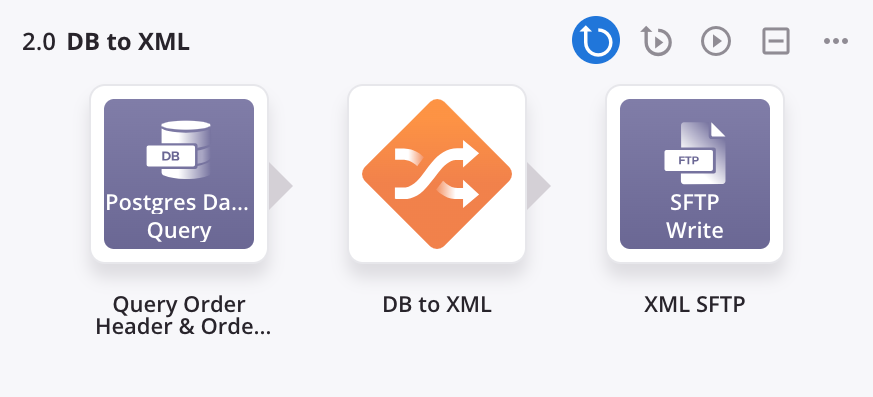
The completed operation will look like this:
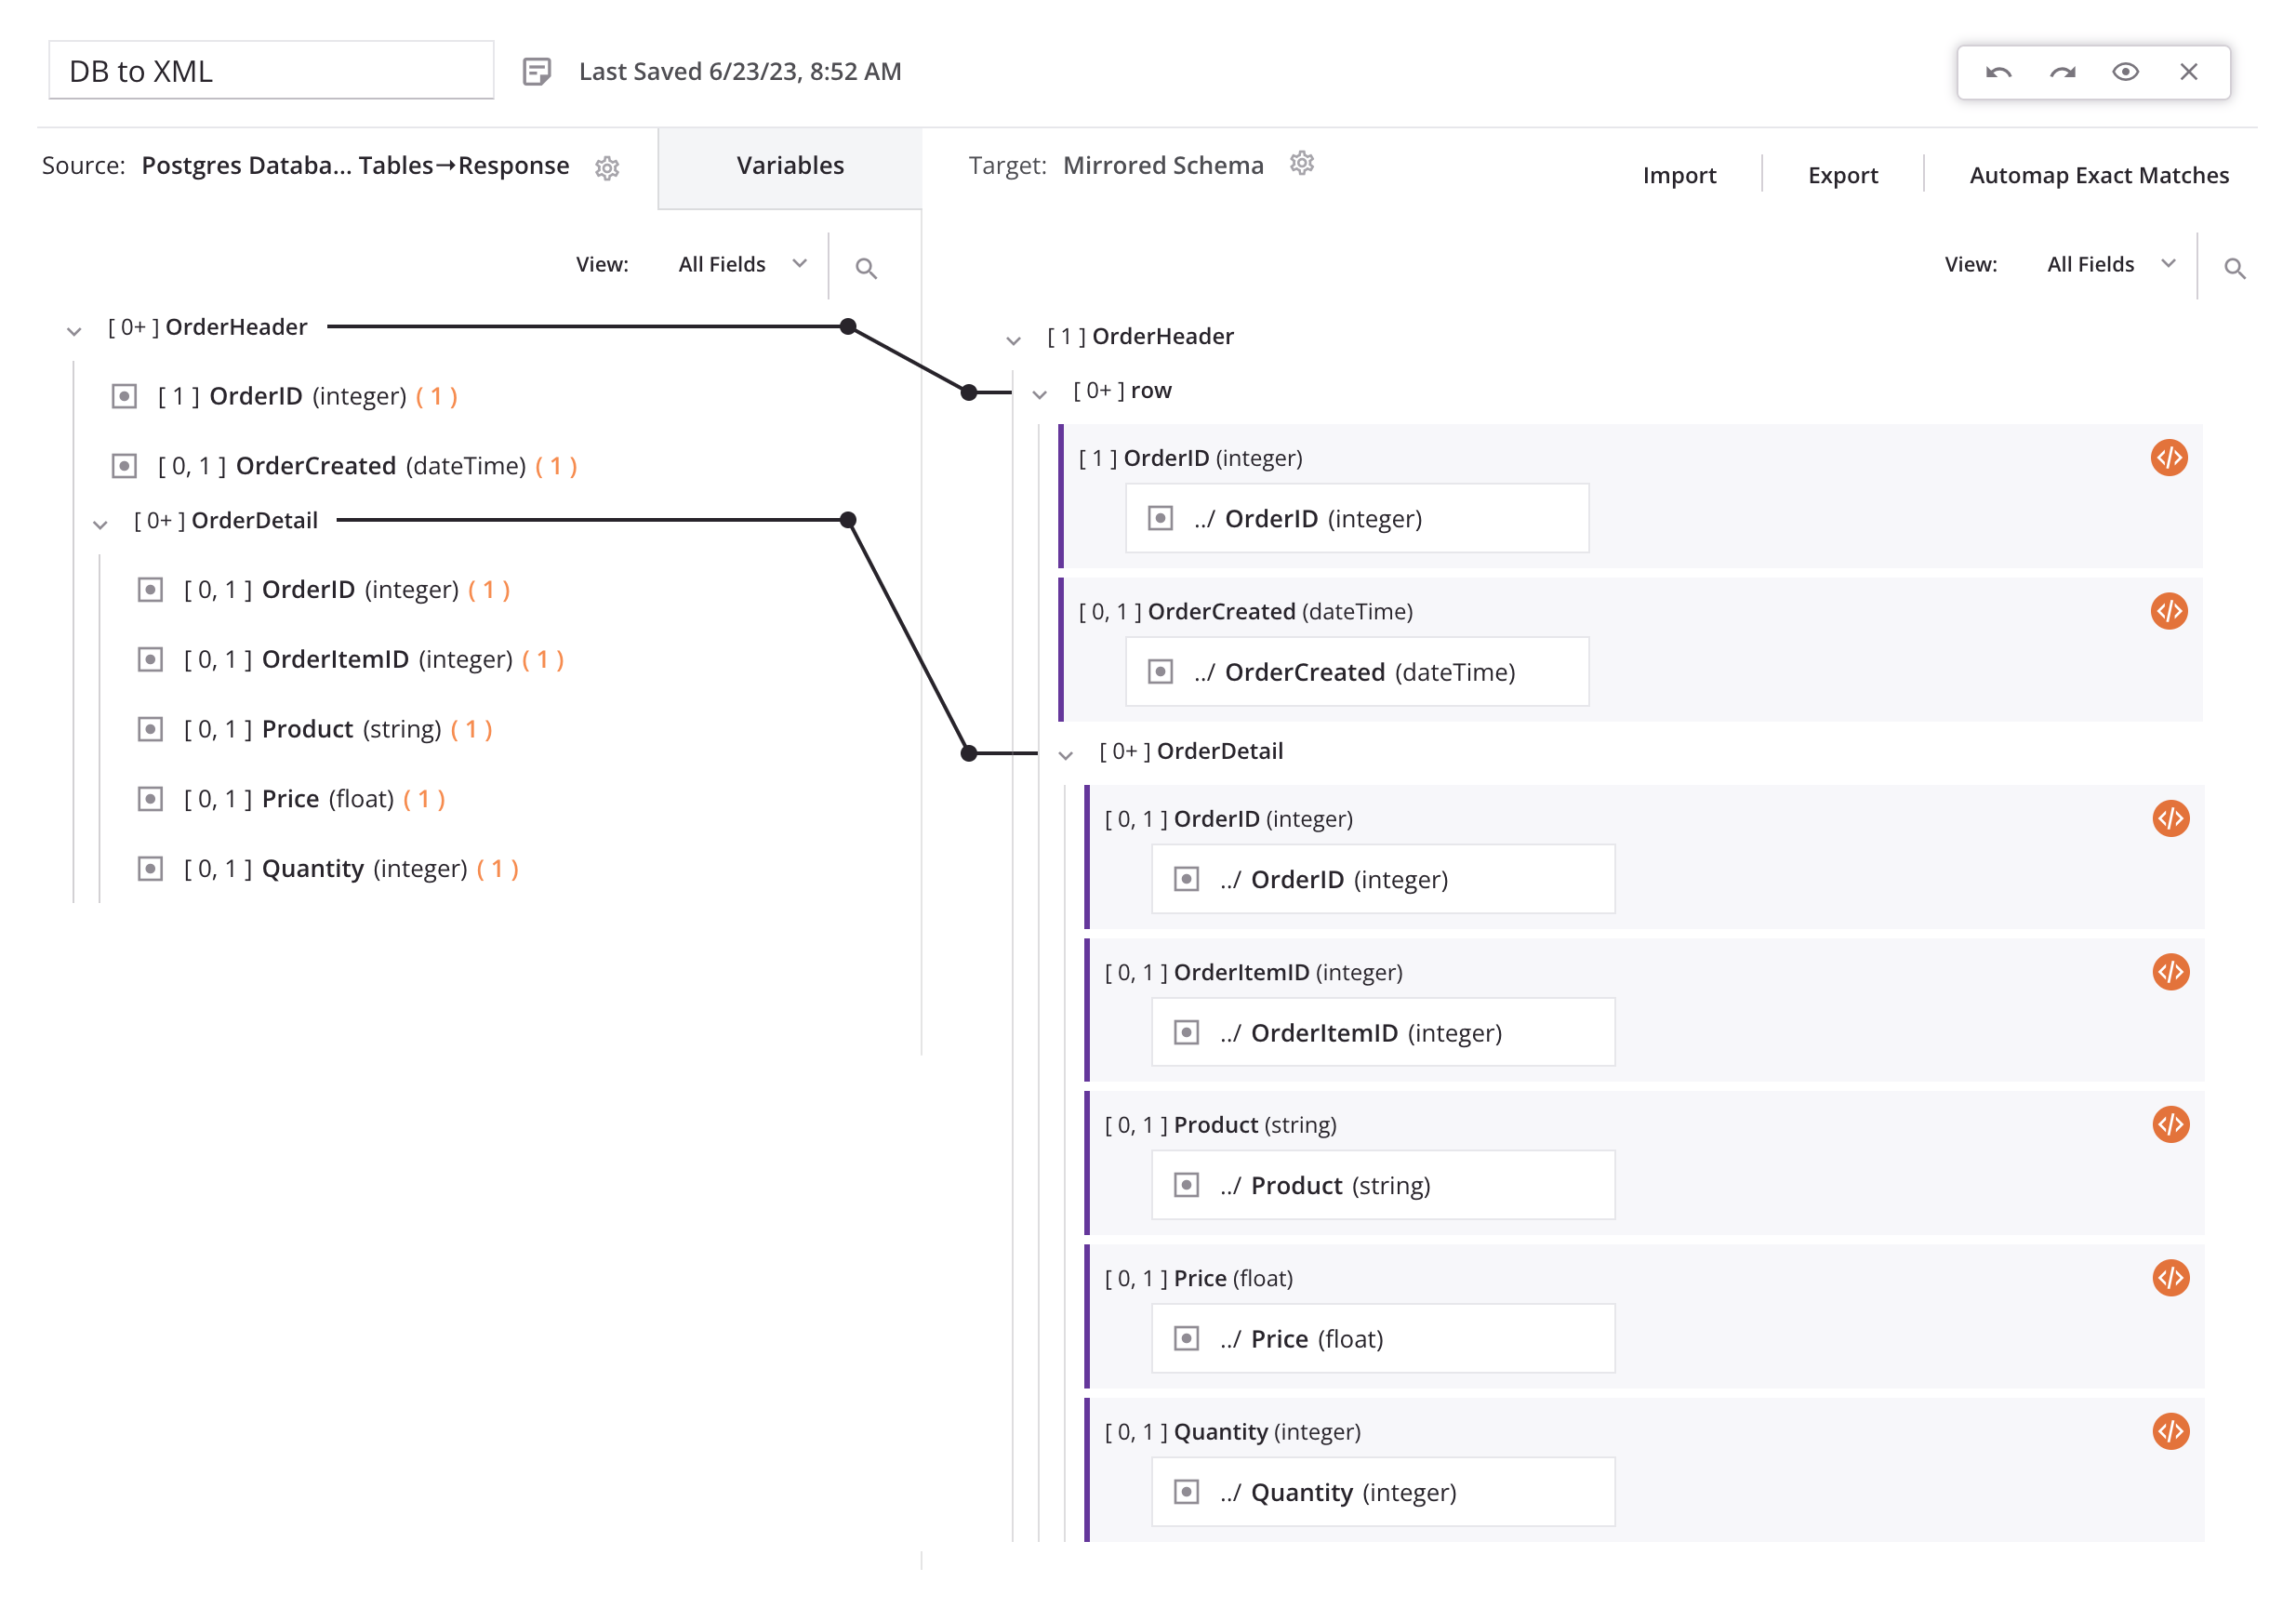
This operation uses this transformation mapping:
1. Configure a database activity
For this module, you continue working within the same project and reuse the same "Postgres Database" connection as in Module 1, but configure a separate Query activity to retrieve different data from the database:
-
Within the same project as Module 1, create a new workflow and name it "Module 2."
-
From the component palette's Project endpoints and connectors tab under the Endpoints filter, click the "Postgres Database" connection you created in Module 1 to show the connection's activity types:
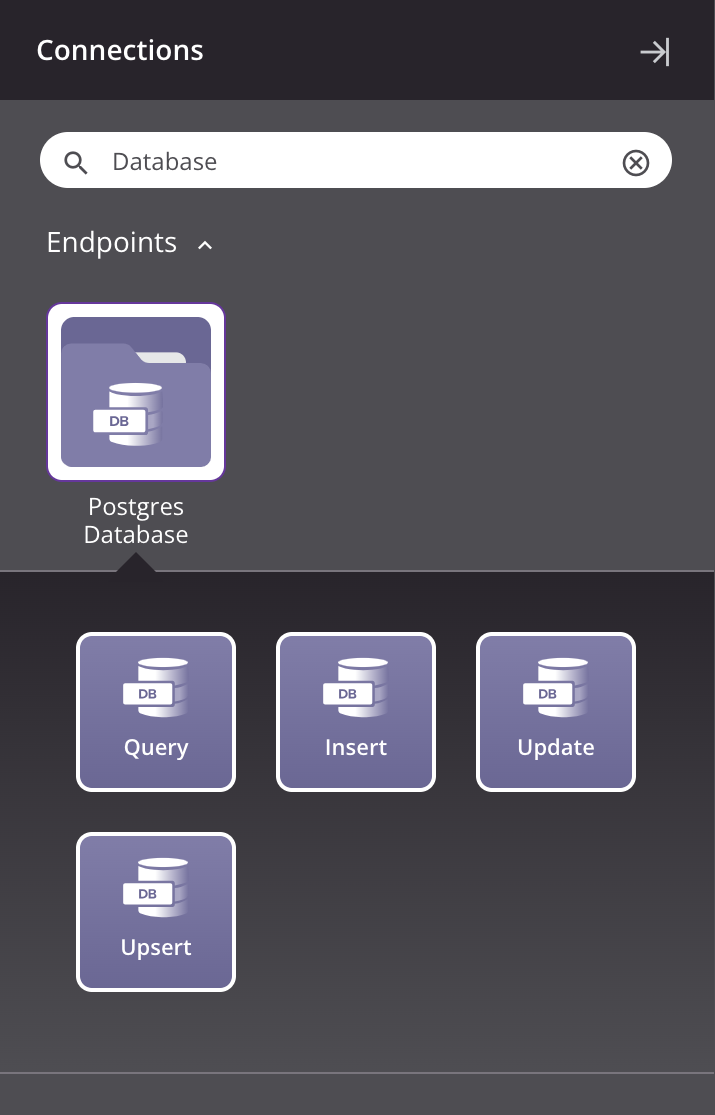
-
Drag a Database Query activity type to the component drop zone on the design canvas to create an instance of a Database Query activity in a new operation.
-
Rename the operation to "DB to XML."
-
Double-click the Query activity within the operation to open its configuration.
-
Configure the Database Query activity:
- Name: "Query Order Header & Order Detail Tables"
- Select Table(s): Refresh the tables and select the
OrderDetailandOrderHeadertables. Then within theOrderDetailrow:- Parent: Use the dropdown to select
OrderHeader. - Link Keys: Click Assign. In the popup, drag
OrderIDin the parent table toOrderIDin the child table. Click Finished. - Join Type: This field becomes available after assigning link keys. Use the dropdown to select Zero or More. Click Next.
- Parent: Use the dropdown to select
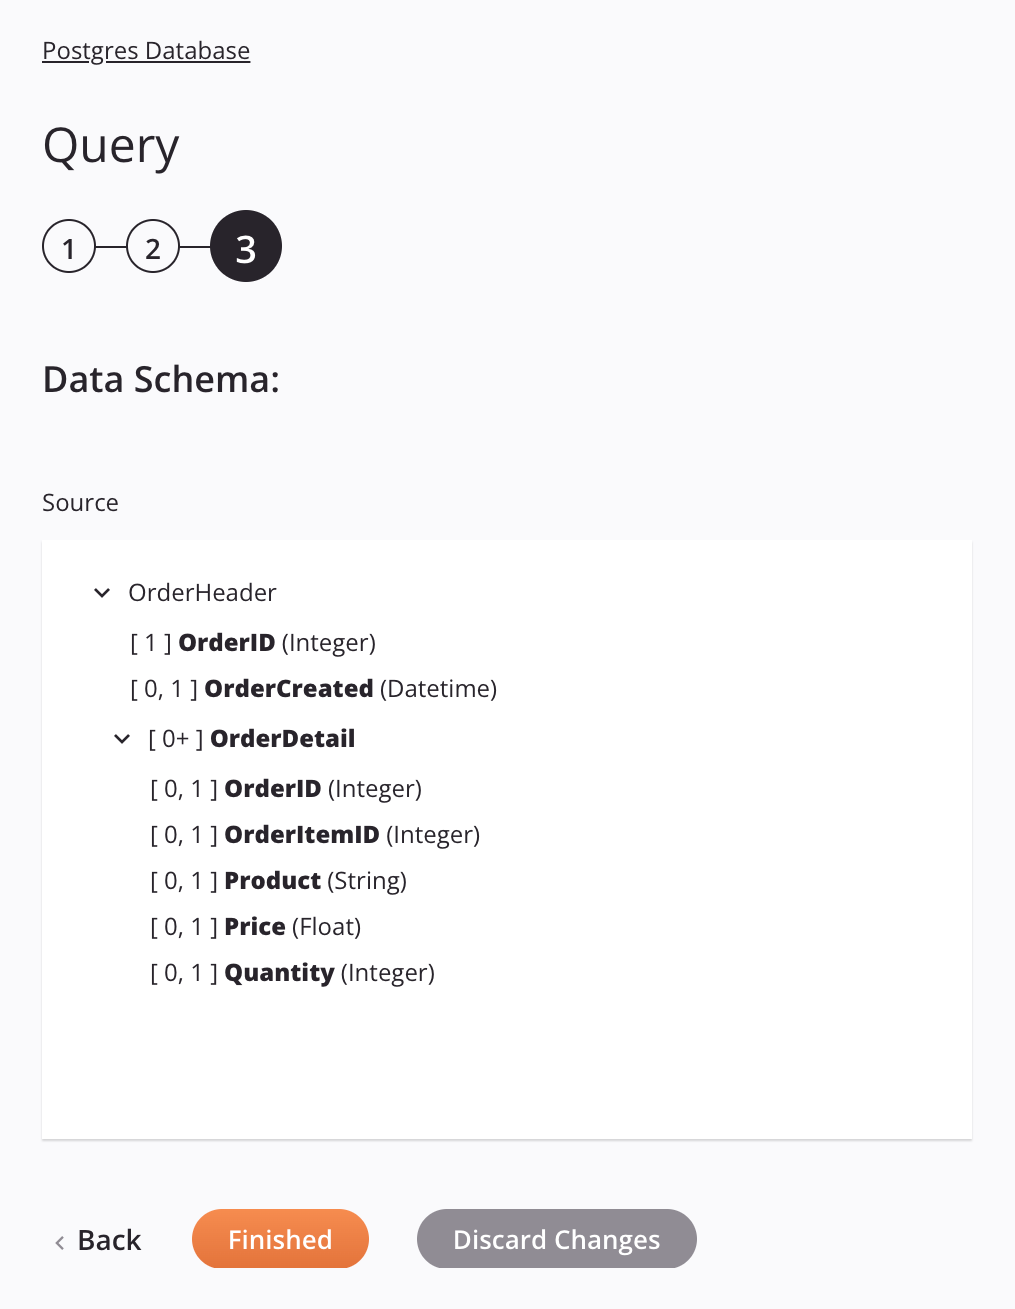
- Source: PostgreSQL: Select the checkbox next to
OrderHeaderto include all fields in the query. - Data Schema: Review the data schema and click Finished to return to the design canvas.
The final screen of activity configuration should look similar to this:
2. Configure an FTP activity
In addition to reusing the Database connection, you can also reuse the FTP connection from Module 1. In this step, you use the same connection to the SFTP training server, but configure a separate Write activity:
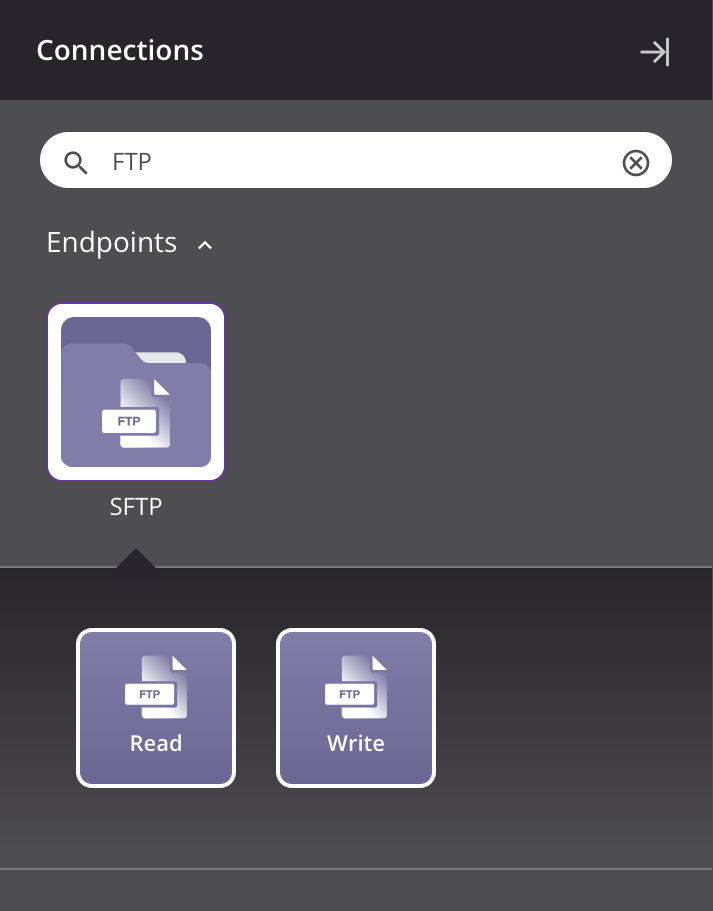
-
From the component palette's Project endpoints and connectors tab under the Endpoints filter, click the "SFTP" connection you created in Module 1 to show the connection's activity types:
-
Drag an FTP Write activity type to a component drop zone on the right of the Database Query activity within the operation on the design canvas.
-
Double-click the FTP Write activity within the operation to open its configuration.
-
Configure the FTP Write activity:
- Name: "XML SFTP"
- Path: "/" (forward slash)
- Filename(s): "result_[date]_[time].xml". Click Next.
- Data Schema: Since you didn't provide a schema, there is nothing to review in the second screen. Click Finished.
3. Configure a transformation
Next, you create a transformation to transform data from the database source to the FTP target:
-
On the design canvas, hover over the area between the Database Query activity and the FTP Write activity until a component drop zone appears.
-
Click the drop zone and select New Transformation. A new transformation will open for you to configure:
- Transformation Name: "DB to XML"
- Source: The source schema is already provided (on the left).
- Target: You need to define the target schema (on the right). Click Mirror Source Schema to replicate the database structure in XML.
-
Drag the
OrderHeadersource node to therowtarget node and select Automap.Tip
The solid black lines that are displayed between the source and target nodes are called iterator lines. These lines indicate that the mapping supports multiple records (instances).
-
Along the top of the transformation header, click the gray Preview button to begin the preview process for testing and validating the mappings. Click Next to deploy the components listed and then click Finished.
-
The preview screen displays data populated from the source and mapped to the target. Click the right and left arrows to cycle through the imported data.
-
After reviewing the data, click Return to Workflow. Clicking this button saves the work you did in the transformation.
The transformation preview should look similar to this:
4. Deploy and run the operation
Finally, with all operation steps configured, you deploy and run the operation:
- In the top right of the operation, click the actions menu icon
 and from the menu click Deploy and Run. The operation status is displayed in the lower left of the operation.
 - Once the operation is successful, log in to Jitterbit's training SFTP server and view the file you generated.