Module 5: RESTful web service
Introduction
Module 5 in the Introduction to the Harmony Cloud Studio training course demonstrates querying a REST web service and writing the response to an SFTP server as a text file.
Prerequisites
This page assumes you have completed Module 1 - Database to text, where you configured a connection to Jitterbit's training SFTP server. It also requires completion of Module 4 - SOAP web service, as it reuses several project components from this module.
Summary
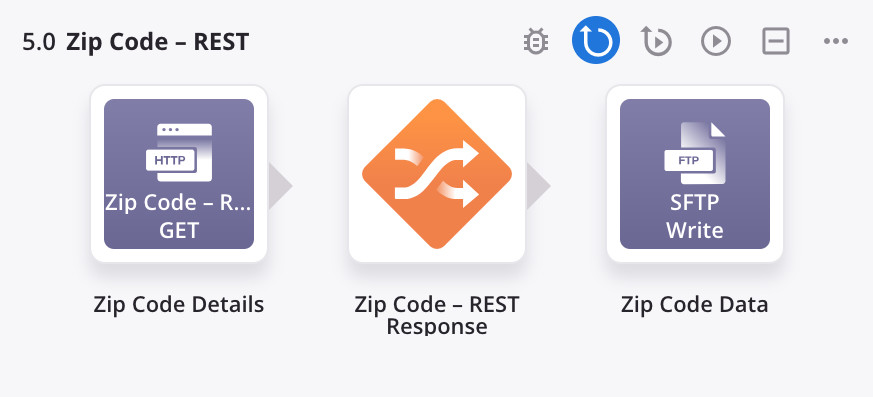
In this module, you will query a RESTful web service for weather based on zip code, and then write that data to the training SFTP server as a text file.
The completed operation will look like this:
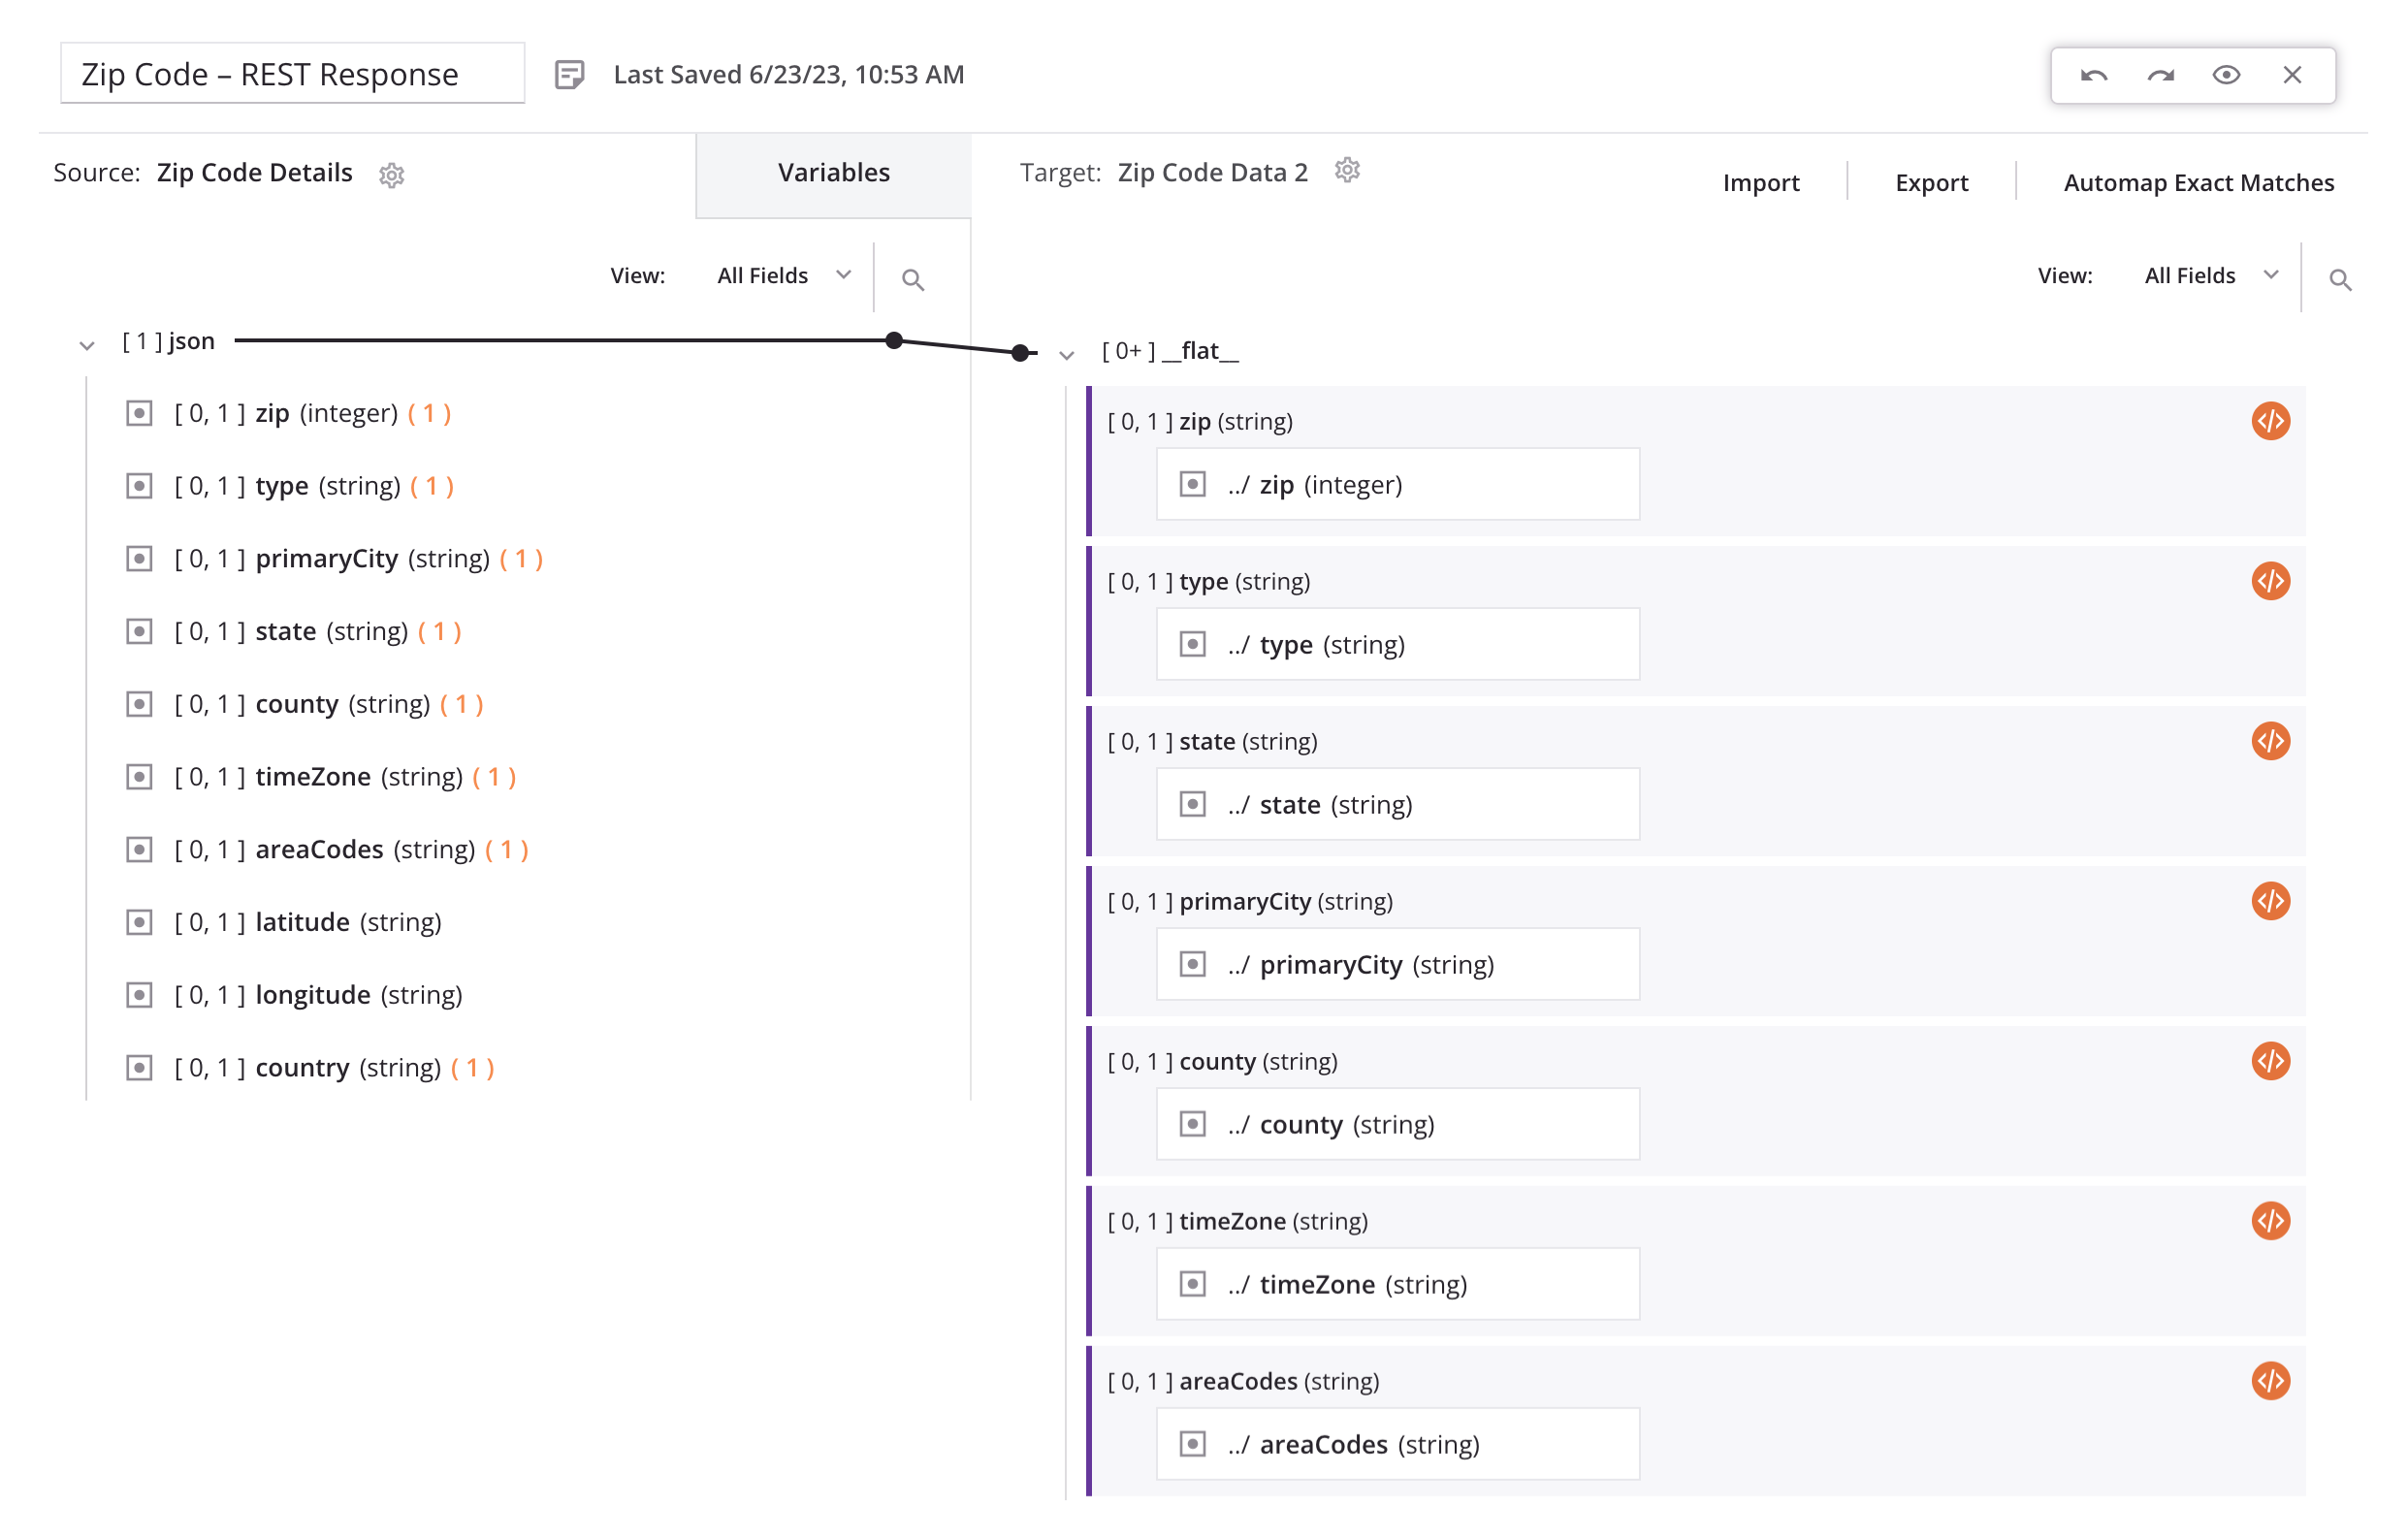
This operation uses this transformation mapping:
1. Configure an HTTP connection
For this module, you continue working within the same project as in Module 1, and create a new SOAP connection:
-
Within the same project as Module 1, create a new workflow and name it "Module 5."
-
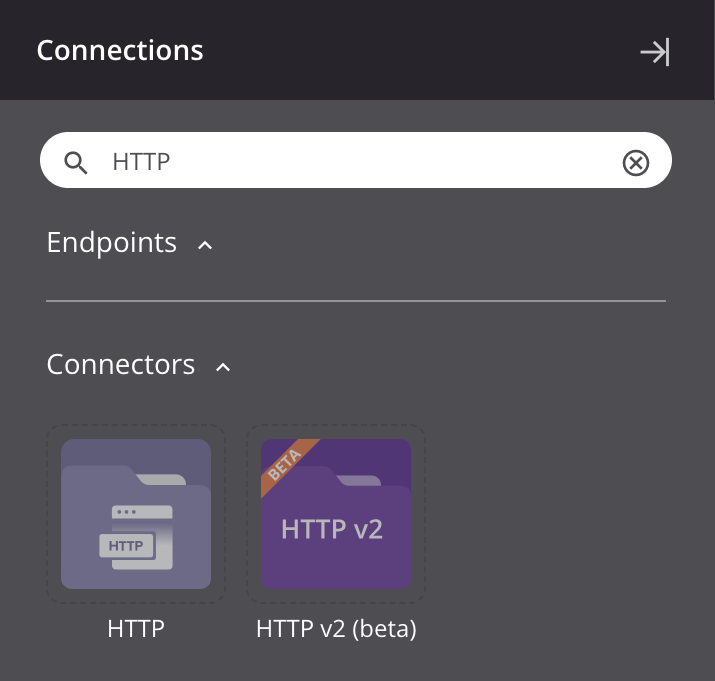
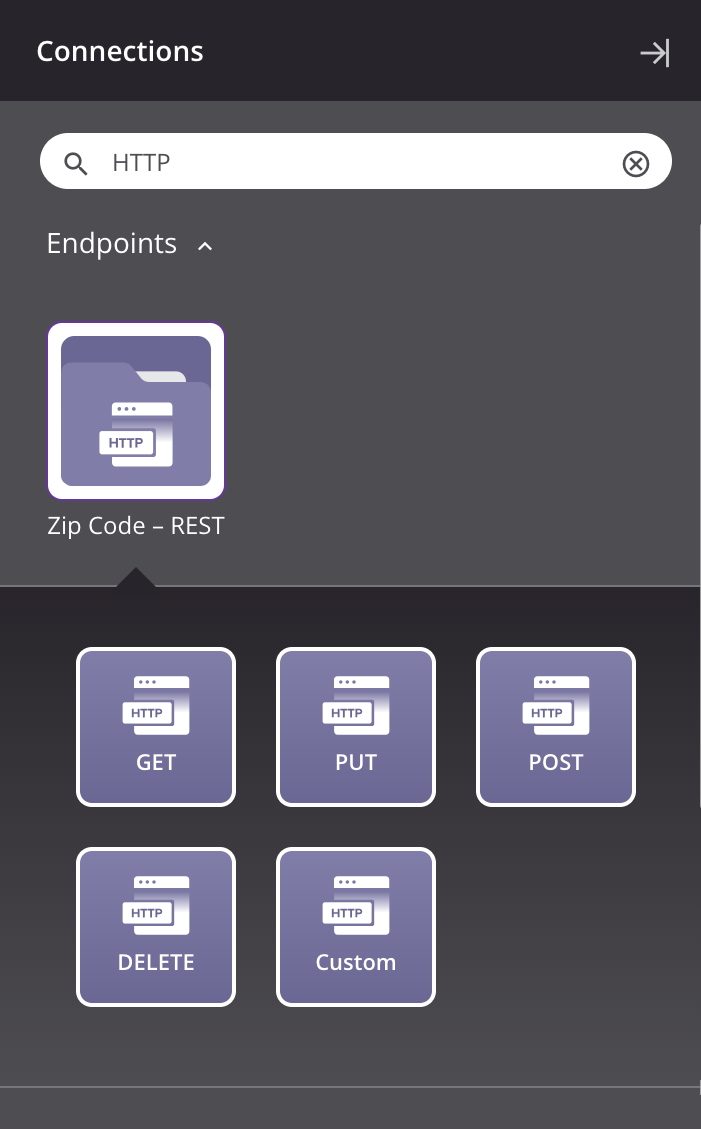
From the component palette's Project endpoints and connectors tab under the Connectors filter, click the HTTP connector:
-
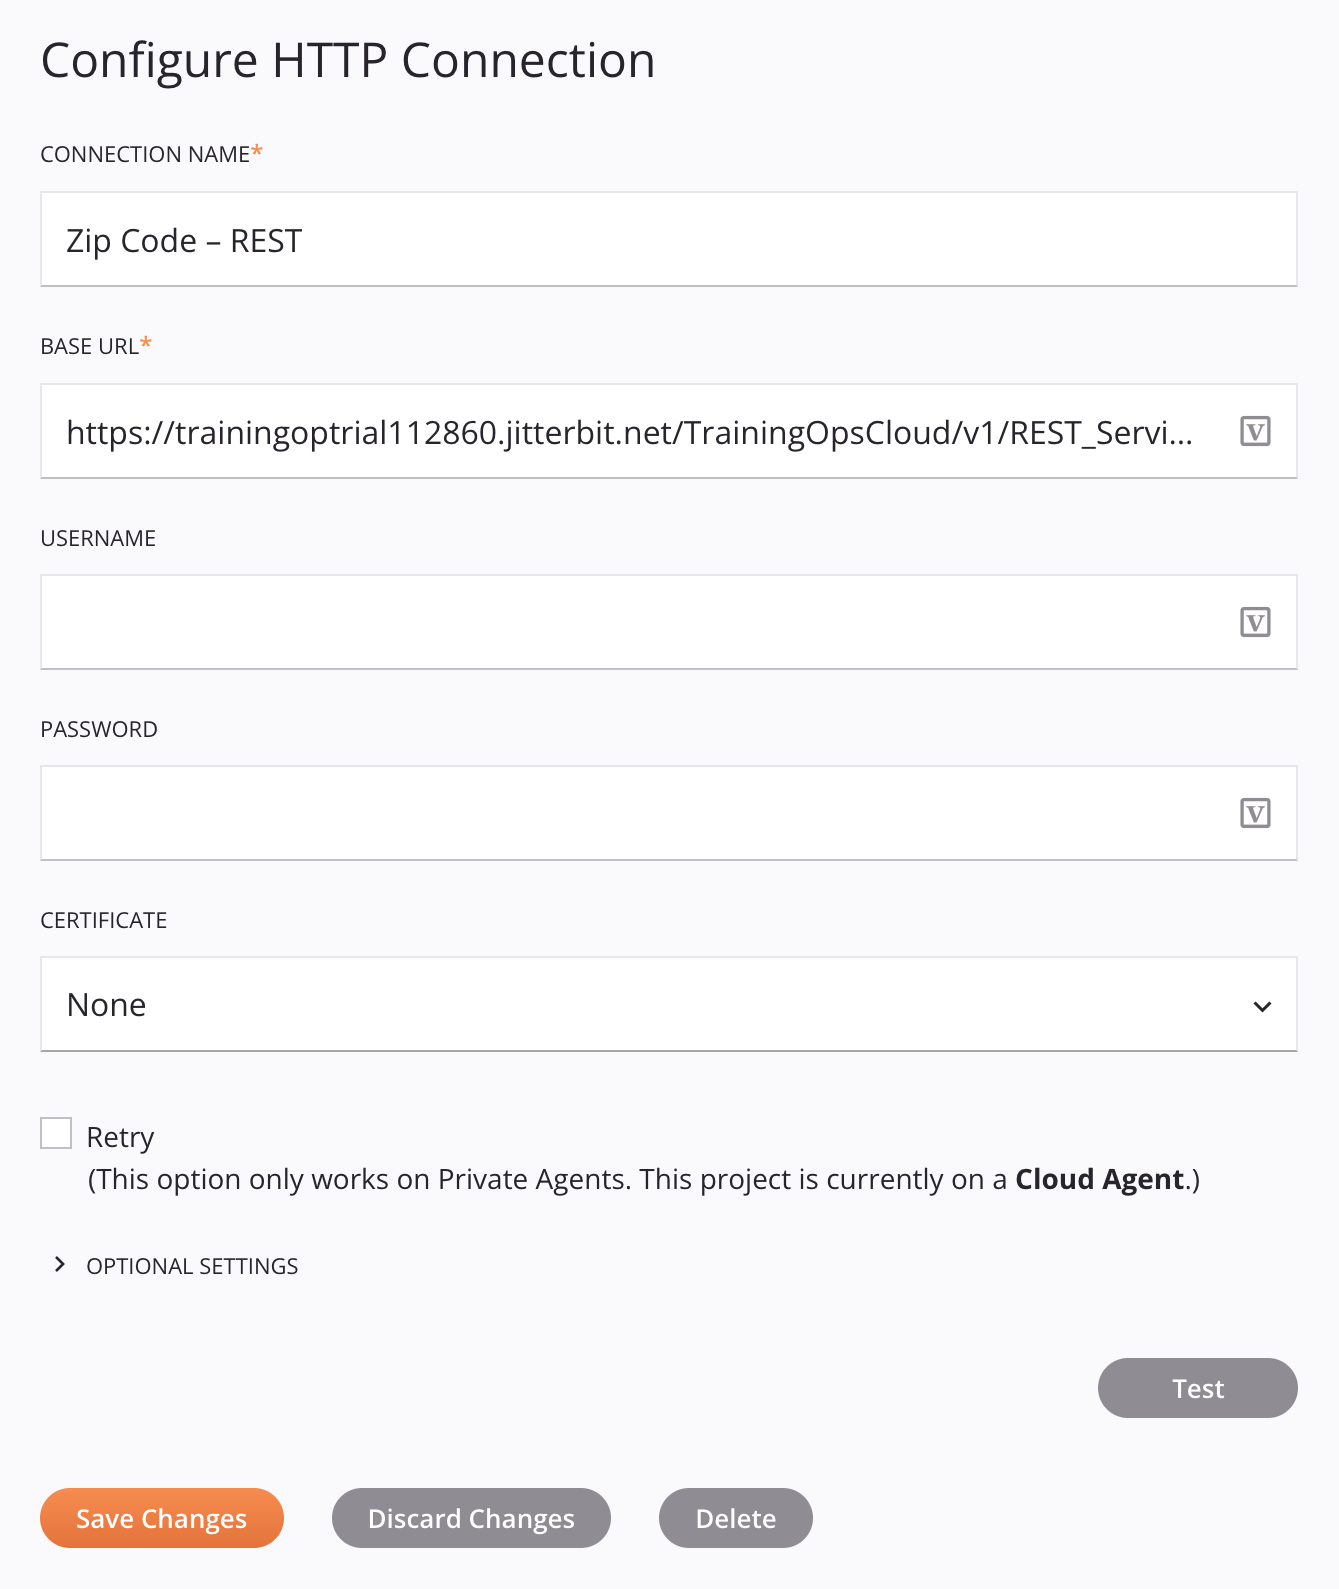
Configure the HTTP connection:
- Endpoint Name: "Zip Code – REST"
- Base URL: Paste the base URL for this service: "
https://trainingoptrial112860.jitterbit.net/TrainingOpsCloud/v1/REST_Service/".
-
Click Save Changes.
The HTTP connection should have a configuration similar to this:
2. Configure an HTTP activity
Next, configure an activity associated with the HTTP connection to get the data from the web service:
-
From the component palette's Project endpoints and connectors tab under the Endpoints filter, click the "Zip Code – REST" connection you just created:
-
Drag an HTTP GET activity type to the component drop zone on the design canvas to create an instance of an HTTP GET activity in a new operation.
-
Rename the operation to "Zip Code – REST."
-
Double-click the HTTP GET activity within the operation to open its configuration.
-
Configure the HTTP activity:
-
Name: "Zip Code Details"
-
HTTP Verb: "GET"
-
Path: "zip"
-
Request Parameters: Click Add to set a query parameter called "code" with a value of your zip code (for example, "94501"). Click Next.
-
Provide Request Schema: As there is no need to provide a request schema (a standard GET request doesn't contain a body), click Next again.
-
Provide Response Schema: Select Yes, Provide New Schema, provide a schema name of "Zip Code Detail," and then paste this expected JSON response structure into the lower text box:
{
  "zip": 12345,
  "type": "",
  "primaryCity": "",
  "state": "",
  "county": "",
  "timeZone": "",
  "areaCodes": "",
  "latitude": "",
  "longitude": "",
  "country": "",
  "population": 123456
}
Click Next.
-
Data Schema: Review the data schema and click Finished to return to the design canvas.
-
The final screen of the activity configuration should look similar to this:

3. Configure an FTP activity
In this step, you reuse the FTP Write activity you created in Module 4:
- From the project pane's Components tab, expand Endpoints > FTP Endpoints to locate the "SFTP" connection and "Zip Code Data" write activity you created as part of Module 4.
- Drag the "Zip Code Data" write activity to a drop zone on the right of the HTTP activity within the operation on the design canvas to reuse it in the operation.
4. Configure a transformation
Next, you create a transformation to transform data from the HTTP source to the FTP target:
- On the design canvas, hover over the area between the HTTP GET activity and the FTP Write activity until a component drop zone appears.
- Click the drop zone and select New Transformation. A new transformation will open for you to configure:
- Transformation Name: "Zip Code – REST Response"
- Source: The source schema is already provided (on the left) because you defined it in the GET activity.
- Target: You need to define the target schema (on the right). Click Define Schema, then select Use Sample File. Configure the sample file schema:
- Provide Schema File: Select Use Saved Schema.
- Saved Schemas: Use the dropdown to select the tab-delimited "Zip Code Data" schema that you defined as part of Module 4. Click Finish.
- Along the top right of the target schema, click Automap Exact Matches. Then click Return to Workflow.
The transformation mapping should look similar to this:
5. Deploy and run the operation
Finally, with all operation steps configured, you deploy and run the operation:
- In the top right of the operation, click the actions menu icon
 and from the menu click Deploy and Run. The operation status is displayed in the lower left of the operation.
 - Once the operation is successful, log in to Jitterbit's training SFTP server and view the file you generated.