Introduction to Vinyl 3.3: Enhancing the Application
Vinyl App Development Methodology
Building an app in Vinyl moves you through the data, business, and UI layers. Following our iterative Vinyl methodology for app development, we quickly build an app that runs in the UI layer first, and then run it, test it, modify it, test again, and continue to iterate as needed.
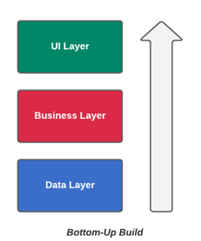
Bottom-up Build
Until now, we have been developing our app from the bottom layer of Vinyl up. We started out in the data layer and used table accelerators to build out the business layer logic and UI layer pages.
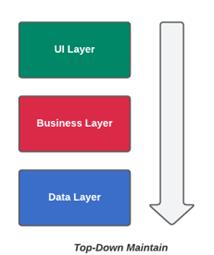
Top-down Modifications
Now that we have an app we can run, from this point forward we will switch gears and work in Vinyl from the top down. From here forward we will work in the app UI layer for further changes and modifications.
Create a List Retrieve for the Order Page
In this section we will review the Order page and see how we can make it more useful to the user. We will configure a List Retrieve, which allows us to automatically populate specified information on a screen, when it is available from an underlying business object. On our Order page we will leverage this List Retrieve to default information from the data layer about our Customer record.
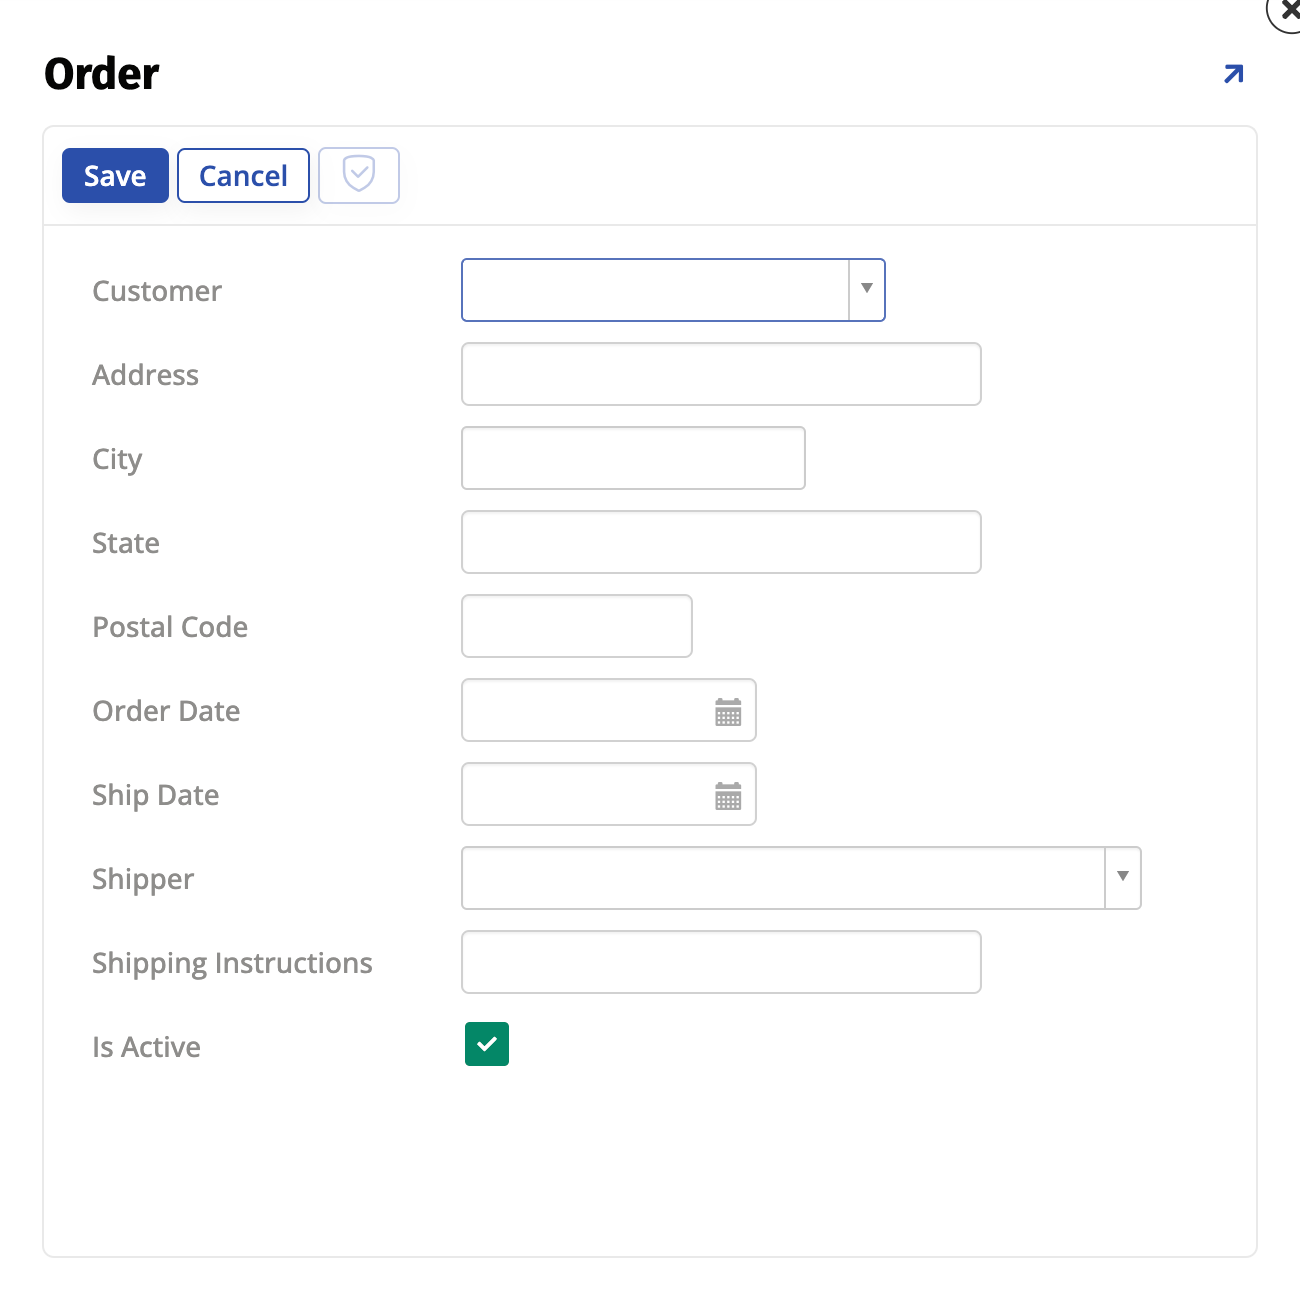
Order form popup screen:
-
From the app UI Layer home page, click the Orders navigation link.
-
Click the Create button from the Orders panel.
-
Select the Customer as Salem Witch Museum.
Note
No information is currently defaulted for the customer’s Address, City, State, Postal Code, Shipper, or Order Date. This is a scenario where we can create a List Retrieve to automatically populate this information from the data layer.
-
Go to the Action Drawer > Live Designer.
-
Select the Customer control from the left side application view.
-
Click the List Options tab from the page design view.
-
Click the Retrievals button from the Panel and List Interactions.
-
Click the Automap Columns button on the Retrievals page.
-
Confirm the Panel Column and (List Source) Column mappings now exist for Address, City, PostalCode, ShipperID, ShippingInstructions, and State.
-
Click X to exit out of the Retrievals screen.
-
Click X to exit out of the page design view.
-
Select the Customer as Salem Witch Museum.
-
Confirm the fields are now populated for Address, City, State, and Postal Code when a Customer record is selected.
-
Click the Save button.
Hands-on: Add Order Records
Here we will create Order records, so our Global Imports app has more data populated to work with.
| Customer | Address | City | State | Postal Code | ShipDate | OrderDate | Shipper | Shipping Instructions | IsActive |
|---|---|---|---|---|---|---|---|---|---|
| Zany Brothers | 303 East Dilido Drive | Miami Beach | FL | 33139 | {{Today’s Date}} | Slo Mo | Yes | ||
| Salem Witch Museum | 19 1/2 N Washington Square | Salem | MA | 01970 | {{Today’s Date}} | Fast Eddie | Yes |
Customize the Order Page
If we look at the current Order page, we can imagine it would be useful to have Order Detail information appear on this same screen for the application user. In this next section we will step through a few customization changes so that the Order process in the Global Imports app is more robust.
Add Order Details Panel to the Order Page
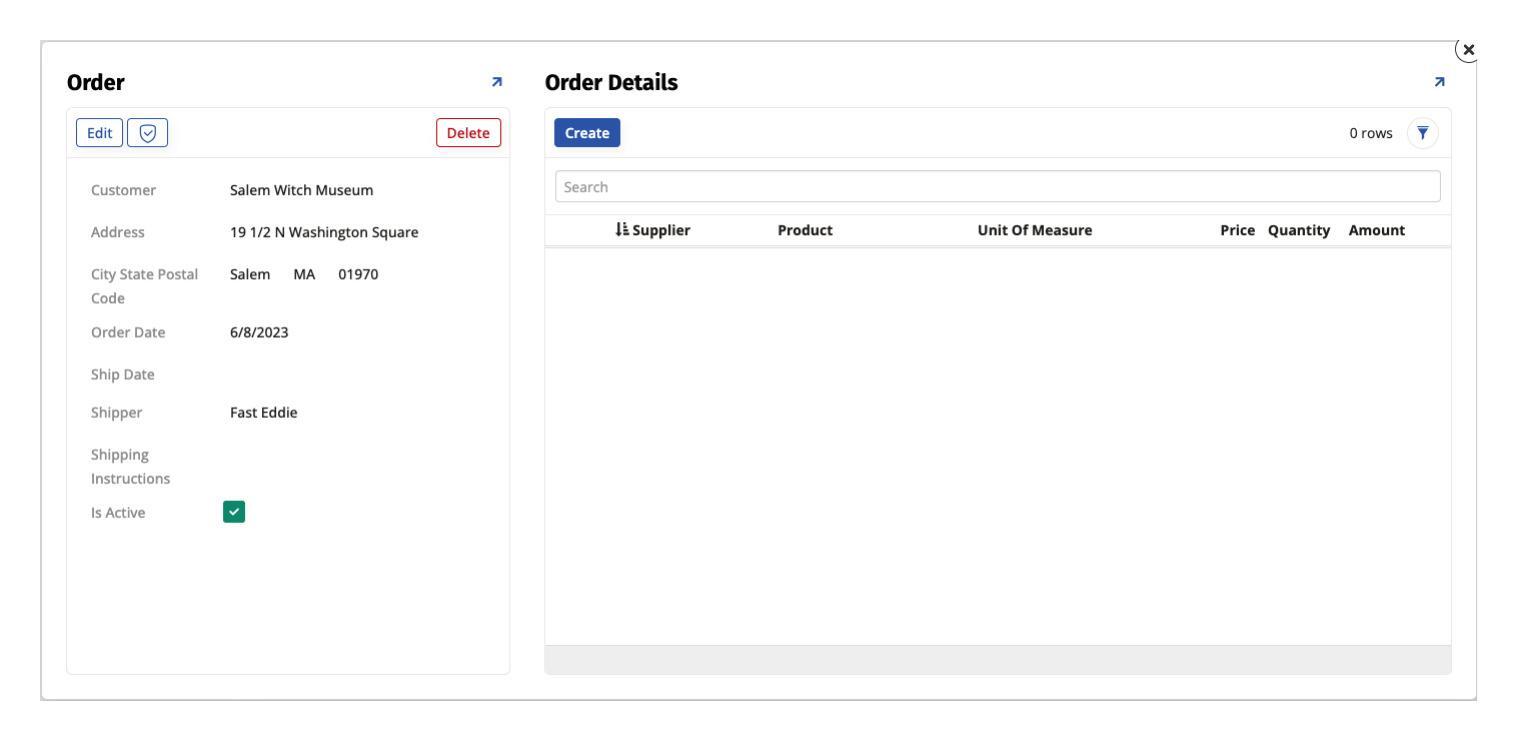
The Order page with the Order Details panel added:
-
From the app UI Layer, navigate to the Orders page.
-
Click the Create button so you are now on the Order page.
-
Go to the Action Drawer > Live Designer.
-
Click the + Panel button.
-
Select the Grid tile.
-
Click the Next button.
-
Locate the OrderDetail (Business Object) and mark as Selected.
-
Click the Next button.
-
Select Choose Manually, then click Next.
-
Select the following controls in the Select column:
-
ProductID
-
UnitOfMeasureID
-
Price
-
Quantity
-
-
Click the Next button.
-
Confirm and click the Finish button.
Note
The Order popup displays the two panels by adding tab style navigation to the top left region of the screen. A user would need to click Order Details to see the corresponding information. Let's change the screen size to accommodate both panels to display.
-
At the page design view, under Page Properties, set the Width to Extra Large.
-
Click the Save button.
-
Click the Order Details panel.
-
Under Panel Properties for Order Details, set the Panel Size to Large.
-
Click the Update Methods tab.
-
Select Inline as the Insert Method.
-
Click the Save button.
-
Click X to exit out of the page design view to return to the application view for the Order page, refresh the browser, and confirm you now see the Order and Order Details panels and the Order Details panel has more width allocated to it than the Order panel.
Add Extension and Product Details to Order Details
Looking at the Order Details panel on the Order page, it would be useful to have an Extension value added to it that takes the Price value and multiplies it by the Quantity value. In this section we will step through how to accomplish this, by modifying the business rule the panel is using and then adding the new value to display on the panel.
-
From the application Order page, go to Action Drawer > Live Designer.
-
Click to select the Order Details panel.
-
Click the gear icon next to the OrderDetail business object.
-
Rename the business object to
OrderDetail (With Product). -
Click the + Tables button.
-
Click the Add button for Product.
-
Select the checkbox for SupplierID on the Product table.
-
Click the Columns tab.
-
Click the + Column button.
-
In the Column or Expression field, enter
O.Price * O.Quantity. -
Name the alias as
Amount. -
Confirm the logical data type is Currency.
-
Click the Save button.
-
Click the Results button.
-
Confirm you see a column for Amount in the results.
-
Click the back button to return to the rule design view.
-
Click the back button to return to the Order page design view.
-
Click to select the Order Details panel.
-
Click the + Control button.
-
Set the column to Amount.
-
Set the Control Type to Numeric.
-
Click the Next button.
-
Confirm and click the Finish button.
-
Click the + Control button.
-
Set the Column to SupplierID.
-
Set the Control Type to List.
-
Click the Next button.
-
Set the Source to Supplier (List).
Note
Due to the primary key and the title being set on the Supplier table, Vinyl knows to default in SupplierID and Supplier as the key and title.
-
Click the Next button.
-
Confirm and click the Finish button.
-
Click the Position & Width tab from the page design view.
-
Set the change position value to
5. -
Click the Save button.
-
Close the Live Designer and confirm you now see the Order Details panel with the Amount value displayed.
Note
You may have to adjust your control widths to fit on the page/panel.
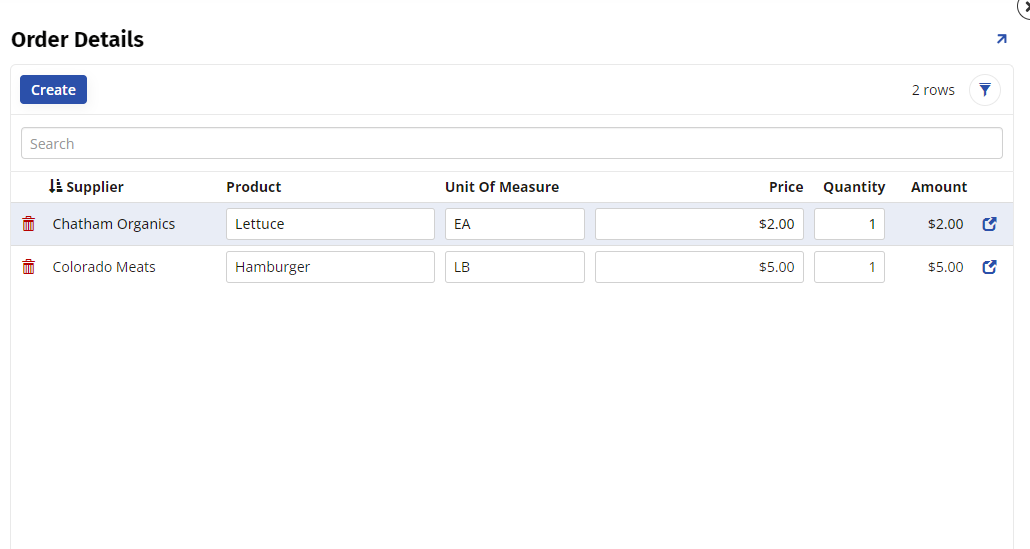
Hands-on: Add Order Details Records
Select one of the Order records and add the following Order Detail records to it:
| Product | UnitOfMeasure | Price | Quantity | Amount |
|---|---|---|---|---|
| Hamburger | LB | $5.00 | 1 | $5.00 |
| Lettuce | EA | $2.00 | 1 | $2.00 |
Note
Notice UnitOfMeasure and Price do not automatically populate. This will be addressed in a later step.
Modify Panel to Use Edit (Excel)
In this section we take a look at using Edit (Excel), a panel-level setting that displays the panel such that users can simply click and edit all editable fields in order to make any changes necessary. Changes are saved on exiting out of the field(s). This is different from the standard Edit panel state, which typically presents users with a pencil edit icon and a checkmark icon to save.
The Order Details panel with Excel Edit:
-
From the Order page, go to Action Drawer > Live Designer.
-
Select the Order Details panel.
-
Click the Update Methods tab.
-
Select Excel as the Edit Method.
-
Click the Save button.
-
Close the Live Designer.
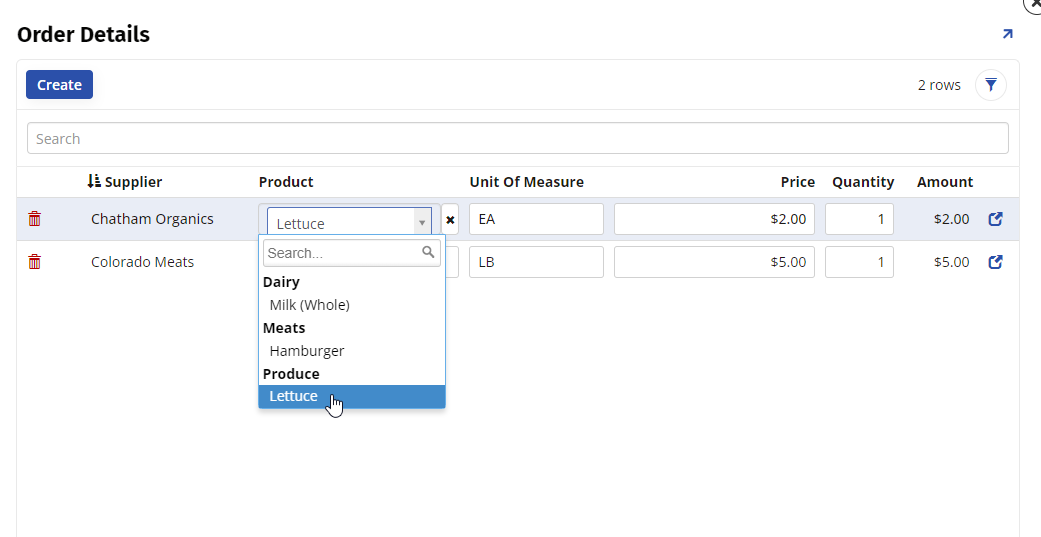
Add Category to Product List and Display as Group By
In this section we will add the Category value to the Product List control and then display it as Group By. When configured, this will allow the Product dropdown menu to display both the Category value as well as the Products within each Category.
The Order Details panel with Product List modified:
-
From the Order page, go to Action Drawer > Live Designer.
-
Select the Product control from the Order Details panel.
-
Click the List Options tab.
-
Click the gear icon next to Product (List).
-
Click the + Tables button.
-
Locate the Category table and click the Add button.
-
Select Category from the Category table.
-
Click Results and confirm there are no errors.
-
Click the Vinyl back button until you return to the Product List control view.
-
Click the List Options tab in the page design view.
-
Under List Properties (Additional), set Group By (Column) to Category.
-
Click the Save button.
-
Close the Live Designer and confirm the Product control now displays as expected.
Create a List Retrieve for Order Details
If we try to create a record for Order Details by selecting a Product, we see that there are no defaults populated for the corresponding Unit of Measure and Price. This is another opportunity to use List Retrieve to display these values to our app users.
-
From the application Order page, go to Action Drawer > Live Designer.
-
Click to select the Product control from the Order Details panel.
-
Click the List Options tab.
-
Click the Retrievals button from Panel and List Interactions.
-
Click the Automap Columns button on the Retrievals page.
-
Confirm the Panel Column and (List Source) Column mappings for Price, SupplierID, and UnitOfMeasureID.
-
Click X to exit out of the Retrievals screen.
-
Close the Live Designer and confirm the updates.
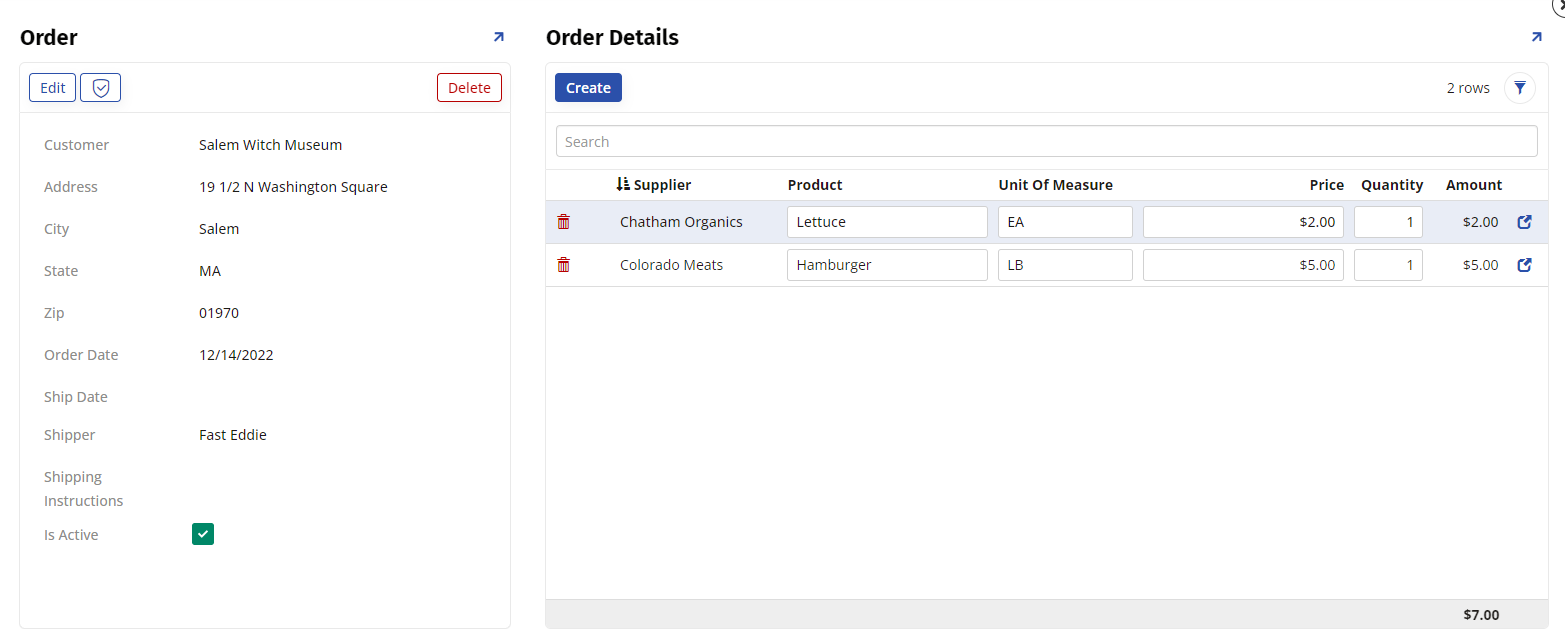
Add an Aggregate
Next we will add an Aggregate Function to sum the Amount column on the Order Details panel.
The Order page with an aggregate added to the Order Details panel:
-
From the application Order page, go to the Action Drawer > Live Designer.
-
Click to select the Amount control from the Order Details panel.
-
Select Sum as the Aggregate Function.
-
Click the Save button.
-
Close the Live Designer and confirm you now see an aggregate displayed that sums the Amount values.