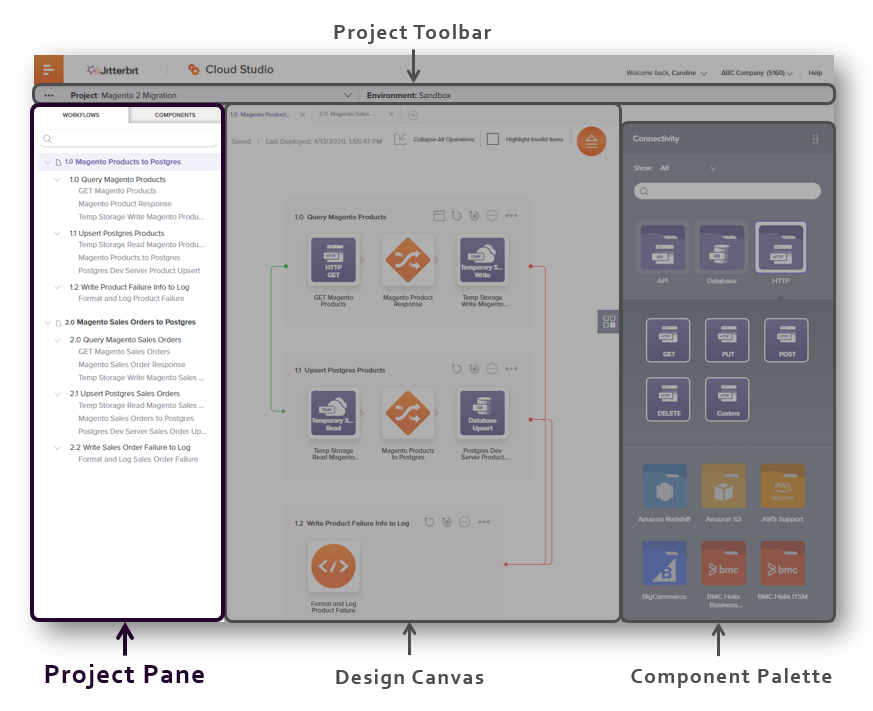
Project pane in Jitterbit Integration Studio
Overview
The project pane is the part of the Integration Studio UI where you can view and manage workflows, project components, and project APIs.
To access the project pane, first open a project. In an open project, the project pane is displayed on the left of the project designer:

Project pane tabs
The project pane contains three tabs: Workflows, Components, and Resources. These tabs are described on the pages included in this topic:
- Project pane Workflows tab
The Workflows tab displays a hierarchically organized view of an open project's workflows, operations, and components used within each operation. - Project pane Components tab
The Components tab displays all of an open project's components grouped by category. - Project pane Resources tab
The Resources tab displays the custom APIs exposing operations for consumption in the current project.
Resize the project pane
To resize the project pane, hover over the gray line between the project pane and the design canvas until a resize cursor appears, and then drag to the left or right:

The project pane will automatically collapse when it is resized to a width smaller than the default width.
To manually collapse or expand the project pane, hover over the project pane and use the expand or collapse buttons located in the top right of the project pane. When collapsed, you can temporarily expand the project pane by hovering near the gray line between the collapsed project pane and the design canvas.
All project pane view preferences are remembered for each user and project.