Amazon AWS Cognito Setup with Vinyl
AWS Setup
-
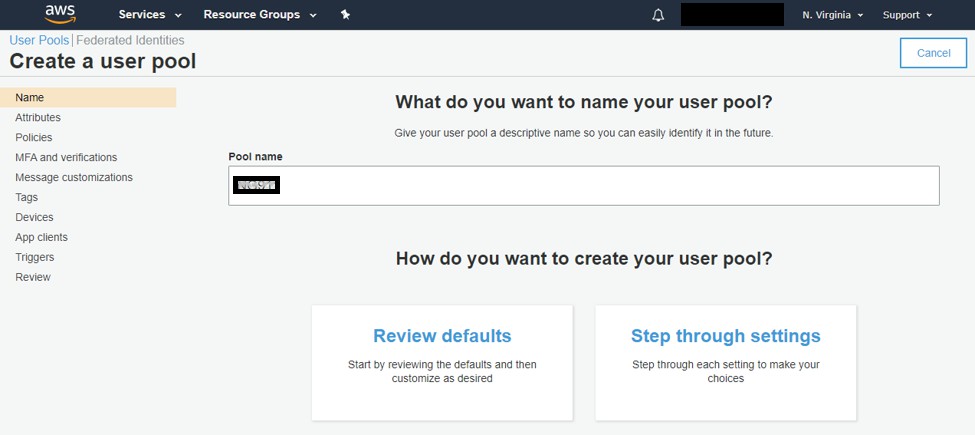
Go to https://console.aws.amazon.com/cognito/users/ while signed into an administrative AWS account and choose 'Create a user pool'.

-
Give your User Pool a name and select 'Step through settings' to configure it
-
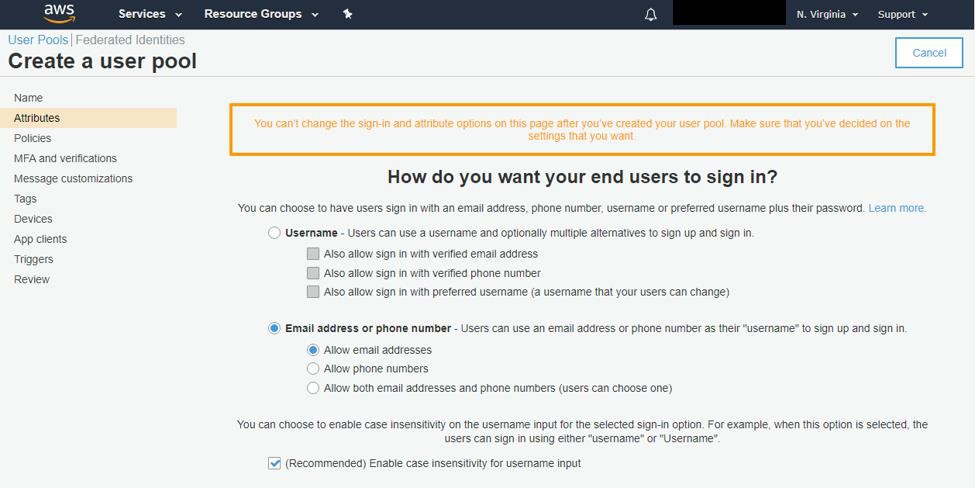
Choose how your users will sign in. We recommend using Email Address as the login identity, and enabling case insensitivity with the checkbox.
-
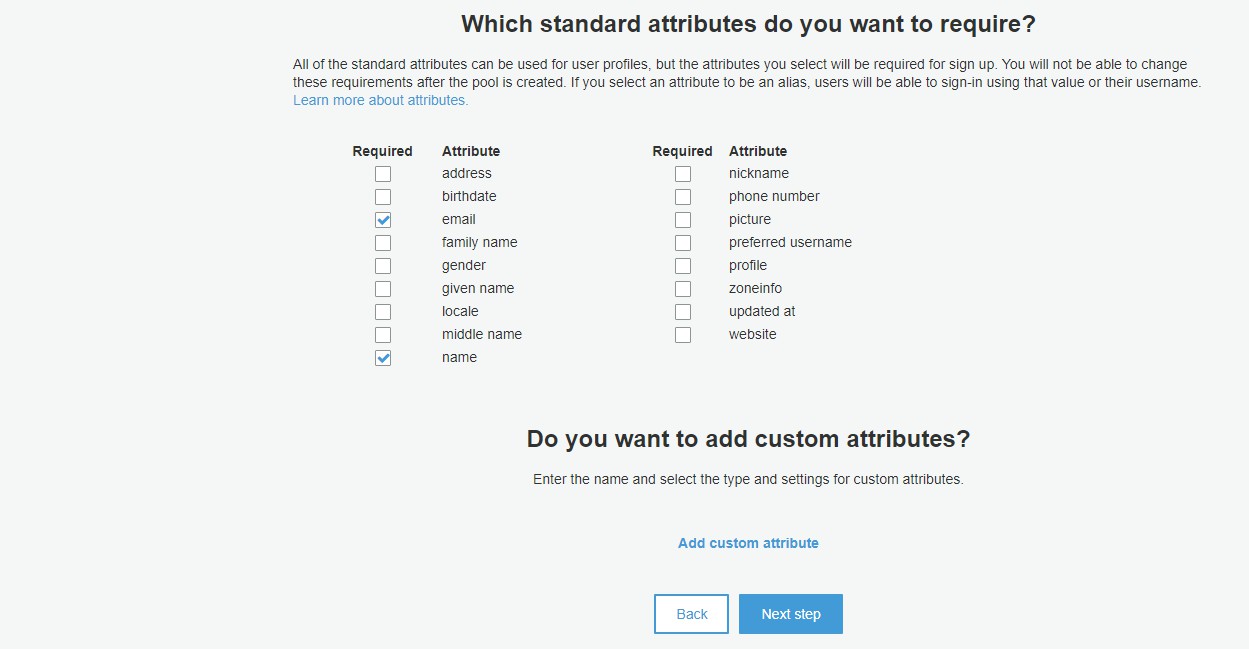
Select the built-in User Attributes you want to require for each user on setup. At a minimum, the email and name attributes should be enabled to provide account information to Vinyl. When checked, click 'Next'.
-
Set the Password and user creation policies. We recommend selecting 'Only allow administrators to create users' to prevent unauthorized users from gaining access. When set, click 'Next step'.

-
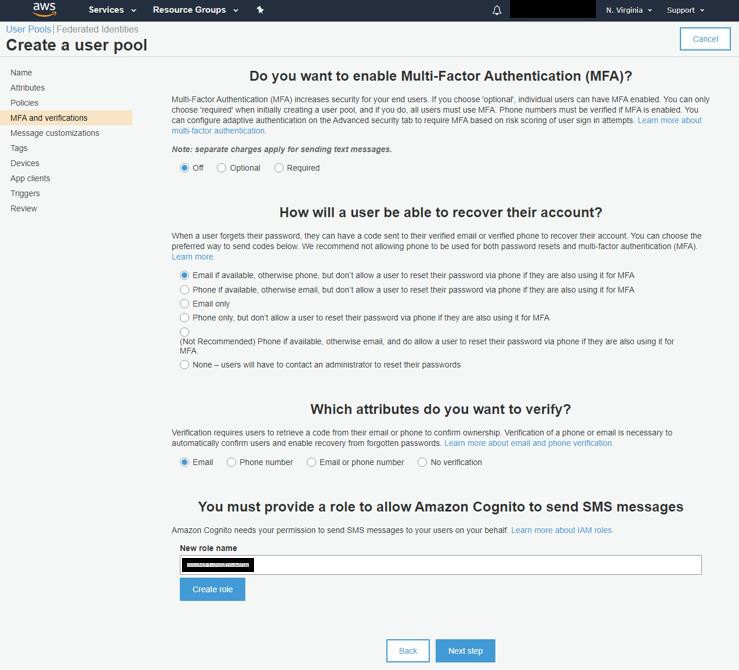
Set your Multi-Factor settings for the pool. We recommend using 'Email only' for the recovery option. MFA is entirely optional, but if you don't want to use MFA *do not* click the 'Create role' button.
-
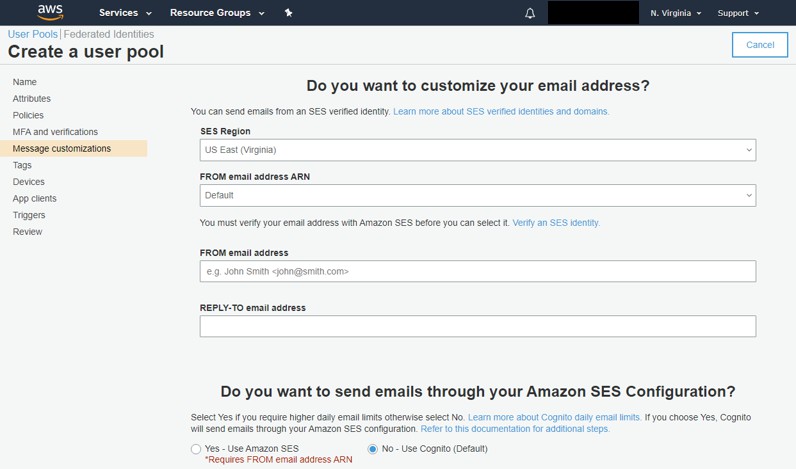
You can optionally customize the email address which Cognito sends messages from, or you can use their built-in default. To use a custom email address or server you need to first set up a SMTP server through AWS SES separate from Cognito.
-
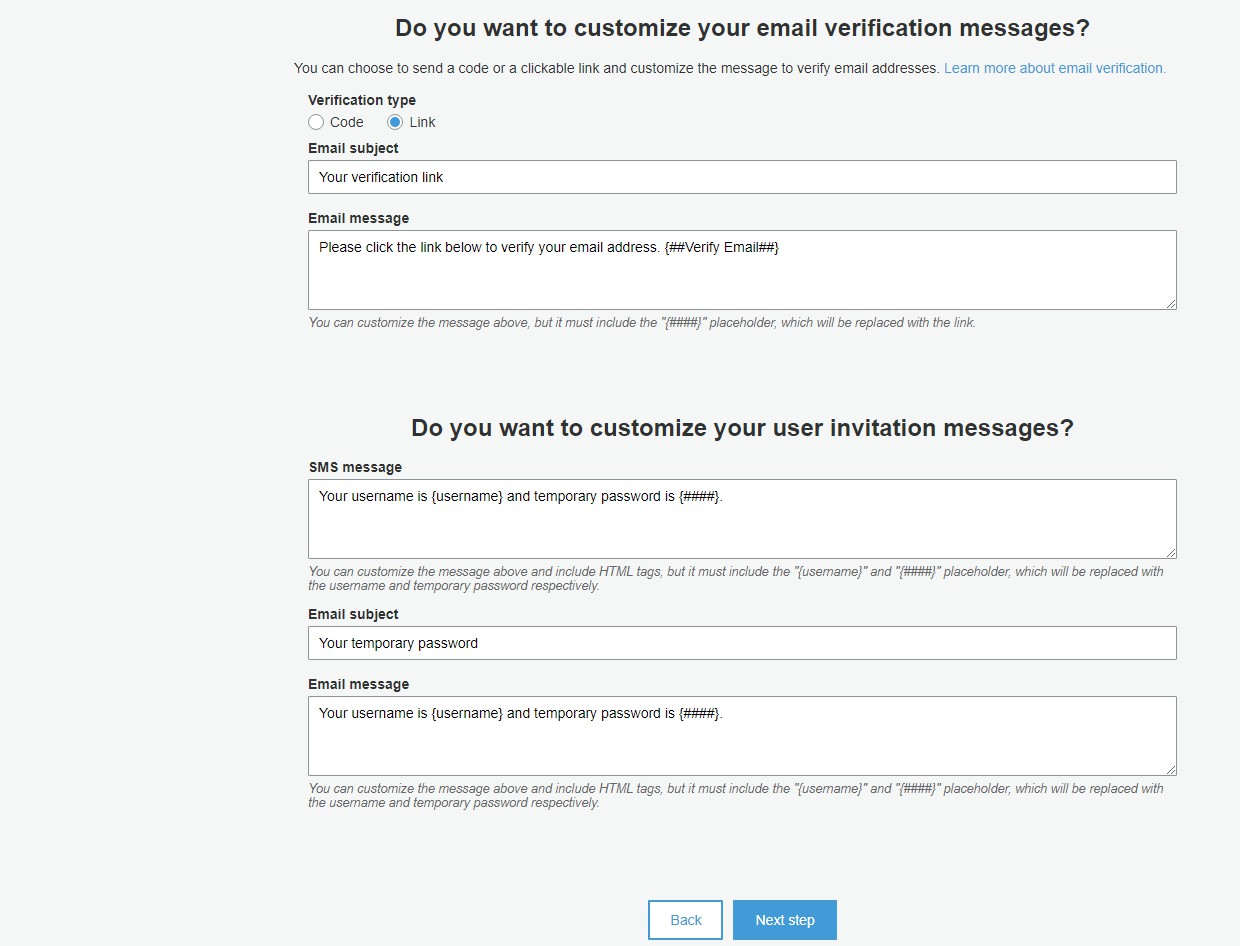
You can customize the email messages sent to new users as well. We recommend using the 'Link' verification type for user convenience. When finished, click 'Next step'.
-
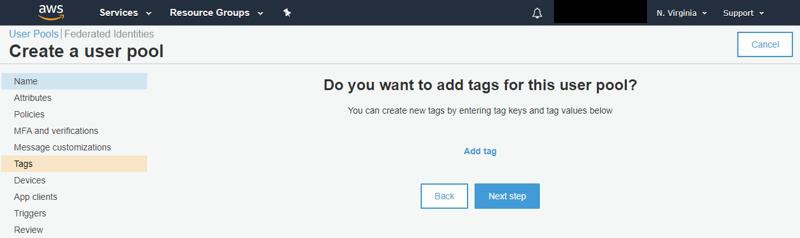
Adding Tags are optional. They can be used for tracking usage or billing. Set any Tags you wish to apply to this User Pool and click 'Next step'.
-
Remembering user devices is optional. The most secure option is not to remember any user devices. Select the device option, then click 'Next step'.

-
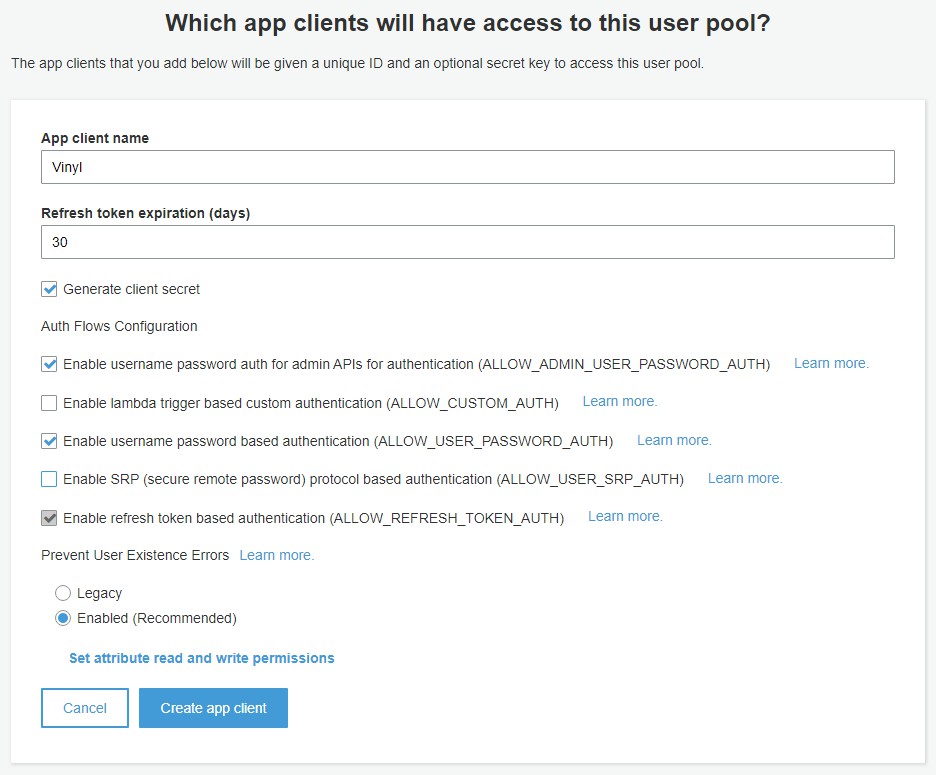
Vinyl is an app client, so we will set that up here. Click 'Add an app client' and set the options to match the image below, then click 'Create app client' followed by 'Next step'.
-
Customizing triggers is optional, and not something used with Vinyl. This lets you trigger custom Lambda functions for user login/signup actions. We do not use these for auth. Click 'Next step'.

-
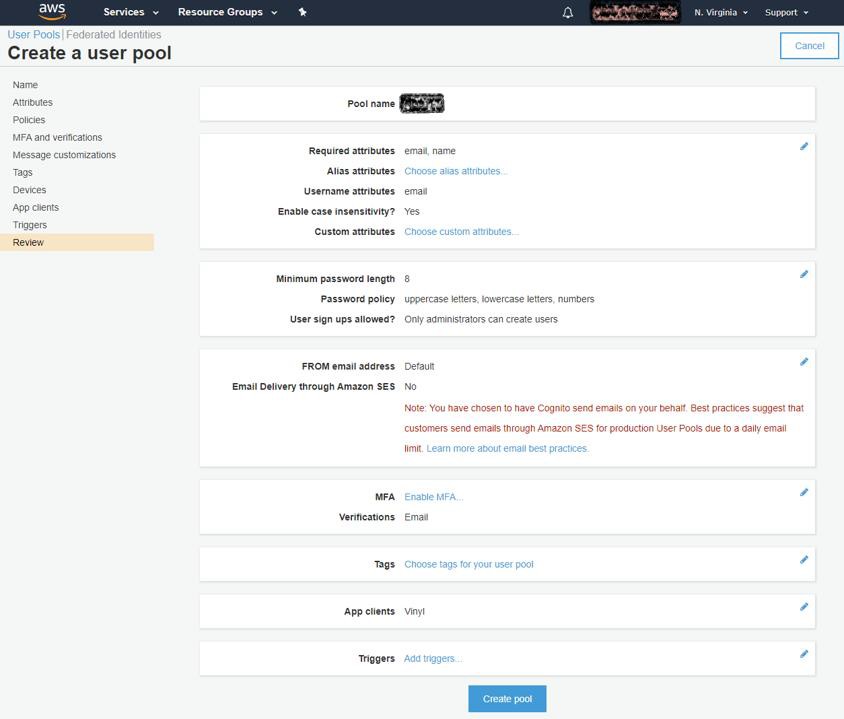
Review your options and settings, then click 'Create pool'.
-
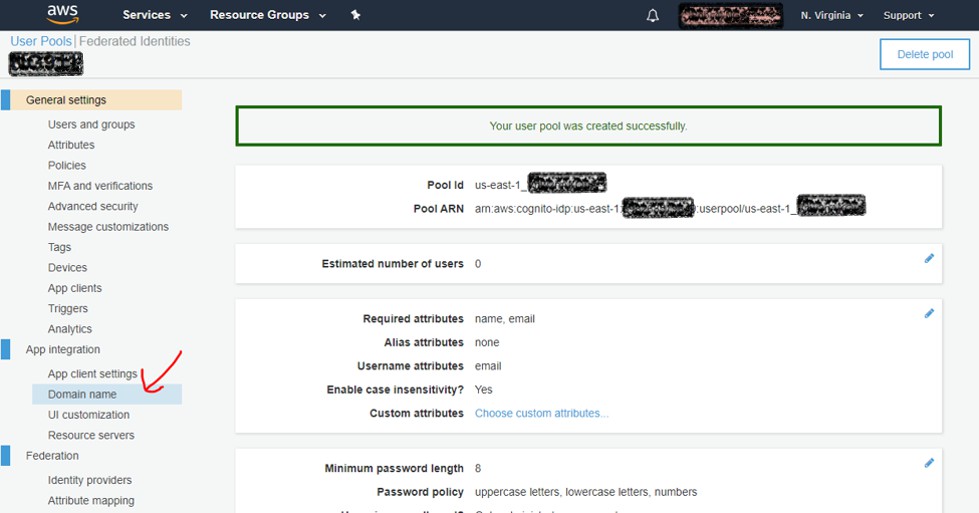
In the left column on the newly-created User Pool, choose 'Domain name'.
-
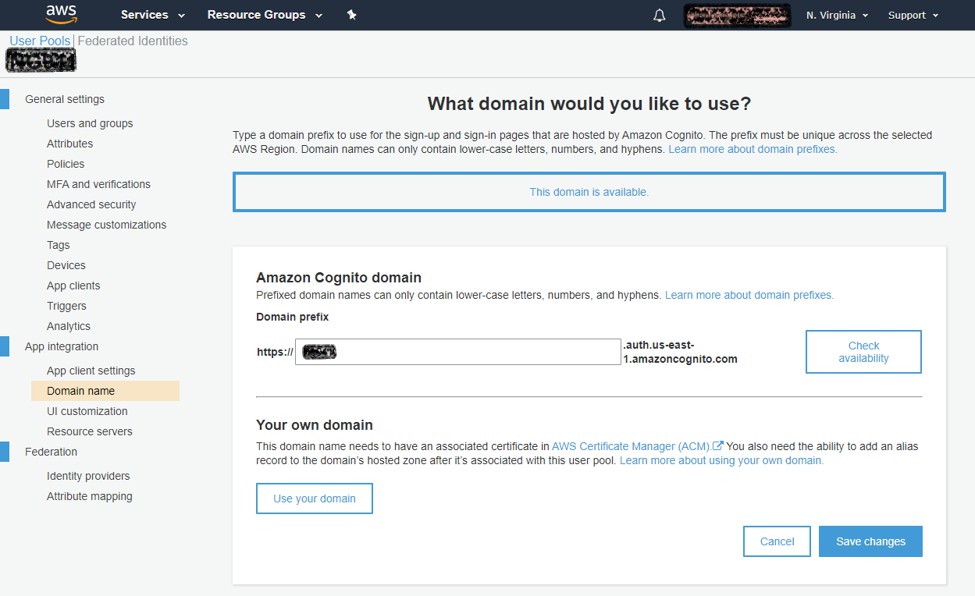
Enter your domain name prefix and make sure it is available. Then click 'Save changes'.
-
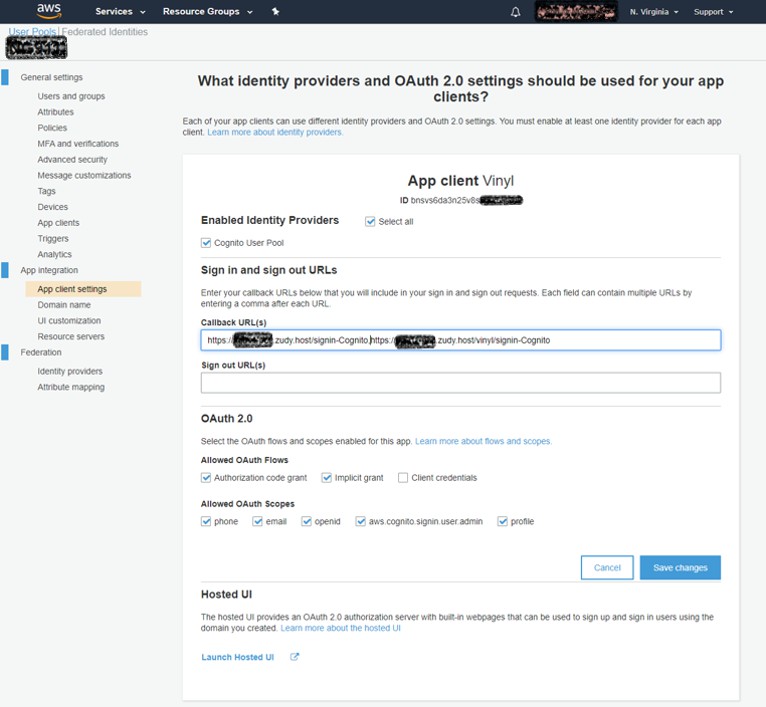
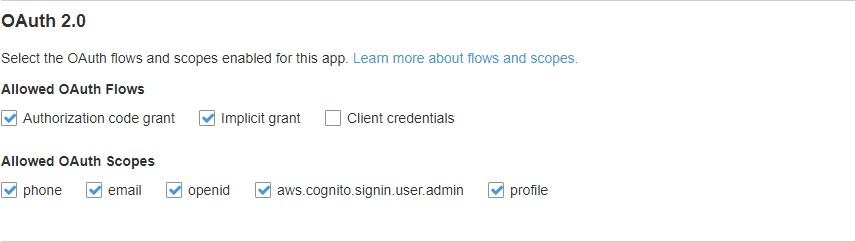
Click the 'App client settings' option in the left panel to set up Vinyl access settings. Choose either 'Select all' or 'Cognito User Pool' as the Identity Provider. For Callback URLs enter
https://<server>/signin-Cognito,https://<server>/vinyl/signin-Cognitoin the same box with a comma between them. Check 'Authorization code grant' and 'Implicit grant' as well as all options under 'Allowed OAuth Scopes'. Then click 'Save changes'.
-
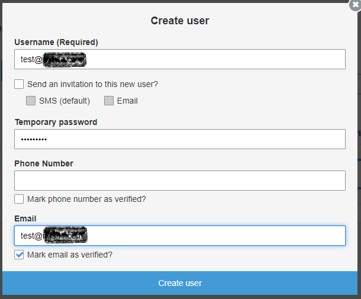
Click 'Users and groups' in the left panel, and then click the 'Create user' button. Create a user to test the Vinyl integration going forward. No invitation is required and you can mark it as verified.
-
Gather the information we will need for Vinyl:
-
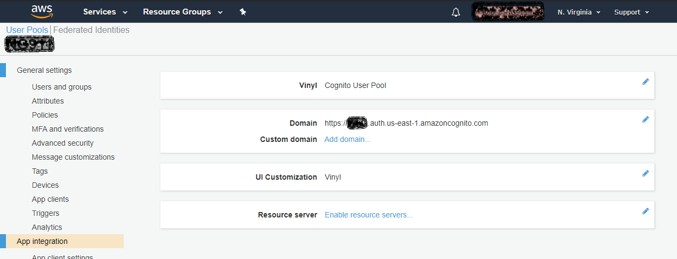
Click 'App integration' in the left panel and copy down the Domain value listed here. This will be your main auth server endpoint.
-
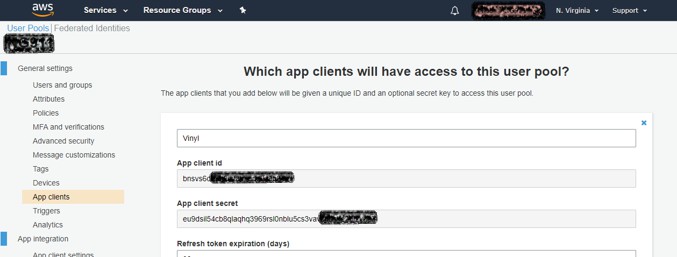
Click 'App clients' in the left panel, then click 'Show Details'. Copy down the 'App client id' and 'App client secret' values
-
Finally, click 'App client settings' on the left panel, and under OAuth 2.0 and 'Allowed OAuth Scopes' copy down the checked boxes labels with a space between them. This will be the 'scope' value. The default for all boxes checked is: openid aws.cognito.signin.user.admin profile email phone
-
Vinyl Setup
After the AWS setup is configured, complete the Vinyl setup:
-
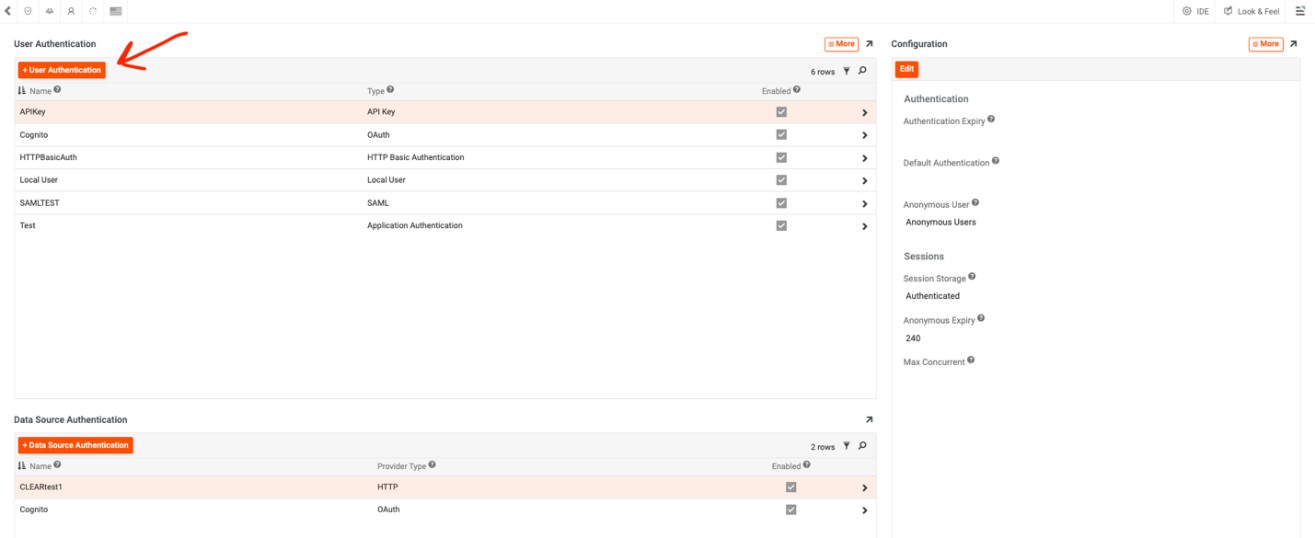
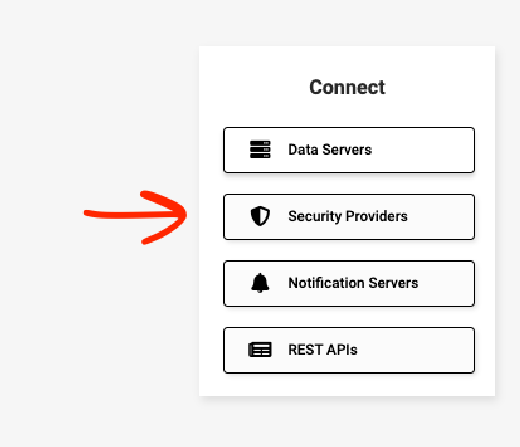
Go to the Vinyl IDE, and choose Security Providers under the Connect panel
-
Click the + User Authentication button in the User Authentication panel
-
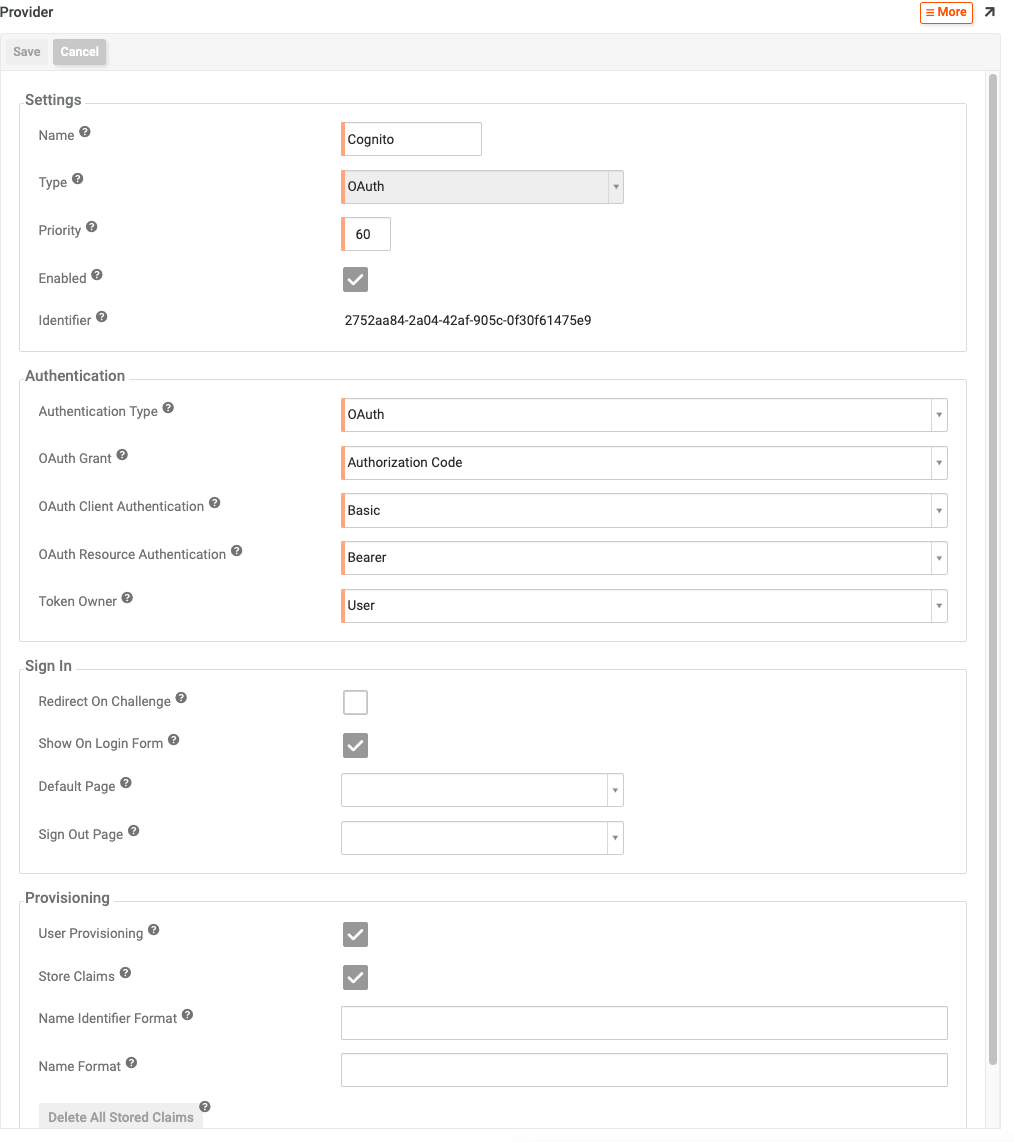
Set the 'Name' value to Cognito. If you want to name it something else, we will have to change the Redirect URIs from the AWS setup to match.
-
For Type choose OAuth
-
The Priority value can be left as the default value
-
Check the Enabled box under Settings
-
The Authentication Type should automatically populate to OAuth
-
For OAuth Grant choose Authorization Code
-
The OAuth Grant, OAuth Grant Authentication, OAuth Resource Authentication, and Token Owner values can be left with the settings they default to
-
Check the Show on Login Form under the Sign In panel
-
Check the User Provisioning and Store Claims checkboxes under the Provisioning panel
-
Click Save at the top
-
-
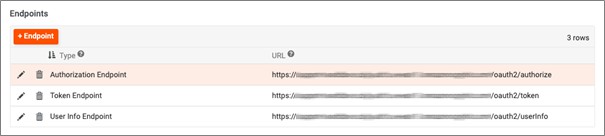
In the top-right Endpoints panel, click the + Endpoint button to create each of the three endpoints shown below. Note that for the Endpoint values you will need to add /oauth2/authorize, /oauth2/token, or /oauth2/userInfo respectively to your Auth Server URL for each of those endpoints. Case sensitivity is important here.
-
In the Credentials panel underneath, click the + Credential button to add a new credential of type Client. Supply the App Client ID and App Client Secret that was created previously.

-
Leave the Certificates value empty
-
In the Properties panel, click the + Property button to create a new property. Select Scopes for the parameter, and openid aws.cognito.signin.user.admin profile email phone for the value.

-
In the Claims panel, we will need to map the data sent from AWS to Vinyl values. Click the + Claim button to create the three entries shown below. The priority can be left at the default value of 10. The three claims are Name, Display Name, and E-mail Address. The Identifier field you can type into.
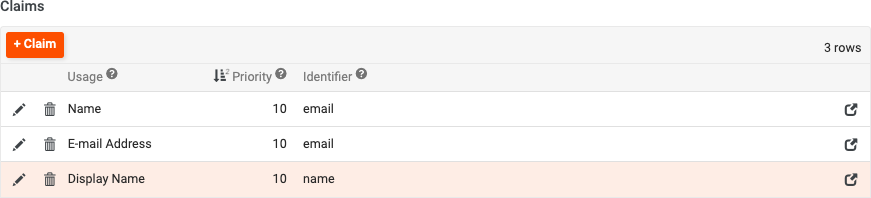
At this point, using Cognito to log into Vinyl will redirect you to the AWS login form, and will create the user in Vinyl based on the user in AWS Cognito. This still will not yet assign any Groups or Permissions to the user, so an administrator will manually need to assign Groups or Permissions from within the Vinyl User Management window to allow a full login or use of any applications.