Column Templates
New in Vinyl 3.3, Vinyl introduces Column Templates as a feature to accelerate app development as well as drive improved consistency around data modeling and interface.
Note
Your User must have Administrators membership to use this feature.
Feature Overview
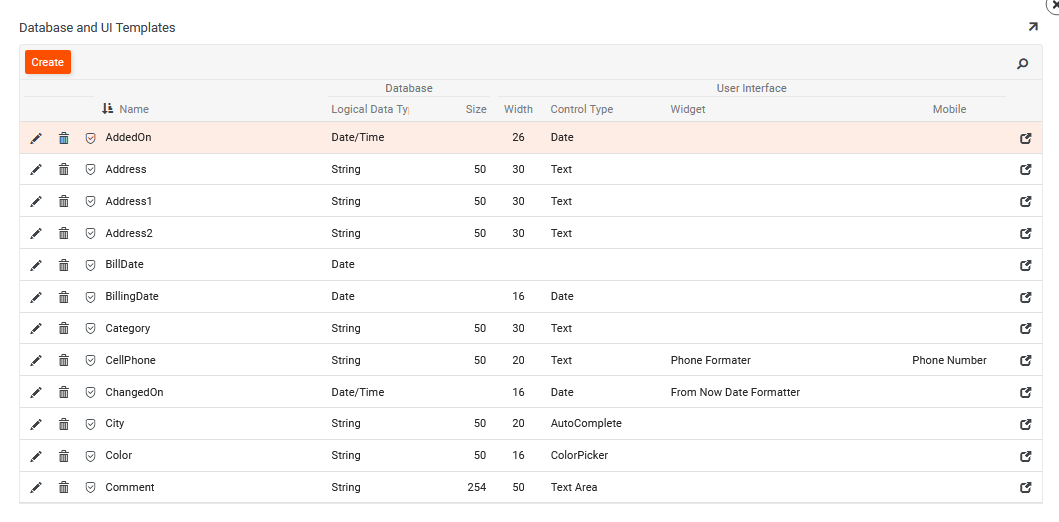
Vinyl provides some out-of-the-box column data, as well as learns over time for reuse, to help accelerate and standardize information for your app development. This column information gets stored and exposed through the Column Templates area in the IDE, where you can fine tune them if needed.
- Vinyl ships with some common column names, types, and sizes (like City, State, Zip)
- Vinyl will use these stored settings when names align
- Vinyl records Control Types and Widths for the same purpose as Column data type information
- Vinyl records changes made to these values so that your changes become the new defaults
How to Configure Column Templates
Column Templates can be created, modified, and even deleted, but it is unlikely that a User needs to interact with them as they are autogenerated and maintained by Vinyl. If needed, step by step instructions are provided to configure Column Templates:
- Navigate to the IDE > More Settings
- Click the Column Templates button
- Click the Create button
-
Provide the following required information:
- Name: must be a unique value. For example:
JobTitle - Logical Data Type: select the type of logical data stored for the column. For example:
String - Size: provide a numeric value for the column size. For example:
50
- Name: must be a unique value. For example:
-
Click Save
-
Configure any additional User Interface Settings for the column:
- Control Type: determines how the data will be displayed and more specifically what it will look like. For example:
Autocomplete - Display Width: defines the width of the column as it appears on the screen. For example:
20 - Mobile Render: select the appropriate option to display the column data in mobile view. For example:
Phone Number - Widget: select the appropriate Widget to format the column. For example:
Phone Formater
- Control Type: determines how the data will be displayed and more specifically what it will look like. For example:
-
Click Save