Oracle Connection Guide
Overview
This guide describes the system requirements and instructions for connecting Vinyl to an Oracle database server.
After you configure an Oracle Data Server connection in Vinyl, you create Oracle Data Sources to import Oracle schema in a Vinyl application, allowing you to expose the data and interact with it through Vinyl.
To connect your servers, you must have Vinyl 3.3+ installed.
System Requirements
Database Server
Oracle Database Server
Client Web Browser
-
Chrome: 84+
-
Firefox: 73+
-
Safari: 13.0.1+
-
Edge: 84+
Connection Instructions
Adding a Data Server
-
Navigate to the Vinyl IDE
-
From the Connect menu, click on Data Servers
-
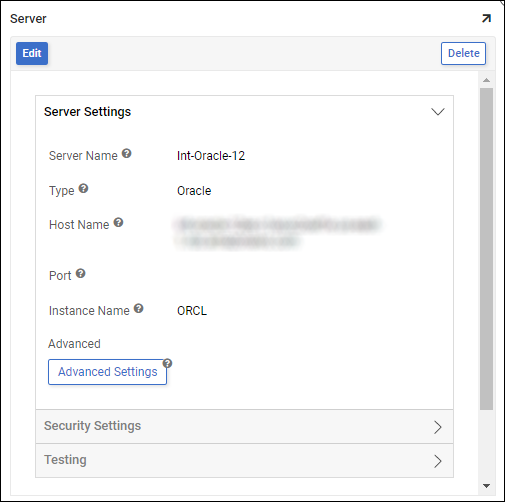
Click the + Server button on the top left of the Data Servers panel. This will bring up the Server page. Provide the following information:
-
Name: An identifiable and unique server name. For example: Oracle
-
Type: Select Oracle from the dropdown menu
-
Host Name: The hostname of your Oracle server. For example: int-oracle- 12ee.c1axuc2oaf1e.us-east-1.rds.amazonaws.com
-
Port: The port number for the Oracle server. The default port is 1433.
-
Instance Name: Enter the Oracle schema name. This value is required for connecting to an Oracle server. For example: ORCL
-
User Name: The user name used to access the Oracle database server
-
Password: The password associated with the above user name
-
Advanced Settings: Includes the Ping Timeout setting, which determines the amount of time (in seconds) that Vinyl will wait for a ping back from the server before declaring a timeout.
-
-
After filling in all necessary credentials, click the Save button
Testing the Connection
From Testing, click the Test Connection button to make sure the server is properly configured
Adding a Data Source
After the server settings have been saved, the Oracle database (or schema) needs to be connected to a Vinyl app. Databases that are connected to Vinyl apps are referred to as a data source.
-
From the Vinyl app you want to add the Data Source to, navigate to the App Workbench
-
Click the Data Sources tile
-
Click the + Source button
-
Select New source on existing connection
-
Click Next
-
Select the Oracle Data server configured
-
Click Next
-
Select the Oracle schema you want to import
-
Click Next
-
Click Proceed
-
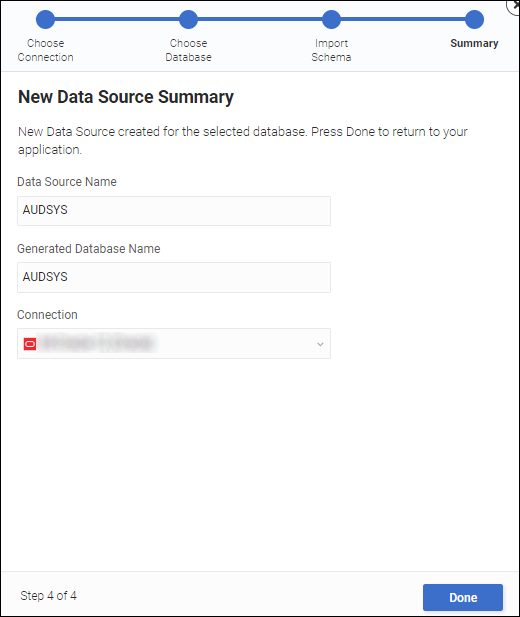
Review the available Tables, Views, and Procedures and either click Import Schema > Proceed for an individual Table or click Import All > Proceed if you intend to import all available data
-
Review the Summary screen information and click Done