PostgreSQL Connection Guide
Overview
This guide describes the system requirements and instructions for connecting Vinyl to a PostgreSQL database server.
This guide assumes you have an existing PostgreSQL database that you are looking to connect to Vinyl. The PostgreSQL database User Name and Password values are required when configuring the connection to it from Vinyl.
To connect your servers, you must have Vinyl 3.3+ installed.
System Requirements
Database Server
PostgreSQL Database Server
Client Web Browser
-
Chrome: 84+
-
Firefox: 73+
-
Safari: 13.0.1+
-
Edge: 84+
Connection Instructions
Configure a Data Server in Vinyl
-
Navigate to the Vinyl IDE
-
From the Connect menu, click the Data Servers button
-
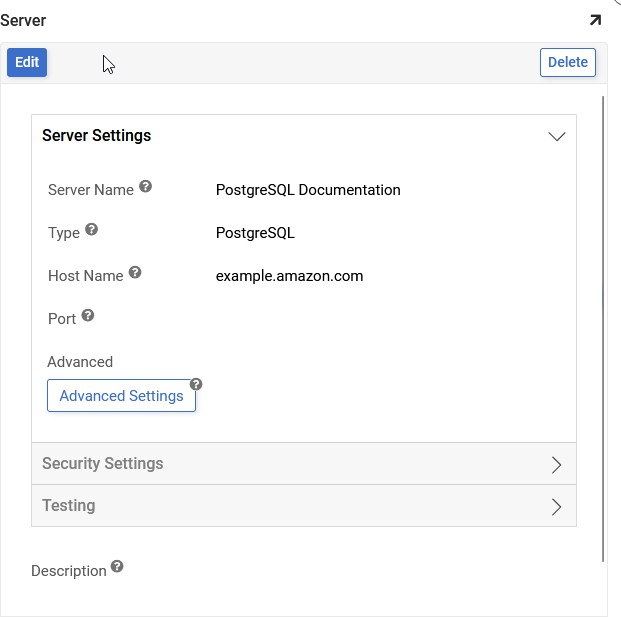
Click the + Server button on the Data Servers panel. This will bring up the Server page. Provide the following information:
-
Server Name: Identifiable name for server connection
-
Type: PostgreSQL
-
Host Name: Endpoint associated with PostgreSQL Database instance
-
Port: Not usually required (Vinyl will use defaults for connection type), default for PostgreSQL is 5432
-
User Name: Credentials associated with PostgreSQL Database instance
-
Password: Credentials associated with PostgreSQL Database instance
Note
A PostgreSQL database with the same name as the instance's User Name must exist for Vinyl to connect
-
-
Click Save to complete server connection
-
Expand Testing and click Test Connection to ensure connection works properly
Create a New Data Source
-
Navigate to the Vinyl IDE
-
From the Connect menu, click the Data Servers button
-
Locate the PostgreSQL Data Server created in the prior step, and select it
-
Click the + Source button
-
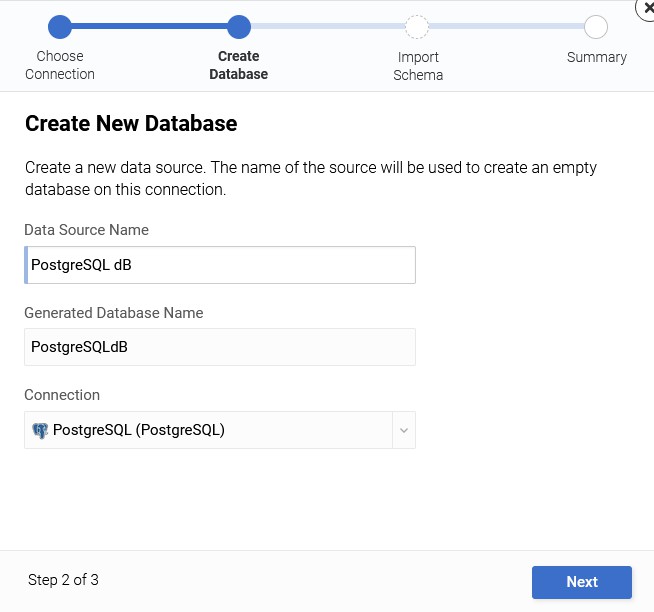
Click the + Create Database button
-
Provide an identifiable name for the Data Source Name
- Confirm Connection is the PostgreSQL server created in prior step
-
Click the Next button
-
Click the Done button
Import the Database
-
Click the Details button for the new Data Source
-
Click the Import button
-
Expand Import Capabilities, and click the Import button
-
Click Proceed to the prompt asking if you want to import physical model into logical
-
Click Proceed to the prompt instructing that Change Sets won't be created
- The import will be scheduled to run as a background task