Salesforce Client Credentials OAuth Connection Guide
Note
This connection guide is the recommended process for Service Account authentication between Vinyl and Salesforce. See the Security Provider - Salesforce / OpenID Connect article if you are looking to configure user level Account authentication.
Prerequisites
- You must be on Vinyl version 3.2.32490 or later.
- You must have a Salesforce account with at least 1 active Salesforce user license.
Configuration in Salesforce
Create an Integration Profile for API Only User
-
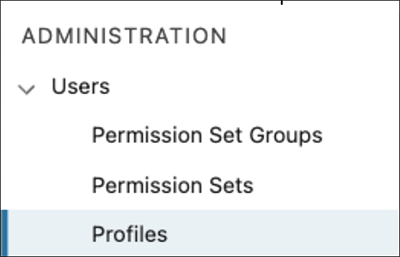
In Salesforce, navigate to Setup or Settings, and go to the Profiles page. This is located under the Administration drop down menu on the left side of the page.
-
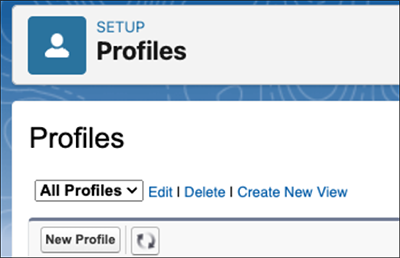
Click the New Profile button.
-
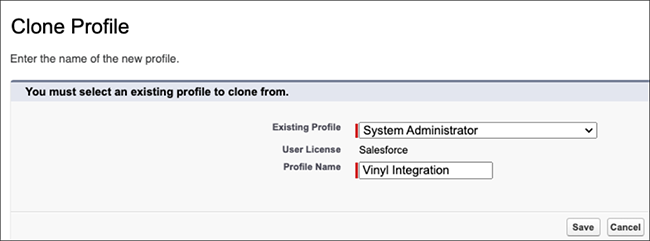
You will see a prompt to clone an Existing Profile, choose "System Administrator" which has a Salesforce user license. Provide an identifiable Profile Name.
-
Click Save.
-
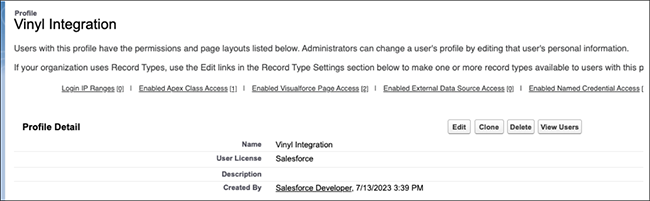
Once the profile has been created, you will see a page displaying the profile details. Click the "Edit" button.
-
Scroll down, or search the page for "API Only User" to locate the permission checkbox under the Administrative Permissions section of the page. Confirm that API Only User is checked.
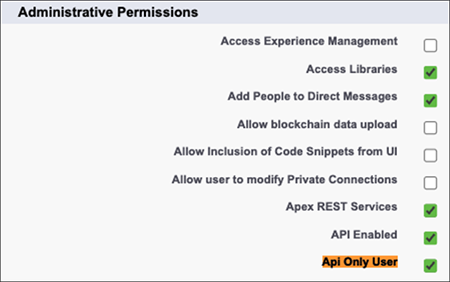
Note
The API Only User permission is only available for "Enterprise Edition" and above orgs and sandboxes. It is not available for "Developer Edition" non-sandbox orgs.
Create an Integration User
-
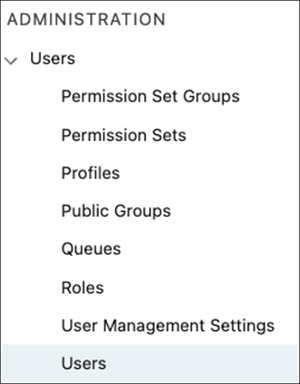
Now that the Integration profile is available, you will create the Integration User. In Setup, go the "Users" page. This is located under the Administration drop down menu on the left side of the page.
-
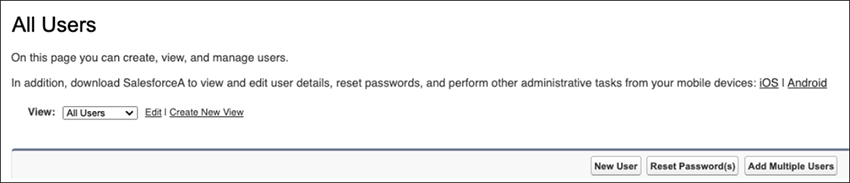
Click the "New User" button.
-
Fill out the following fields:
- First Name – The system name that is integrating with Salesforce.
- Last Name – "Integration". It is recommended that the first and last name comprise the system name and the word "integration" so one can easily identify what the user is for.
- Email – Ideally, this is a distribution email so a team can monitor it.
- User License – Typically "Salesforce" but use the right one for the profile chosen.
- Profile – The one created in the previous step, in our example titled "Vinyl Integration"
-
Click Save. Now that the User is created, the connected app can be created next.
Create a Custom OAuth App
- Log into Salesforce.com or your Salesforce sandbox environment
- From the home page, go to Platform Tools > Apps > App Manager
-
Click the New Connected App button, and enter the following:
- Connected App Name - The name should contain the name of the system and integration, such as "Vinyl Integration" to easily identify it, but this can be whatever you wish.
- API Name - Let Salesforce populate this based on the Connected App name.
- Contact Email - Any email you desire
- Enable OAuth Settings - Check this checkbox, then the following settings will appear
-
Callback URL - This will be the sign in URL with the security provider that we will use for this connection. It should end with "signin-SecurityProvider", for example.

-
Selected OAuth Scopes - Choose "Manage user data via APIs (api)", "Full access (full)", and "Perform requests at any time (refresh_token, offline_access)
- Enable Client Credentials Flow - Make sure this checkbox is checked or enabled.
-
Click Save and then click Continue.
- Now the connected app is created, but we have to navigate to another page to configure the running user. On the app's main page, click the "Manage" button.
- Click on "Edit Policies", scroll down and under the section titled "Client Credentials Flow", click the hour glass button. Here choose the Integration User we previously created.
- Click Save. Next, we need to retrieve the Client ID and Client Secret for the app we just created.
- On the connected app's main page, click the "Manage Consumer details" button. This should open a new page after completing a security prompt, containing the Client ID and Client Secret. Make note of this information as it is needed later.
- This completes the Salesforce configuration section.
Configuration in Vinyl
Create an OAuth Security Provider in Vinyl
- From Vinyl, navigate to the "Security Providers" section of the IDE.
- Click the + Data Source Authentication button.
-
Provide the following details:
- Name - Identifies the Security Provider and appears in the URL. Example: Salesforce
- Type - OAuth
- Authentication Type - OAuth
- OAuth Grant - Client Credentials
- OAuth Client Authentication - Basic
- OAuth Resource Authentication - Bearer
- Token Owner - Client
- Redirect on Challenge - True
-
Click + Endpoints and configure the following 3 endpoints. The URL needs to match either the sandbox or production Salesforce instance we are connecting to:
- Authorization Endpoint -
https://{{SalesforceInstanceURL}}/services/oauth2/authorize - Token Endpoint -
https://{{SalesforceInstanceURL}}/services/oauth2/token - User Info Endpoint -
https://{{SalesforceInstanceURL}}/services/oauth2/userinfo
- Authorization Endpoint -
-
Click + Credential and configure the following:
- Type - Client
- User Name - Client ID from Salesorce
- Password - Secret from Salesforce
-
This completes the security provider setup in Vinyl
Create the Salesforce ADO.NET Data Source in Vinyl
- Go to the Vinyl IDE and click Data Servers.
- Click the + Server button to add a new data source.
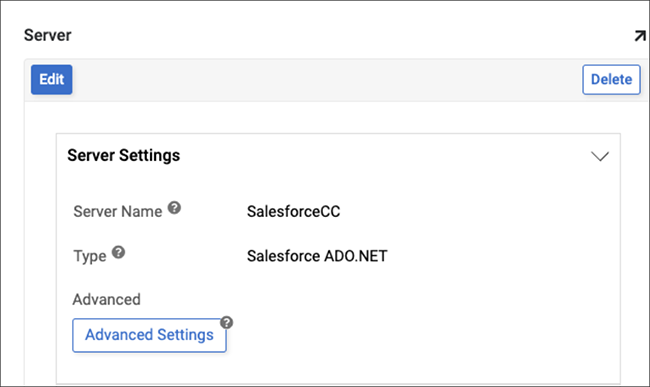
- Assign a Server Name.
- Set the Type as Salesforce ADO.NET
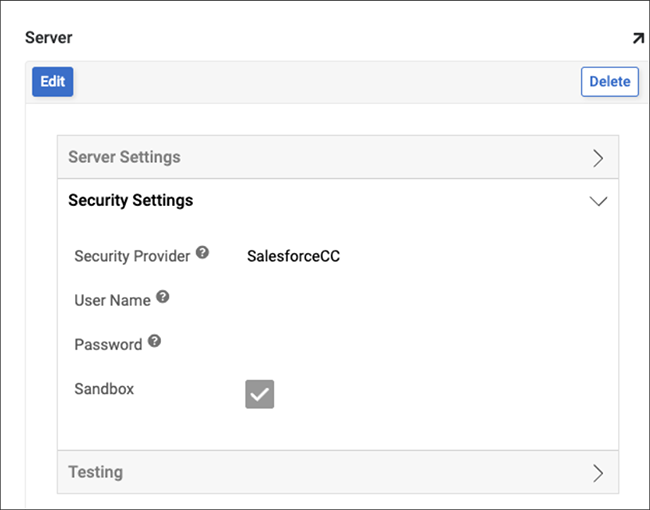
-
Expand the Security Settings and set the Security Provider to the one we previously created. For example: SalesforceCC.
-
Lastly, we need to set the OAuth server URL. We do this by clicking the Advanced Settings button on the data server after it is created.
-
Here we can configure the OAuth server URL. This should be configured to the URL of your Salesforce instance, followed by
services/Soap/c/55.0.- For example: oauth server url =
https://{{SalesforceInstance}}/services/Soap/c/55.0
- For example: oauth server url =
-
Expand Testing and click the Test Connection button to ensure the configuration is working as expected.
Note
An import of the Salesforce tables will be needed to access them from within Vinyl.