Vinyl User and Group Management - Local Authentication
Introduction
This User Guide will step you through how to manage Users and Groups in Vinyl 3.3+. This Guide applies to anyone running Vinyl and using Vinyl to manage authentication, or what is referred to as Local Authentication. For instances using different providers to handle authentication (e.g., Azure ADFS) you'll want to refer to related material to review any additional configuration that may be required.
This document assumes you have an Administrator role in Vinyl. Vinyl's security model includes the familiar concepts of Users and Groups. Users provide the basis for authentication, security groups, and authorization. Users and Groups are site-level: they do not belong to a specific application.
Though Vinyl ships with default Users and Groups, they are generally defined by the Site Administrator.
For more information on User and Group Management, please see Vinyl Security Overview.
User Provisioning
The following instructions step you through creating a new User in Vinyl, and then how to assign them Membership to a Group.
Create a New User
-
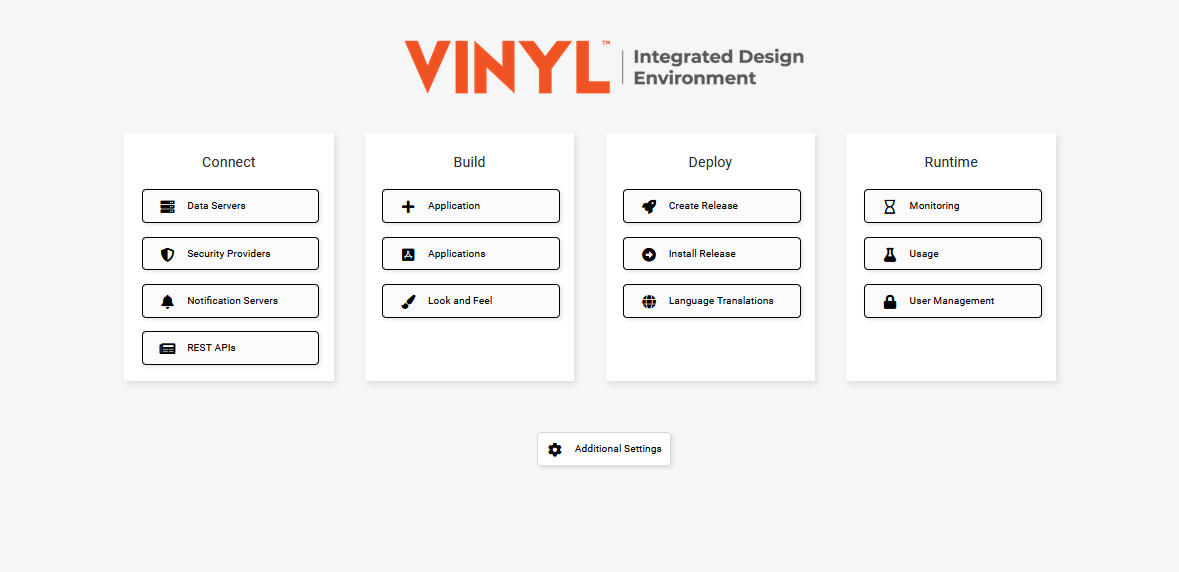
Navigate to the Action Drawer > IDE
-
Click the User Management button
-
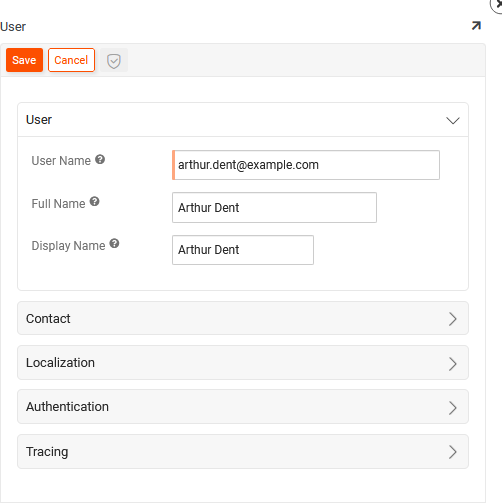
Click + User from the Users panel
-
Enter the User Name following company naming convention. For example:
arthur.dent@example.com -
Enter the Full Name and Display Name using the First and Last Name of Employee. For example: Arthur Dent
-
Expand the Contact section and enter the Email Address and Phone Number
-
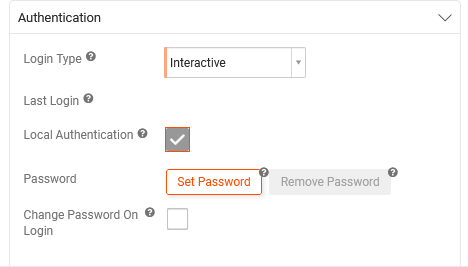
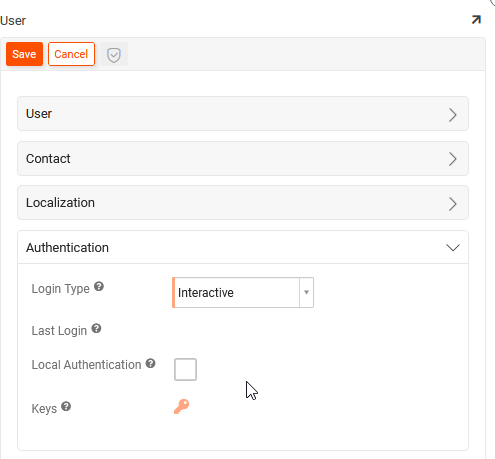
Expand the Authentication section and check to enable Local Authentication
-
Click the Set Password button
-
Enter a New Password and Confirm Password
-
Click Save
-
If desired, click to enable the Change Password On Login option. If enabled, this forces a User to change their Password upon first Login.
-
Click Save
-
Click the x to exit out of the User screen
Assign User to an Existing Group
-
Select the User to assign from the Users panel
-
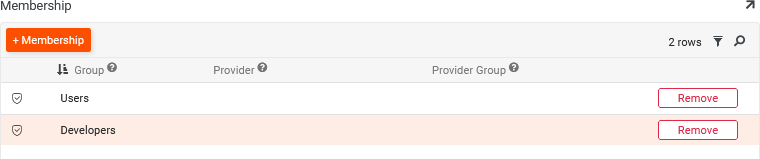
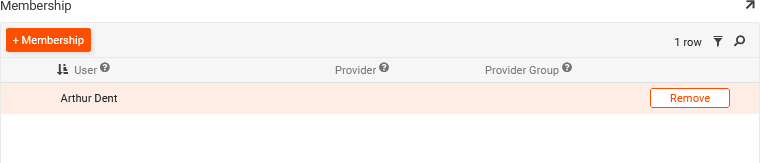
Click + Membership from the Membership panel
-
Select the Group you wish to assign them to. For example: Developers
-
Click the checkmark icon to save the record
Group Provisioning
-
Navigate to the Action Drawer > IDE
-
Click the User Management button
-
Click Groups from the top left navigation
-
Click + Group from the Groups panel
-
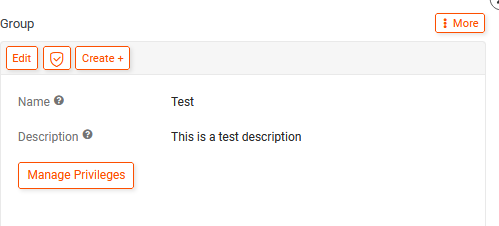
Assign the Group a relevant Name and Description
-
Click Save
-
Click the Manage Privileges button
-
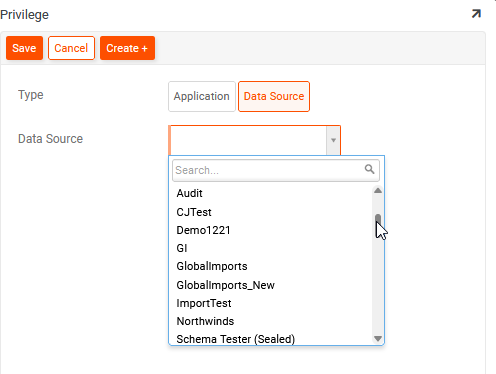
On the Privileges panel click the Create button
-
Select either the Application or Data Source you want this Group to have access to
-
Click to select the appropriate Application or Data Source
-
Click Save
-
Click the x to exit out of the Privilege screen
-
Review the corresponding Roles panel and click Grant to assign the relevant Roles per the assigned Application and/or Data Source
Assign User to a New Group
-
Select the newly created Group from the Groups panel
-
Click + Membership from the Membership panel
-
Select the User you want to assign to the Group from the menu list
-
Click the checkmark icon to save
Disabling a User Account
-
Navigate to the Action Drawer > IDE
-
Click the User Management button
-
Locate the User you want to disable from the Users panel
-
Click the pencil Edit Icon next to the User record you wish to disable
-
Expand the Authentication section and uncheck the Local Authentication option
-
Click Save
-
Click x to exit out of the User screen