Veeva Vault Connection Guide 3.3
Overview
This guide describes the system requirements and instructions for connecting Vinyl to a Veeva Vault database server.
To connect your servers, you must have Vinyl 3.3+ installed.
System Requirements
Database Server
Veeva Vault Database Server
Client Web Browser
-
Chrome: 84+
-
Firefox: 73+
-
Safari: 13.0.1+
-
Edge: 84
Connection Instructions
Adding a Data Server
-
Navigate to the Vinyl IDE
-
Click on Data Servers from the Connect menu
-
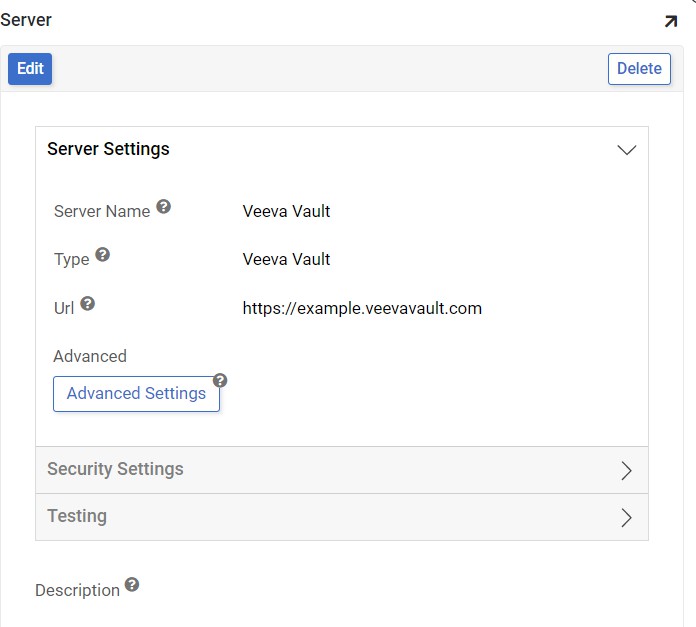
Click the + Server button on the top left of the Data Servers panel. This will bring up the Server page. Provide the following information:
-
Server Name: Identifiable name for server connection
-
Type: Veeva Vault
-
Url: Host URL associated with Veeva Vault Database instance. For example:
https://example.veevavault.com -
User Name/Password: Credentials associated with Veeva Vault Database instance
-
-
Click Save to complete server connection
-
From Testing, click Test Connection to ensure connection works properly
Import the Database
-
Navigate to the Vinyl IDE
-
Click on Data Servers from the Connect menu
-
Locate the Veeva Vault data source and click the Details button from the right-hand panel
-
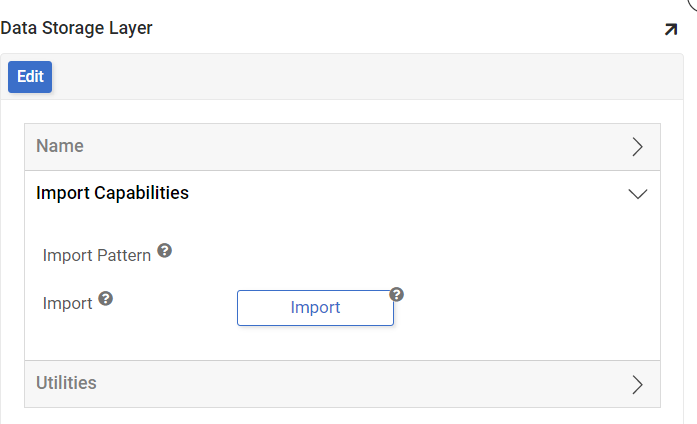
Click to expand the Import Capabilities
-
Import Pattern: This allows users to import only certain tables by listing them in the box. Prefixes can be used to only import a subset of tables (for example, MyApp_* will only import tables that start with "MyApp_"). If the space is left blank, it will import all tables
-
Click Save to update any changed settings
-
Click the Import button to import the data
-
Click Proceed when prompted. Vinyl will schedule the import to run as a background task.
-