Configuring Theme Interfaces
In Vinyl, Theme Interface is a term used to refer to a defined region on a given application page that is available to target for customization through Themes. Using Themes you might define the color of a panel as grey or the font as Montserrat.
Typically the Theme Interface regions you are looking to target are already defined and available through the Themes area of Vinyl. However, there may be instances where you want to target a region that does not have an existing defined value, in which case you can create a Theme Interface. Theme Interfaces are available to create through the IDE > Additional Settings > Theme Interfaces.
After a Theme Interface has been created, it will be available through the standard screens where you would typically work on creating and maintaining application Theme information.
An example business use case example where you might want to create a custom Theme Interface is if you want to target a photo appearing in the menu bar and force it to display at a specific size. For example: 100px height. In this article we will step through how you create a custom Theme Interface.
Note
Prior to creating a custom Theme Interface, be sure to check that there is not already an existing Theme Interface value that supports what you're trying to target.
To Create a Theme Interface
- Navigate to the IDE > Additional Settings
- Click on Theme Interfaces
- Click + Interface from the Interfaces panel
- Select the Real Estate component this area will target. For example: Page- Title Bar
- Select the Group, or Sub Type region of the Real Estate value, where this will target. For example: Title Bar
- Select the Collection you want the Theme Interface to belong to. For example: Northwind
- Assign a Name for this new Theme Interface. For example: Menu Bar Logo
- Input the appropriate Selector value that the Theme Interface requires in order to target it. For example:
vinyl-controls-image-purpose-icon.vinyl-controls-image>img - Click the checkmark icon to save the record
- After saving the new record, you should now be able to see and use this Theme Interface value from the Collection where you saved it, from the appropriate Vinyl screens where you work with Themes
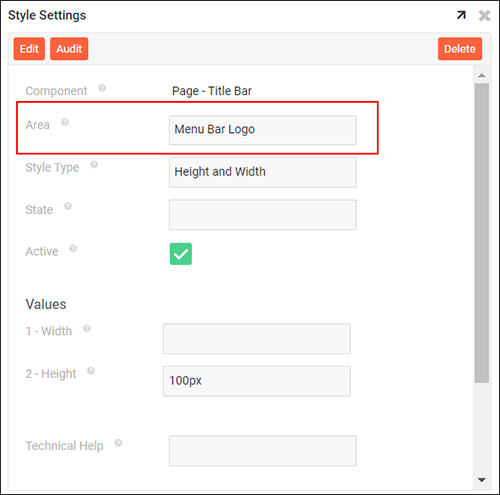
New custom Theme Interface value now available from application