CSS Loader
Vinyl ships with a CSS Loader Widget that can be used for overriding CSS styles at the site level vs. manually setting through a Theme or at an individual application level. In order to use the CSS Loader, download a copy of the CSS Loader, edit styles.css as needed, and add it to a newly created CSS Widget.
Note
When editing styles.css you'll want to remove or edit the existing CSS example lines or these will appear when you activate the CSS Loader
How to Configure
Step 1: Customize the CSS
- Navigate to IDE > Look and Feel
- Select the Vinyl Collection from the Collections panel. If not available, click View All.
- Click the Widgets tab
- Locate the CSS Loader widget and click the Open Record icon
- Click on the Widget Path Content file to download the widget .ZIP content
-
Open the .ZIP file in a code editor program and make any/all customization changes required to styles.css
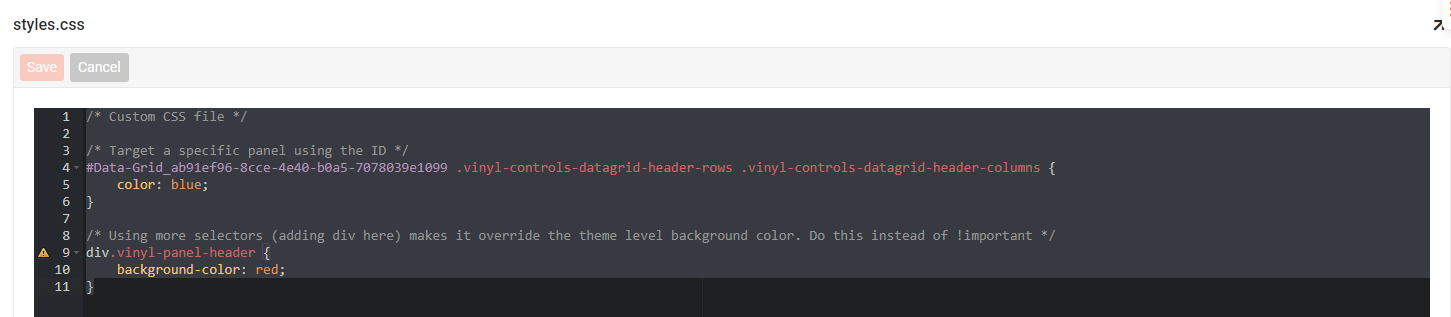
styles.css file as viewed by Vinyl's editor. Be sure to remove or edit these examples, or they will appear when activated.
-
Select a new Collection to add the modified CSS Loader content. Note this cannot be the Vinyl or Vinyl IDE Collections.
- Click Upload Widget
- Confirm the Collection the widget will be stored
- Click the Browse button and locate the modified CSS widget .ZIP content
- Click Save
- Assign a Name for the CSS Widget. For example: CSS Widget
- Review Purpose and set as Field or Site, as needed
Step 2: Configure at the Site Level (or follow Step 3)
- Navigate to IDE > Additional Settings > Site Widgets
- Click + Widget Registration
- Select the CSS Widget as the Widget
- Click the checkmark to save
- Confirm the Active column is checked/On
Step 3: Configure at the App Level
- Navigate to IDE > Look and Feel
- Select the Collection where you saved the copy CSS Loader widget, click the Widgets tab
- Locate the CSS Widget, click the Open record icon
- Set the Purpose value to be Site
- Click the Save button
- Navigate to IDE > Additional Settings > Site Widgets
- Click + Widget Registration
- Select CSS Widget from the Widget drop down menu
- Click the check mark icon to Activate the CSS Widget
- Navigate back to your application, refresh your web browser and confirm updates