Offline App Authentication
Introduction
Authentication for offline apps requires configuration steps in both the core app and the offline apps. This page describes these, and how to test them.
Core App
When a user logs into an offline app, they are authorized and given permissions via the associated core app. To allow this, you must configure the following in the core app:
-
A security provider group. This lets the offline app access the core app via the authorization server.
-
A client.
Security Provider Group
You should create a security provider group in your development environment, then propagate it to your QA or production environments using the usual application package management method.
To create a security provider group, follow these steps:
-
Open your core app for editing.
-
Select App Workbench from the action drawer, or Workbench from the application menu, then click Roles.
-
Click the Application Groups button to open the Group and Roles dialog.
-
Under Group, click the Create button.
-
Enter a name (for example
Offline App Security Provider) and description for the group, then click the icon to save it. -
Close the dialog.
Tip
Permissions are not provided by this group, but by the association of the group with the security provider, done in the next section.
Authorization Security Provider
The authorization security provider enables OpenID authentication for the offline app. It must be configured in any environment that the offline app might authenticate with.
To configure an authorization security provider, follow these steps:
-
Select IDE > Security Providers.
-
In the User Authentication table, click the icon at the end of the Authorization Server row to open the record.
-
Under Provider, click the Edit button, and make any required changes.
-
When the provider is configured, click Enabled to enable it, then click the Save button.
-
Under Provider, select More > Manage Groups.
-
In the Groups dialog, click the Create button.
-
In the Provider Group dialog, set the following values:
-
Name:
Offline App Security Provider -
Identifier:
Offline App Security Provider -
Group: Click to open the menu, then select the Offline App Security Provider group.
-
-
Close the Provider Group dialog, then close the Groups dialog.
Tip
The security group identifier (Offline App Security Provider in this example) is used later to configure the offline app security provider.
Client
To create a client, follow these steps:
-
Select IDE > User Management.
-
Select the Clients tab.
-
Click the + Client button.
-
In the dialog, set values for the following under Client:
-
Name:
Offline App Client -
Description: Enter a description.
-
-
Click the Save button.
-
Under Redirects, click the + URL button.
-
Enter the following in the field, then click the icon to save it:
https://localhost:5001/signin-OpenID-
localhost: This is a literal string; you do not need to substitute a hostname or IP address. -
OpenID: This part of the URL can be different but must match exactly the name of the OpenID security provider (set later).
-
-
Under Client, select More > Advanced.
-
In the Advanced Settings dialog, click to enable both Require PKCE and Public, then close the dialog.
-
Copy or note the Client ID for later use, then close the dialog.
Offline App
To configure the offline app, you must do the following:
-
Create user groups.
-
Set up an OpenID security provider.
-
Make a group association for the security provider.
-
Configure the app's connector data sources.
User Groups
As with any Vinyl app, you should create user groups for the different types of user expected to use the app, or at least the following:
-
A User group, for general users of the app.
-
An Administrator group, for developers and administrators.
OpenID Security Provider
You need a security provider to test authentication on development (off-device) instances of your offline app. This security provider information can be exported as a JSON file and used to automatically set up the provider on mobile devices. Jitterbit Support use the JSON file when creating builds of the offline app for your mobile devices.
To set up an OpenID security provider, follow these steps:
-
Select IDE > Security Providers.
-
Under User Authentication, click the + User Authentication button.
-
Under Provider, set the following values:
-
Settings
-
Name:
OpenIDImportant
This value must match exactly the client redirection URL suffix (set previously) in the core app.
-
Type: Vinyl / OpenID Connect
-
Priority: (Default).
-
Enabled: Enabled.
-
-
Tokens
-
Owner: User (default).
-
Delete On Sign Out: When enabled, Vinyl deletes the stored token when the user logs out.
-
-
Sign In
-
Redirect On Challenge: Disabled (default).
-
Show On Login Form: Enabled.
-
Default Page: Blank (default).
-
Sign Out Page: Blank (default).
-
-
Provisioning
-
User Provisioning: Enabled.
-
Match Existing User: Enabled.
-
Supplies Group Membership: Enabled.
-
Name Format: Blank (default).
-
Name Identifier Format: Blank (default).
-
Identity Provider URL: Blank (default).
-
-
-
Click the Save button to save the provider.
-
Under Endpoints, click the + Endpoint button.
-
In the Endpoint dialog, set the following:
-
Endpoint Type: Click to open the menu, then select OpenID Connect Issuer.
-
URL: Enter the URL of the core app Vinyl server that the offline app authenticates with.
-
-
Click the Save button, then close the Endpoint dialog.
-
Under Credentials, click the + Credential button.
-
In the Credential dialog, set the following:
-
Type: Click to open the menu, then select Client.
-
User Name: Enter the Client ID (noted previously).
-
-
Click the Save button, then close the Credential dialog.
-
Under Properties, click the + Property button.
-
In the Properties dialog, set the following:
-
Parameter: Click to open the menu, then select Scopes.
-
Value:
openid profile email phone api groups
-
-
Click the Save button, then close the Properties dialog.
Group Association
The offline app is granted access via the OpenID security provider group identifier set up on the core app Vinyl instance.
To associate the group with the provider, follow these steps:
-
Select IDE > Security Providers.
-
In the User Authentication table, click the icon at the end of the OpenID row to open the record.
-
Under Provider, select More > Manage Groups.
-
In the Groups dialog, click the Create button.
-
In the Provider Group dialog, set the following values:
-
Name: Enter a name of your choice.
-
Identifier:
Offline App Security Provider -
Group: Click to open the menu, then select the Offline App Security Provider group.
-
-
Click the Save button, then close the Provider Group and Groups dialogs.
Connector Data Sources
Any offline app Vinyl connector data sources that access the core app must use the OpenID security provider just created.
For all such connectors, do the following:
-
Select IDE > Data Servers.
-
In the Data Servers table, click the Details button for the data source.
-
In the Server dialog, ensure the URL is your core app Vinyl instance, then click the Edit button.
-
Expand the Security Settings group.
-
Click to open the Security Provider menu, then select OpenID (the security provider created previously).
-
Click the Save button, then close the Server dialog.
Test
When configuration is complete, a button Sign in with OpenID appears on the offline app's Vinyl login screen:
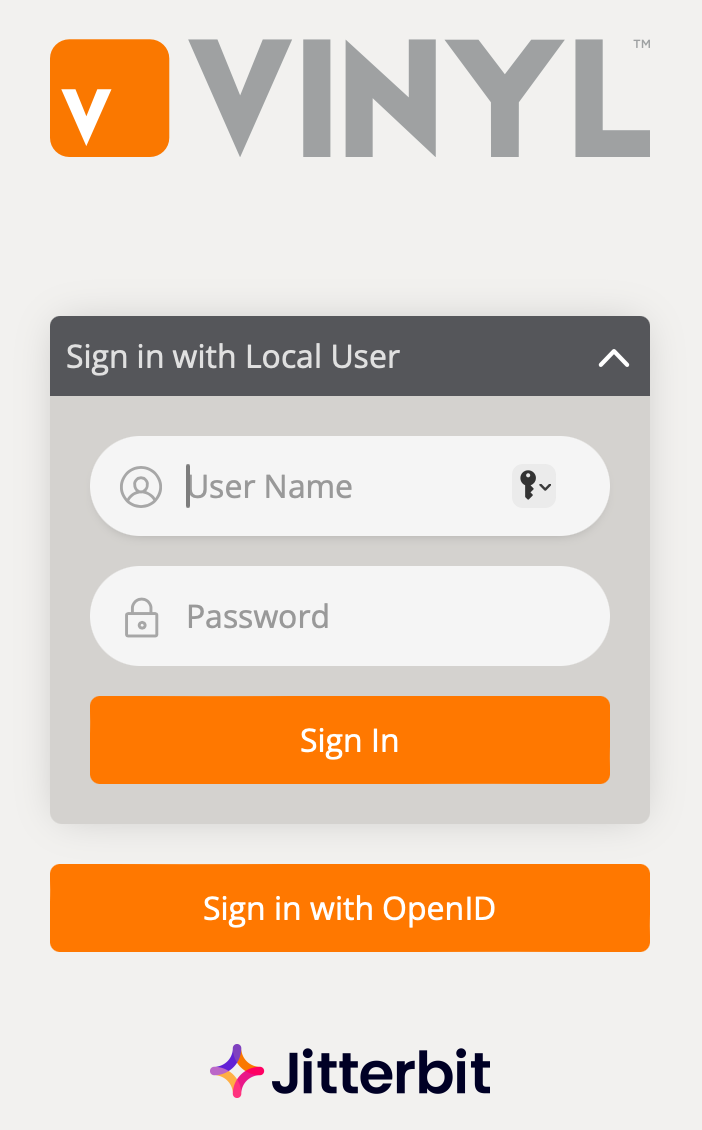
The following is an example of a simple test pattern:
-
On the core app Vinyl instance, create a local user with a password.
-
On the offline app Vinyl instance, log in with this user.
-
Verify access to your offline app, and check the functionality of any pages that use Vinyl connectors.